Welcome to Vbond
Common Defects to Look for When Inspecting Aluminum Composite Panels
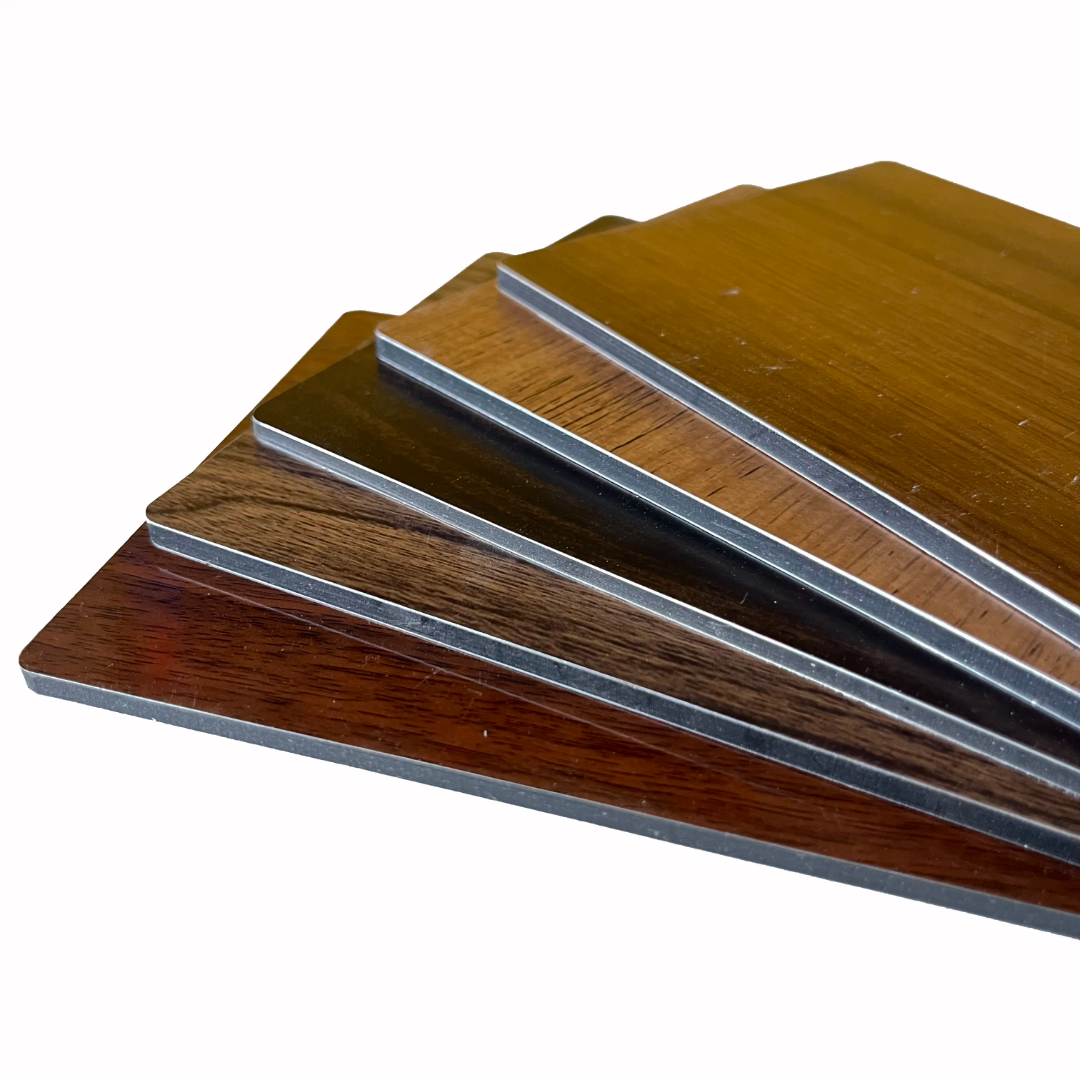
For professional buyers, procurement managers, and architectural specifiers, the inspection of aluminum composite panels (ACPs) is not merely a routine quality check—it is a critical risk management exercise. ACPs are a significant investment in any building project, and defects that go undetected at the receiving stage can cascade into costly installation delays, façade failures, and reputational damage that far outweigh the initial material cost.
Whether you are sourcing panels for a high-rise commercial tower, a residential development, or an industrial facility, understanding what defects to look for—and how to identify them—is essential. This guide provides a systematic approach to inspecting ACPs, covering substrate quality, coating integrity, core adhesion, and fabrication precision, empowering buyers to reject substandard materials before they reach the installation phase.
Why Pre-Installation Inspection Matters
In the construction supply chain, the principle of "caveat emptor" (buyer beware) applies acutely to building materials. Once panels are installed, identifying and remediating defects becomes exponentially more expensive. Pre-installation inspection allows buyers to:
- Enforce contractual specifications against delivered materials.
- Avoid costly rework involving scaffolding, crane time, and labor.
- Protect project timelines by identifying issues before installation crews mobilize.
- Establish liability with clear documentation of non-conforming materials.
A disciplined inspection protocol separates professional procurement from price-driven purchasing.
Category 1: Substrate and Coil Defects
The foundation of any ACP is the aluminum coil used for the top and bottom skins. Defects originating at the coil stage are often the most difficult to remediate after panel fabrication.
1. Oil Canning
Description: Waviness or visible distortion in the flatness of the panel, resembling the surface of an oil can. This is not always a defect—some degree of oil canning is inherent to flat metal panels—but excessive oil canning indicates poor coil flatness or improper tensioning during lamination.
What to Look For:
- Visible ripples or waves across the panel face, especially under raking light.
- Distortion that worsens after fabrication (cutting, folding).
Acceptance Criteria: For premium architectural work, specify maximum oil canning tolerances (e.g., no visible distortion at a 3-meter viewing distance under natural light).
2. Surface Scratches and Roller Marks
Description: Linear abrasions or impressions caused by debris on processing rollers or mishandling during coil coating, slitting, or lamination.
What to Look For:
- Fine, parallel lines running the length of the panel.
- Deeper gouges that penetrate the coating layer, exposing the aluminum substrate.
- Scratches on both front and back surfaces.
Acceptance Criteria: Scratches visible at a normal viewing distance (1.5–2 meters) should be rejected. Minor handling marks confined to protective film may be acceptable if confirmed not to extend through the coating.
3. Edge Creep and Coating Pullback
Description: The phenomenon where the coating pulls back from the cut edge of the panel, exposing bare aluminum. This occurs when the coil coating process did not achieve proper adhesion or when the coating was insufficiently cured.
What to Look For:
- Visible bare aluminum along the cut edges of the panel.
- A "halo" effect where the coating appears to have shrunk away from the edge.
- Flaking or peeling of the coating near edges after fabrication.
Acceptance Criteria: Any visible coating pullback beyond 1–2 mm from the cut edge warrants rejection, as it creates a pathway for moisture ingress and corrosion.
Category 2: Coating and Color Defects
The coating system—whether PVDF, polyester, or other formulations—is the panel's primary defense against environmental degradation. Coating defects compromise both aesthetics and longevity.
4. Color Inconsistency (ΔE Variation)
Description: Visible differences in color between panels from the same batch or between different batches delivered to the same project.
What to Look For:
- Place panels side by side under consistent lighting (natural daylight is ideal).
- Use a spectrophotometer to measure Delta E (ΔE) values between panels.
- Compare delivered panels against the approved master sample.
Acceptance Criteria: ΔE > 0.5 between panels in the same shipment is visually perceptible and generally unacceptable for exterior architectural applications. Demand documented spectrophotometer readings from the supplier.
5. Gloss Inconsistency
Description: Variation in surface sheen between panels or within a single panel. Even with correct color, mismatched gloss creates a patchy appearance.
What to Look For:
- View panels at a low angle to observe sheen uniformity.
- Use a gloss meter (60-degree geometry) to measure gloss units (GU).
Acceptance Criteria: Gloss variation exceeding ±3 GU for solid colors or ±5 GU for metallics is generally unacceptable for premium projects.
6. Pinholes and Surface Inclusions
Description: Tiny holes or embedded particles in the coating surface. Pinholes occur when air bubbles trapped during coating application burst before curing, while inclusions result from contaminants in the coating or on the substrate.
What to Look For:
- Inspect under bright, raking light to reveal small surface imperfections.
- Run a hand across the surface; inclusions may be palpable.
Acceptance Criteria: Any pinholes or inclusions visible at a normal viewing distance should be rejected. For high-gloss finishes, even microscopic defects are unacceptable.
7. Orange Peel
Description: A textured surface resembling the skin of an orange. While slight orange peel is normal in some coating formulations, excessive texture indicates improper coating viscosity or application parameters.
What to Look For:
- Uneven, dimpled texture visible under raking light.
- Surface that appears inconsistent when compared to the approved sample.
Acceptance Criteria: Match to approved master sample. Reject if texture exceeds the agreed standard.
Category 3: Core and Lamination Defects
The bond between the aluminum skins and the core (polyethylene or fire-retardant mineral core) determines the panel's structural integrity.
8. Delamination
Description: Separation of the aluminum skin from the core. This is one of the most serious defects, as it compromises the panel's structural performance and can lead to complete failure.
What to Look For:
- Tap the panel surface; delaminated areas produce a hollow, drum-like sound rather than a solid thud.
- Visible bubbling or blistering on the panel face.
- Edges where the skin appears to be lifting away from the core.
Acceptance Criteria: Any delamination is cause for immediate rejection. This defect typically indicates inadequate adhesive application, improper curing, or incompatible materials.
9. Core Voids and Inconsistent Density
Description: Gaps or voids within the core material, or areas where the core density varies significantly. These weak spots compromise impact resistance and can lead to localized failure.
What to Look For:
- Cut-edge examination reveals voids or inconsistent cell structure (for mineral cores).
- Panels may feel "soft" in certain areas when pressure is applied.
Acceptance Criteria: Voids exceeding 5% of the core cross-section or any voids visible in cut samples from delivered panels should trigger rejection.
10. Uneven Skin Thickness
Description: Variation in the thickness of the aluminum top or bottom skin across the panel or between panels. This affects both strength and flatness.
What to Look For:
- Use a calibrated micrometer to measure skin thickness at multiple points across the panel.
- Compare measurements to specified thickness (e.g., 0.3mm, 0.4mm, 0.5mm).
Acceptance Criteria: Variation exceeding ±0.02mm from the specified thickness is generally unacceptable for premium applications.
Category 4: Fabrication and Dimensional Defects
For panels supplied in fabricated forms (cassettes, folded panels), dimensional accuracy is critical.
11. Dimensional Tolerances
Description: Panels that deviate from specified width, length, thickness, or squareness.
What to Look For:
- Measure each panel dimension against the approved shop drawings.
- Check diagonal measurements to verify squareness.
- Measure overall panel thickness (typically 3mm, 4mm, or 6mm).
Acceptance Criteria: Reject panels exceeding agreed tolerances (typically ±2mm on length/width, ±0.2mm on thickness, and ±2mm on diagonal deviation).
12. Poor Fold Accuracy
Description: For fabricated panels, improper fold angles, inconsistent flange heights, or cracked bends.
What to Look For:
- Use a protractor or angle gauge to verify fold angles (typically 90°).
- Inspect bend lines for micro-cracking, especially on the outer radius.
- Verify flange heights are consistent across all panels.
Acceptance Criteria: Any cracked bend line is cause for rejection. Fold angle deviation exceeding ±1° is unacceptable for system compatibility.
Inspection Tools Every Buyer Should Use
Professional inspection requires the right tools. Ensure your team or third-party inspector has access to:
Tool | Purpose |
Spectrophotometer | Measures ΔE (color difference) between panels and against standards. |
Gloss Meter | Quantifies gloss units (GU) for sheen verification. |
Micrometer | Measures aluminum skin thickness and overall panel thickness. |
Steel Rule and Tape Measure | Verifies dimensional accuracy. |
Raking Light Source | Reveals surface defects, oil canning, and orange peel. |
Adhesion Tester (Cross-Cut) | Assesses coating adhesion per ASTM D3359. |
Tap Hammer | Identifies delamination by sound. |
XRF Analyzer (Optional) | Verifies alloy composition for virgin aluminum verification. |
A Systematic Inspection Workflow
For large-scale projects, adopt a structured inspection protocol:
1. Pre-Shipment Inspection: If possible, inspect panels at the manufacturer's facility before shipment. This allows rejection and rework without freight costs.
2. Receiving Inspection: Upon delivery, inspect a statistically significant sample (e.g., 10% of pallets, minimum 5 panels per batch).
3. Visual Inspection: Under appropriate lighting, examine for coating defects, scratches, oil canning, and color/gloss consistency.
4. Dimensional Verification: Measure dimensions, thickness, and squareness.
5. Adhesion and Sound Testing: Perform cross-cut adhesion tests on a sacrificial panel and tap-test for delamination.
6. Documentation: Photograph any defects with scale references. Issue a non-conformance report (NCR) for rejected material.
Conclusion
For professional buyers, the ability to identify common defects in aluminum composite panels is a core competency that protects project quality, timeline, and budget. Defects ranging from oil canning and color inconsistency to delamination and poor fabrication are not merely cosmetic issues—they are indicators of underlying manufacturing quality control failures.
By implementing a systematic inspection protocol, using appropriate measurement tools, and demanding adherence to documented specifications, buyers can ensure that only panels meeting the highest standards reach the installation site. In the world of architectural cladding, the cost of rigorous inspection is always less than the cost of a failed façade.