Welcome to Vbond
How to Repair a Honeycombed Aluminum Composite Panel: Is Patching Economical or a Total Loss?
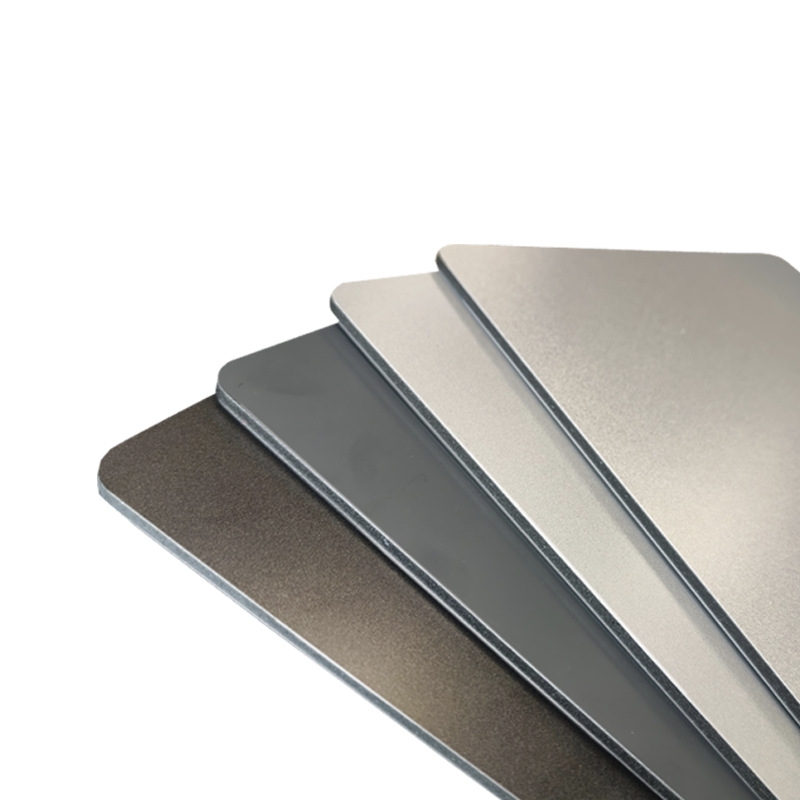
Aluminum composite panels (ACPs) with a honeycomb core are prized for their exceptional flatness, high rigidity, and lightweight properties. However, when a concentrated impact—such as a forklift bump, hail, or installation error—occurs, the core collapses, creating an unsightly "honeycomb" depression on the surface.
For procurement specialists and project managers, the immediate question is rarely about aesthetics alone. It is about cost logic. Do you invest labor hours in patching, or do you write off the panel as a total loss?
Here is a data-driven look at when repair makes sense and when replacement is the only economical path.
Understanding the Damage: Skin vs. Core Separation
A honeycomb panel derives its strength from the bond between three layers: a thin aluminum skin (top), a hexagonal aluminum core (middle), and a bottom skin.
When a dent appears, two scenarios occur:
- Elastic dent (rare): Only the skin is deformed. The core remains intact.
- Plastic collapse (common): The skin has stretched, and the honeycomb walls underneath have buckled or torn.
If the core has collapsed, simply filling the dent from the outside does not restore structural integrity. You are left with a cosmetic patch on a compromised substrate.
The Patching Process: What Does It Actually Involve?
Professional repair of a honeycomb panel is not a simple "fill and sand" job. For a panel larger than 4x8 feet, the standard workflow is:
1. Skin removal: Cut out the damaged top skin using a router, staying within the cell walls.
2. Core extraction: Vacuum out crushed honeycomb debris. This is tedious, as cells are typically 10–20mm in diameter.
3. Potting: Fill the void with a high-viscosity epoxy or a specialized aluminum-filled compound.
4. Skin replacement: Bond a new aluminum skin patch over the potted area.
5. Finishing: Sand, prime, and coat the patch to match the original PVDF or polyester finish.
The "Visible Line" Problem
Even with expert color matching, a patched panel will rarely achieve the seamless look of the original continuous coil-coated finish. For high-visibility facades or interior column cladding, this aesthetic failure is often unacceptable.
Cost Analysis: Patching vs. Replacement
Let us assume a standard 4mm honeycomb panel (4' x 8') with a premium PVDF coating.
Factor | Patching (In-House) | Patching (Vendor) | Total Replacement |
Direct Cost | $80–$150 (epoxy + abrasives) | $300–$600 (mobilization + labor) | $120–$250 (new panel) | $120–$250 (new panel) |
Labor Hours | 4–6 hours (skilled tech) | 2–3 hours (excluding travel) | 1 hour (removal + install) |
Structural Integrity | 40–60% of the original | 60–75% of the original | 100% |
Cosmetic Result | Visible patch (80% match) | 90–95% match (with blending) | 100% match |
The Verdict: When is patching economical?
Patching is economical only if:
- The panel is a non-structural element (e.g., interior ceiling).
- The panel is located in a service area (machine room, back-of-house).
- The panel is oversized or custom-fabricated (bent, welded, or over 16 feet long) where replacement lead time exceeds 4 weeks.
- The damaged area is smaller than a coin (≤ 20mm).
Patching is a total loss if:
- The panel has a high-visibility metallic, mirror, or custom solid-color finish.
- The core is wet, contaminated, or has widespread crushing (over 5% of panel area).
- The panel is structural (used as flooring, bridge decking, or wind bracing).
- Your project warranty requires unbroken factory lamination.
The Procurement Professional’s Rule of Thumb
Experienced buyers use a simple "3x Rule" for honeycomb panels:
If the cost of patching (labor + materials + downtime) exceeds three times the price of a new stock panel, do not repair it.
Because honeycomb ACP is sold by the square foot, most standard sizes (4'x8', 4'x10') are commodity items. Your labor rate for a skilled metalworker is likely $80–120/hour. After four hours of patching, you have already spent more than the replacement cost of a new panel.
Alternatives to Patching
Before deciding between patch or scrap, consider these intermediate solutions:
1. Rout & Insert: Cut out the damaged section completely and mechanically fasten a new pre-finished insert. This leaves a visible seam but restores 90% strength.
2. Vinyl Wrapping: Apply a commercial-grade architectural vinyl over the entire panel face to hide multiple small patches. Useful for temporary installations.
3. Donor Panel: Keep a stock of "blemish-grade" panels on site. Cut patches from these for repairs, ensuring identical core thickness and alloy.
Conclusion: Be Brutal About Economics
For most procurement scenarios involving standard honeycomb aluminum composite panels, patching is not economical. The hidden costs—skilled labor, downtime, color mismatch risk, and voided warranties—quickly eclipse the price of a new panel.
Treat damaged honeycomb panels like damaged car tires: replace them in pairs (or whole) when the core structure fails. Reserve patching only for custom, non-replaceable, or very large architectural features where a visible seam is contractually acceptable.