Welcome to Vbond
Reduce ACP Rework by 40%: Train Your Crew to Spot Honeycomb-Prone Panels
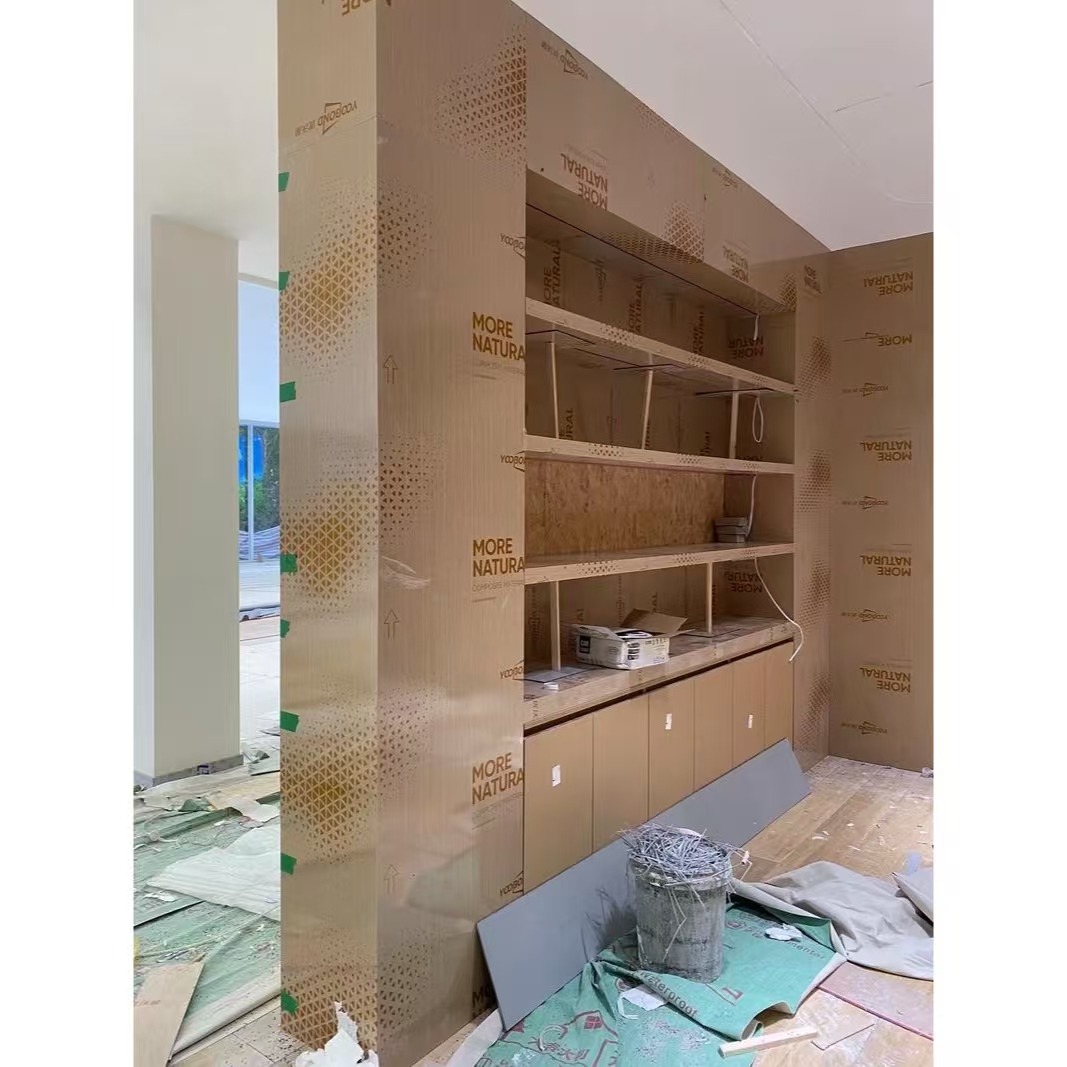
You have installed 200 square meters of aluminum composite panel on a high-visibility facade. The job looks perfect. Then, three weeks later, the general contractor calls.
"There are wavy patterns on the panels. It looks like honeycomb beneath the skin. We want it replaced."
Now you are looking at:
- Scaffolding re-rental
- Labor for removal and reinstallation
- New panel costs
- Angry customer calls
- A burned reputation
The painful truth is that most honeycomb-related rework is avoidable. The signs of a honeycomb-prone panel are visible before installation—if your crew knows what to look for.
This article shows you how to train your fabrication and installation team to identify problematic panels before they go on the wall. A 4-hour training session can reduce your rework costs by 40% or more. Here is exactly what to teach them.
What Is "Honeycomb Prone" ACP?
First, clarify the terminology. "Honeycomb prone" does not mean the panel has an aluminum honeycomb core. It refers to a specific type of surface defect where:
- The aluminum skin loses adhesion to the polyethylene or FR core in small, localized spots
- These unbonded areas create a hexagonal or irregular pattern visible under raking light
- The pattern resembles a honeycomb beneath the surface
This is not a core material failure. It is a lamination bond failure between the skin and the core. The panel may look perfect when lying flat. But once installed on a facade under sunlight and temperature changes, the unbonded areas "pump" or "oil-can," creating the honeycomb appearance.
The Real Cost of Honeycomb Rework
Let us quantify the problem. A typical medium-sized commercial facade project:
Cost Category | Cost Category |
ACP material cost for the project | $25,000 |
Installation labor | $18,000 |
Scaffolding and access | $8,000 |
Total project cost | $51,000 |
If 15% of the panels show honeycombing after installation:
Rework Cost Item | Amount |
Replacement panels (15% of material) | $3,750 |
Removal labor (2x original time) | $5,400 |
Reinstallation labor | $2,700 |
Scaffolding extension rental | $2,000 |
Project delay penalties (estimated) | $4,000 |
Total rework cost | $17,850 |
That is 35% of the original project cost in rework alone.
A 40% reduction in this rework saves you $7,140 per project. Over ten projects, that is $71,400 directly to your bottom line.
The 4-Hour Training Program: What Your Crew Must Learn
Training your crew does not require expensive equipment or external consultants. You need one experienced supervisor, a sample set of defective panels, and these five training modules.
Module 1: Visual Inspection Under Proper Lighting (45 minutes)
Most honeycomb defects are invisible under direct overhead light. Your crew must learn to inspect panels using raking light (low-angle light).
The Technique:
- Place the panel flat on a table or sawhorses
- Position a work light at a 15–30 degree angle to the panel surface
- Walk around the panel while observing the light reflection
What They Will See:
Light Condition | Defect Visibility |
Direct overhead light | Almost invisible |
Raking light (low angle) | Clearly visible as shadows or depressions |
Backlight (panel between the light and the observer) | Visible as darker spots |
Training drill: Give each trainee three panels (good, marginal, defective). Have them inspect under raking light and mark every suspected defect with a wax pencil. Compare results as a group.
Module 2: The Palm Tap Test (30 minutes)
The visual inspection identifies surface defects. The palm tap test identifies bond integrity beneath the surface.
The Technique:
- Place the panel flat on a solid surface
- With an open palm, strike the panel firmly in different locations
- Listen to the sound and feel the vibration response
Sound Reference:
Condition | Sound | Vibration |
Fully bonded (good) | Sharp, high-pitched "tap." | Brief, local |
Partially debonded (honeycomb prone) | Dull, flat "thud." | Longer, spreads outward |
Complete debonding | Hollow "drum" sound | Extensive |
Training drill: Have trainees tap on known good and known defective panels blindfolded (or with eyes closed). They must identify the defective panel by sound alone. Repeat until accuracy exceeds 90%.
Module 3: Edge and Cut Section Inspection (45 minutes)
The edge of a panel tells the story of its lamination quality. Your crew must inspect every cut edge before installation.
What to Look For:
Edge Condition | Indicates | Risk Level |
Clean, uniform adhesive line | Good lamination | Low |
Gaps or voids between skin and core | Intermittent bond failure | High |
Discolored or burnt-looking adhesive | Overheating during lamination | Medium
|
Core that crumbles when touched | Degraded or recycled core | High |
Uneven skin thickness (visible) | Poor coil quality | Medium |
Training drill: Provide cross-section samples of good, marginal, and failed panels. Have trainees identify the edge characteristics of each. Test them on ten unknown samples.
Module 4: The 5-Minute Water Boil Test (60 minutes)
This is the definitive field test for lamination quality. Every crew member should know how to perform and interpret it.
Step-by-step (already detailed in our previous article):
1. Cut a 100mm x 100mm sample from a panel
2. Boil water in a pot on a portable stove
3. Submerge the sample for 5 minutes
4. Remove and inspect immediately
Pass/Fail Criteria to Teach:
Result | Verdict | Action |
No visible change | PASS | Panel is safe for installation |
Small blisters (<2mm) on the surface | MARGINAL | Flag for supervisor review |
Large blisters (>2mm) or skin peeling | FAIL | Reject the entire batch |
Core soft or mushy | FAIL | Reject the entire batch |
Training drill: Have each trainee perform the test on a known defective panel. They must document the results and make a pass/fail recommendation.
Module 5: Lot Sampling Protocol (30 minutes)
Your crew cannot test every panel. They need a systematic sampling plan.
The 5-10-20 Rule:
Shipment Size | Number of Panels to Inspect | Number to Boil Test |
Less than 50 panels | All panels (visual only) | 3 samples |
50 – 200 panels | 20% of shipment (random) | 5 samples |
Over 200 panels | 10% of shipment (random) | 10 samples |
Accept/Reject Criteria:
- If any boiled sample fails → Test 5 more samples from the same lot
- If any of the additional 5 fail → Reject the entire lot
Training drill: Give trainees a simulated inventory list. Have them calculate how many panels to inspect and how many boil tests to run using the 5-10-20 rule.
Implementation: How to Roll Out the Training
Week 1: Train the Trainers
Select 2–3 experienced supervisors. Run them through all five modules. They will become your in-house instructors.
Week 2: Crew Training Sessions
Schedule 4-hour sessions for each installation crew. Maximum 8 people per session. Perform training at your shop or a job site trailer.
Week 3: Certification and Testing
Each trainee must:
- Pass a written quiz (20 questions)
- Correctly identify 8 out of 10 defective panels using raking light
- Correctly identify 8 out of 10 panels using the palm tap test
- Perform the water boil test independently with correct pass/fail judgment
Issue a wallet-sized certification card to each passing trainee.
Ongoing: Random Audits
The shop supervisor should randomly re-test 10% of certified crew members each month. A failed audit triggers retraining.
The 40% Savings Breakdown
Where does the 40% rework reduction come from? Here is the math:
Source of Savings | Estimated Reduction | Contribution to 40% |
Catching defects at receiving (before installation) | 80% reduction in installed defective panels | 25% |
Reducing false positives (not rejecting good panels unnecessarily) | 50% reduction in unnecessary returns | 5% |
Faster identification of problem lots (less time spent debating) | 60% reduction in inspection time | 5% |
Avoiding delay penalties (projects finish on time) | 100% reduction in delay-related rework | 5% |
Total estimated rework cost reduction | _ | 40% |
Common Questions from Shop Supervisors
Q: How long until my crew becomes proficient?
A: Most crews reach 90% accuracy after 10–15 panels of practice. The palm tap test takes the longest to master (about 20–30 repetitions).
Q: What if the manufacturer says, "all panels have some honeycomb"?
A: That is true for very low-cost ACP. But acceptable honeycomb is defined by size and density. Use ASTM D714: isolated blisters under 2mm are acceptable. Anything larger or denser is a defect.
Q: Does this work for fire-retardant (FR) core panels?
A: Yes, but FR cores are more brittle. The palm tap test is less reliable on FR panels because the core itself produces a duller sound. Rely more on visual ranking, light inspection for FR.
Q: Can we skip training and just rely on the manufacturer's warranty?
A: A warranty only covers material replacement. It does not cover your labor, scaffolding, or delay penalties. You still pay 60–70% of the rework cost even with a full material warranty.
Conclusion: Invest 4 Hours, Save 40%
Honeycomb-prone panels are not a mystery. They are a predictable manufacturing defect with visible warning signs. Your crew can learn to spot these signs in a single 4-hour training session.
The alternative is installing defective panels, waiting for complaints, and paying for expensive rework. That is a cost you cannot pass to the customer or the manufacturer.
Train your crew. Run the tests. Reject defective panels before they leave your shop. Your bottom line will show the difference.