Welcome to Vbond
Repairing Impact Damage on an ACP Facade: A Contractor's Guide
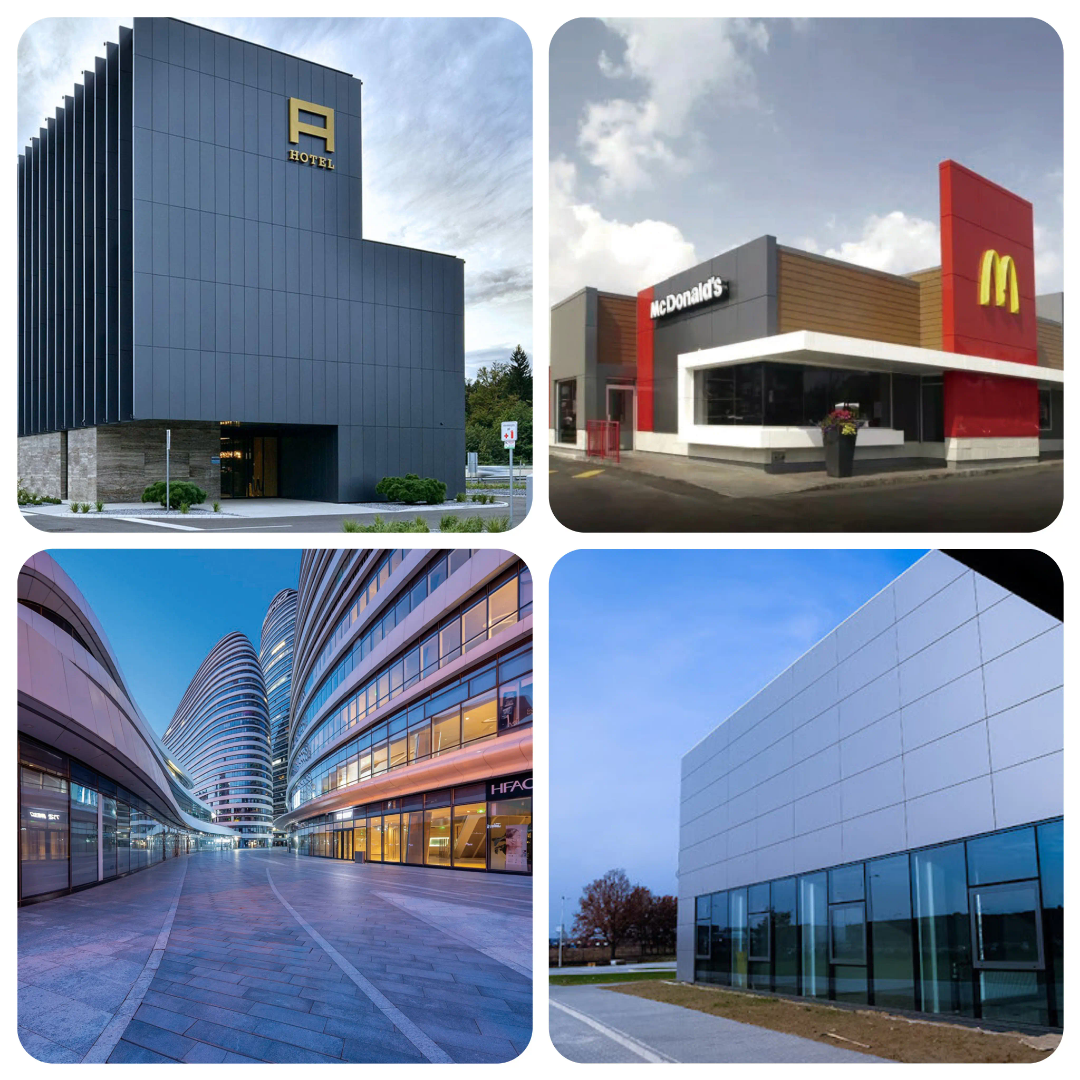
Aluminum Composite Panels (ACP) have become the material of choice for modern building facades, prized for their lightweight durability, design versatility, and sleek aesthetic appeal. However, even the most robust cladding systems are vulnerable to impact damage—whether from construction accidents, severe weather, vehicle collisions, or vandalism. For contractors, knowing how to efficiently restore an ACP facade after impact is essential for maintaining client satisfaction, protecting building value, and ensuring long-term performance.
This comprehensive contractor's guide covers everything you need to know about repairing impact damage on ACP facades. We'll walk you through damage assessment, repair vs. replacement decisions, step-by-step techniques for various damage types, and best practices for seamless results.
Understanding ACP Facade Construction
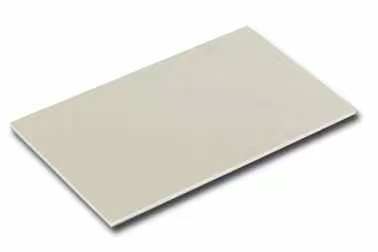
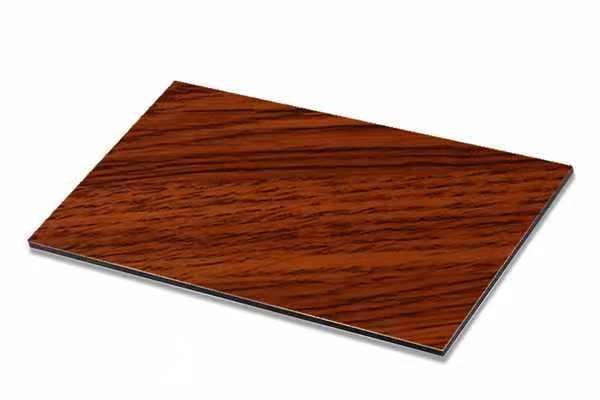
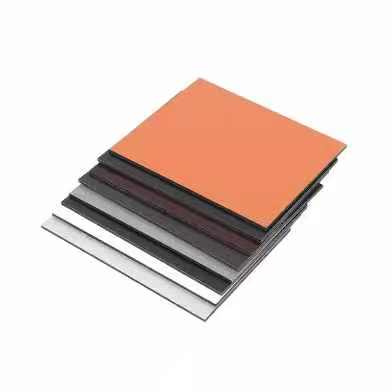
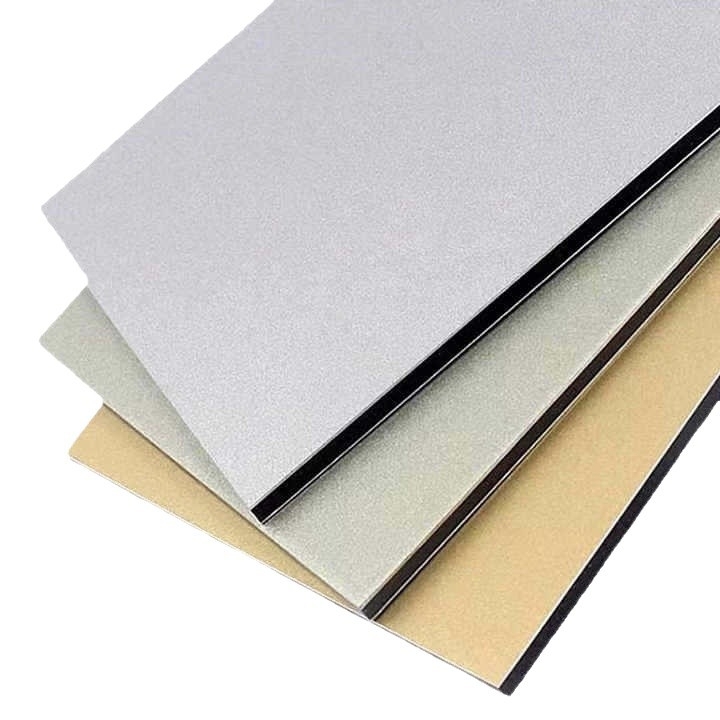
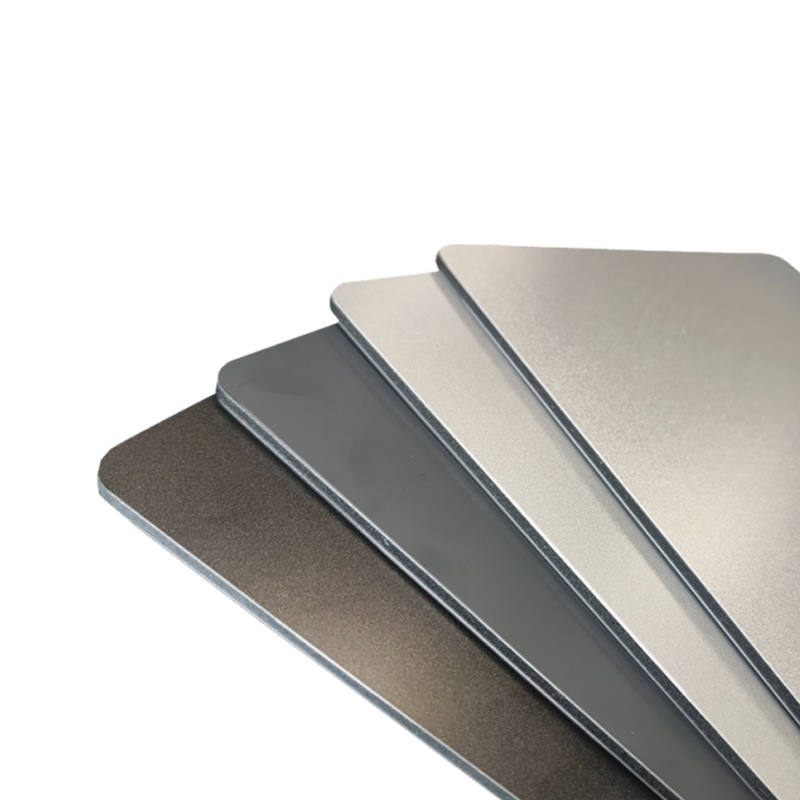
Before tackling repairs, contractors must understand how ACP facades are constructed. ACP consists of two thin aluminum sheets bonded to a non-aluminum core, typically polyethylene or a fire-retardant mineral material . This sandwich construction provides exceptional flatness and strength while remaining lightweight.
The modular nature of ACP facades simplifies repair processes . Panels are typically attached to a subframe using concealed clips or exposed fasteners, allowing individual panels to be removed without disturbing the entire wall system. Understanding this attachment method is crucial for efficient impact damage repair.
Types of Impact Damage on ACP Facades
Impact damage can range from barely noticeable to structurally significant. Proper classification helps determine the appropriate repair approach:
Minor Surface Damage
- Scratches and Abrasions: Surface-level damage affecting only the paint or protective coating
- Small Dents: Localized deformations without cracking or core exposure
Moderate Impact Damage
- Deep Dents with Paint Failure: Damage that penetrates through the coating into the aluminum
- Localized Punctures: Small holes that breach both aluminum layers
- Edge Damage: Impact near panel edges that may affect attachment points
Severe Structural Damage
- Large Holes or Tears: Extensive damage compromising panel integrity
- Delamination: Separation of aluminum layers from the core due to impact force
- Subframe Damage: Impact severe enough to bend or displace supporting structures
Initial Assessment: The First Critical Step
Before beginning any repair work, conduct a thorough assessment of the impact damage on the ACP facade. This evaluation determines whether repair is feasible or if full panel replacement is necessary.
Assessment Checklist
1. Visual Inspection: Document the damage with photos and measurements. Note the size, depth, and location of the impact area .
2. Structural Integrity Check: Gently press around the damaged area to check for loose layers or compromised bonding. If the panel feels unstable or you detect movement between layers, delamination may have occurred .
3. Core Exposure Evaluation: Determine whether the impact has exposed the core material. Exposed cores require immediate attention to prevent moisture infiltration.
4. Subframe Inspection: For severe impacts, check whether the force transferred to the supporting structure. Damaged subframes must be repaired before panel work begins .
5. Color Matching Assessment: Note the existing panel color, finish, and gloss level to plan for seamless blending.
Repair or Replace? Decision Criteria
Not all impact damage requires panel replacement. Use this decision matrix:
Repair is appropriate when:
- Damage is superficial (scratches, light scuffs)
- Dents are small and haven't cracked the aluminum
- The paint layer is damaged but the metal remains intact
- The impact area is less than 100mm in diameter
Replacement is necessary when:
- The panel has through-holes or punctures
- Delamination has occurred
- The aluminum is severely creased or stretched
- Edge damage compromises the attachment system
- The panel shows signs of corrosion around the impact site
Tools and Materials for ACP Impact Repair
Stock your crew with the right tools before starting any ACP facade impact damage repair project.
For Cosmetic Repairs
- Fine-grit sandpaper (220 to 400 grit)
- Mild detergent and soft cloths for cleaning
- Aluminum-compatible body filler
- Plastic putty knives (to avoid scratching)
- ACP touch-up paint matched to the original color
- Primer suitable for aluminum surfaces
- Buffing compound and polishing pads
For Panel Replacement
- Replacement panel matching original specifications (thickness, color, finish, fire rating)
- Measuring tape and level
- Jigsaw or circular saw with fine-tooth blade
- Screwdrivers or drill with appropriate bits
- New fasteners (stainless steel recommended)
- High-performance sealant
- Safety equipment: gloves, eye protection, dust mask
Step-by-Step Repair Techniques
Repairing Scratches and Minor Scuffs
For surface-level damage that hasn't penetrated deeply:
1. Clean the Area: Wash with mild detergent and water to remove dirt and contaminants. A clean surface ensures proper adhesion of repair materials .
2. Light Sanding: Use fine-grit sandpaper (400 grit) to gently smooth the scratched area. Sand just enough to feather the edges—avoid removing more paint than necessary .
3. Clean Again: Wipe away all sanding dust with a clean, damp cloth.
4. Apply Touch-Up Paint: Using a fine brush or touch-up pen, apply thin coats of matching paint. Multiple thin coats work better than one thick coat .
5. Buff and Polish: Once paint is fully cured, gently buff the area with polishing compound to blend the sheen with surrounding panels .
Fixing Small Dents
For minor dents without paint cracking:
1. Heat the Area: Use a heat gun to warm the dented section gently. This increases aluminum flexibility and can help the panel relax back into shape . Caution: Avoid overheating, which can damage the paint or core.
2. Massage from Behind: If accessible, gently push the dent outward from the backside using a soft-faced mallet or your hands .
3. Fill If Necessary: For dents that won't completely release, apply aluminum filler following the manufacturer's instructions .
4. Sand and Finish: Smooth the filled area, prime if needed, and apply matching paint .
Repairing Deep Scratches and Small Gouges
When damage extends through the paint into the aluminum:
1. Clean and Prepare: Thoroughly clean the damaged area .
2. Apply Aluminum Filler: Mix filler according to instructions and apply with a plastic putty knife, pressing firmly to fill the gouge completely . Allow to cure fully.
3. Sand Smooth: Start with medium-grit sandpaper to shape the filler, then progress to fine-grit for a smooth finish .
4. Prime: Apply aluminum-compatible primer to the filled area .
5. Paint and Blend: Apply matching topcoat, feathering the paint slightly beyond the repair area for seamless blending .
Complete Panel Replacement
For severe impact damage requiring full replacement:
1. Source Matching Panel: Obtain a replacement panel that matches the original in thickness, color, finish, and fire rating. Verify batch consistency to avoid color mismatch .
2. Remove Damaged Panel: Carefully detach the damaged panel by removing fasteners or releasing concealed clips . Work systematically to avoid damaging adjacent panels.
3. Inspect Subframe: Check the supporting structure for damage or corrosion. Repair or replace any compromised elements before proceeding .
4. Prepare Opening: Clean the opening, remove old sealant, and ensure all surfaces are ready for the new panel.
5. Cut Replacement Panel: Measure precisely and cut the new panel to size using a fine-tooth blade .
6. Install New Panel: Position the panel using laser guides or levels for accurate alignment . Secure with appropriate fasteners at specified spacing .
7. Seal Edges: Apply high-performance sealant around all edges to ensure weatherproofing .
8. Final Inspection: Check alignment, fastener torque, and sealant continuity .
Addressing Delamination from Impact
Impact damage can sometimes cause delamination—separation of the aluminum facings from the core. This serious condition requires specific attention:
1. Assess Extent: Determine how far the delamination extends from the impact point. Press gently to map the affected area .
2. Inject Adhesive: For small areas, specialized panel adhesive can be injected between the aluminum and core.
3. Clamp and Cure: Apply even pressure using clamps and backing blocks while adhesive cures .
4. Note: Extensive delamination typically requires panel replacement, as adhesive repairs may not restore full structural integrity .
Weatherproofing After Repairs
Any impact damage repair on an ACP facade must maintain the building envelope's integrity:
Sealant Renewal
- Remove and replace any sealant disturbed during repairs
- Use high-performance polyurethane or silicone sealants
- Install backing rod for wide gaps to ensure proper sealant depth
- Tool sealant for smooth, concave finish that sheds water
Testing
- Perform water spray testing to verify weatherproofing
- Check sealant continuity at corners and transitions
Color Matching: The Art of Seamless Repair
One of the biggest challenges in repairing impact damage on ACP facades is achieving invisible repairs:
- Obtain Factory-Matched Paint: Whenever possible, source touch-up paint from the original panel manufacturer .
- Test Before Applying: Always test matched paint on a small, inconspicuous area before committing to the repair.
- Blend, Don't Just Spot: Feather paint slightly beyond the repair area to avoid a visible "spot" effect.
- Consider Full Panel Replacement: For highly visible locations, panel replacement may be preferable to cosmetic repair, ensuring perfect color and texture match.
Safety Considerations for Contractors
Working on facades involves inherent risks. Follow these safety protocols:
- Proper Access: Use scaffolding, boom lifts, or swing stages with proper fall protection .
- Work Zone Protection: Barricade areas below to protect pedestrians from falling debris .
- Tool Safety: Secure all tools and materials to prevent drops.
- Edge Protection: Install safety nets or debris screens when removing panels .
- Weather Awareness: Avoid work during high winds or precipitation.
Quality Assurance and Final Inspection
After completing impact damage repairs on an ACP facade, conduct thorough quality checks:
Visual Inspection
- Panel alignment and flatness
- Color uniformity across repaired and original areas
- Smooth, continuous sealant beads
- No visible tool marks or sanding scratches
Structural Verification
- Fastener torque meets specifications
- Panel securely attached with no movement when pressed
- Subframe integrity confirmed
Performance Testing
- Water penetration testing for replaced panels
- Air leakage checks if specified
Preventative Measures for Future Impact Protection
Help clients protect their investment with these recommendations:
- Install Protective Bollards: In vehicle-adjacent areas, install bollards to prevent collisions.
- Landscape Strategically: Use plantings to create setbacks in high-traffic areas.
- Regular Inspections: Schedule periodic facade inspections to catch minor damage before it worsens .
- Cleaning Protocols: Regular cleaning with mild detergents helps maintain coating integrity .
Cost Considerations for ACP Impact Repairs
Understanding cost factors helps contractors provide accurate estimates:
- Minor Cosmetic Repairs: $200-$800 depending on access and color matching complexity
- Single Panel Replacement: $800-$2,500+ depending on panel size, finish, and installation complexity
- Multiple Panel Repairs: Discounted per-panel rates but higher overall investment
- Factors Affecting Cost:
- Building height and access requirements
- Panel color and finish (custom colors cost more)
- Fire rating requirements
- Subframe repair needs
- Disposal fees for damaged materials
Conclusion
Repairing impact damage on an ACP facade requires a methodical approach, proper tools, and attention to detail. By accurately assessing damage, choosing between repair and replacement wisely, and executing with precision, contractors can restore facades to their original beauty and performance.
Remember these key takeaways:
- Assess thoroughly before starting work
- Match materials precisely for seamless results
- Maintain weatherproofing throughout the repair process
- Document your work for client records and future reference
- Recommend preventative measures to minimize future impact damage
With the techniques outlined in this contractor's guide, you're equipped to handle everything from minor scratches to complete panel replacement, delivering results that protect building value and satisfy clients.