Welcome to Vbond
Thinking of DIY ACP Installation? Read This Crucial Guide First.
Introduction: Understanding the Scope
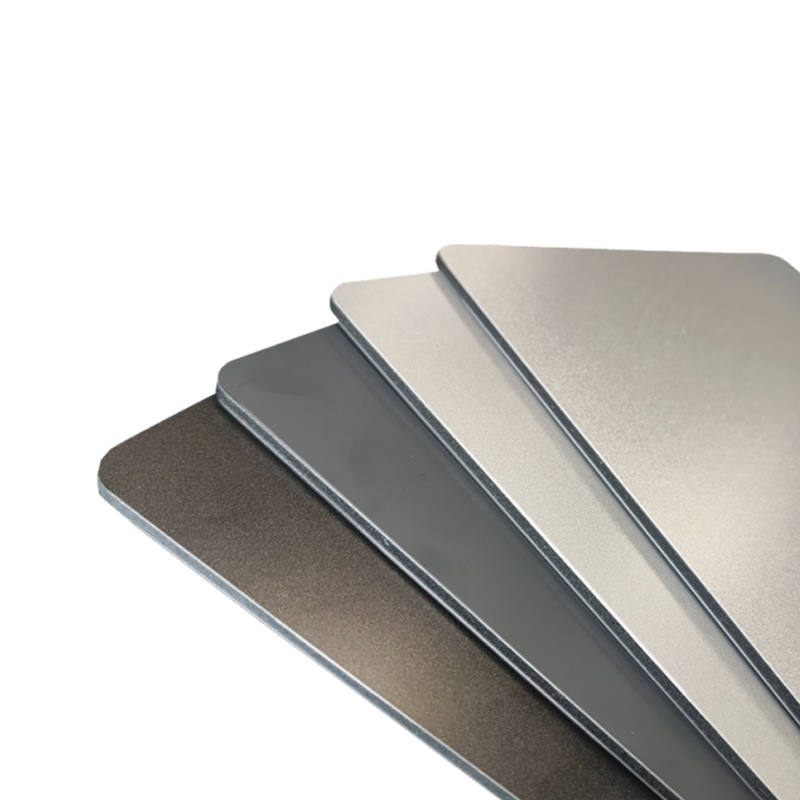
Aluminium Composite Panel (ACP) installation represents a significant home improvement project that demands careful planning, proper tools, and technical understanding. While professional installation is recommended for complex applications, informed DIY enthusiasts can undertake smaller projects with proper preparation. This guide provides the essential knowledge foundation you need to evaluate whether DIY ACP installation is appropriate for your project, skills, and circumstances.
1. Critical Pre-Installation Assessment
1.1 Project Evaluation Checklist
- Surface Area Calculation: Measure total square footage (length × height) plus 15-20% waste factor for cuts and errors
- Structural Assessment: Verify substrate can support ACP weight (3-5 kg/m²) plus framing system
- Local Regulations: Check building codes for fire-rated requirements (Class A vs. Class B panels), permits, and height restrictions
- Skill Level Honesty: Rate your competency with:
- Precision measuring and cutting (±2mm tolerance required)
- Power tool operation (router, drill, saw)
- Working at heights safely
- Reading technical drawings
1.2 Material Selection Guide
- Panel Thickness: 3mm for interior/low-wind areas, 4mm for most exteriors, 6mm for high-rise/high-wind applications
- Core Material: Polyethene (PE) for dry areas, Fire-retardant (FR) for buildings over 2 stories, A2 for unrestricted use
- Finish Types: PVDF coatings for exterior durability (25+ year warranty), Polyester coatings for interior/budget projects
- Accessory Requirements:
- Primer and sealant (compatible with aluminium)
- Fasteners (stainless steel recommended)
- Joining profiles (H-channel, corner pieces)
- Thermal break tapes where needed
2. Essential Tool Inventory
2.1 Must-Have Professional Tools
- Cutting System: Table saw with non-ferrous blade (80+ teeth, triple-chip grind) OR circular saw with guide rail
- Routing Equipment: Router with carbide bits** for creating shadow lines, joints, and returns
- Fastening Tools: Drill-driver with clutch control, rivet gun (manual or pneumatic)
- Measuring/Marking: Laser level, digital angle finder, chalk line, aluminium straight edges
- Safety Equipment: ANSI-rated safety glasses, hearing protection, cut-resistant gloves, respirator for dust
2.2 Specialised Equipment Considerations
- Panel Bender: For projects requiring folded corners (minimum rental: $150/day)
- Vacuum Lifters: For handling full sheets safely (8'×4' panel = ~80 lbs)
- Scaffolding/Temporary Edge Protection: Required for any work above 6 feet
Budget Estimate: Professional-grade tool investment for ACP installation: $2,500-$4,000 minimum
3. Step-by-Step Installation Process
3.1 Week 1: Preparation Phase
- Day 1-2: Surface preparation – ensure substrate is flat (<3mm variation over 2m), clean, dry
- Day 3-4: Install substructure – typically aluminium C-channel or hat channel at 400-600mm centres
- Day 5: Apply primer to substructure, verify perfect square/plumb with laser level
3.2 Week 2: Installation Phase
- Day 6-7: First panel placement – most critical step
- Use panel lifter or suction cups
- Start from the corner with the longest straight run
- Leave a 5mm expansion gap at the perimeter
- Temporary brace until secured
- Day 8-10: Sequential panel installation
- Maintain consistent 10-15mm joint spacing
- Check alignment every 3rd panel
- Use backer rod** in joints before sealing
- Day 11: Corner and edge detailing
- Pre-folded corners vs. joined corners
- Silicone sealant application (neutral cure only)
3.3 Week 3: Finishing Phase
- Day 12: Final sealant application (3/8” bead, tooled immediately)
- Day 13: Protective film removal (within 30 days of installation)
- Day 14: Final inspection and cleanup
4. Common DIY Pitfalls and Solutions
4.1 Technical Errors to Avoid
- Oil Canning Prevention:
- Maintain consistent fastener spacing (150-200mm centres)
- Avoid over-tightening screws
- Use continuous support behind the panel
- Moisture Management:
- Slope horizontal surfaces minimum 3°
- Install drainage weep holes at bottom
- Never trap moisture between layers
- Thermal Movement Accommodation:
- ACP expands 0.024mm/m/°C
- Leave 5-6mm gaps at all perimeters
- Use slotted holes in the fixing system
4.2 Costly Mistakes
Mistake | Consequence | Prevention |
Wrong fastener type | Corrosion staining | Use stainless steel or aluminium fasteners only |
Incompatible sealant | Panel damage/voided warranty | Use neutral cure silicone tested with ACP |
No expansion gaps | Panel buckling in summer heat | Follow manufacturer spacing guidelines exactly |
Poor substrate prep | Visible irregularities | Invest 30% of project time in preparation |
5. Safety Protocols You Cannot Ignore
5.1 Personal Protection
- Fall Protection: Harness and lanyard** required above 6 feet; temporary guardrails preferred
- Cutting Safety: Push sticks for table saw work; dust collection system mandatory
- Chemical Safety: Ventilation when applying sealants; glove compatibility with chemicals
5.2 Structural Safety
- Wind Load Calculations: Essential for areas >10 mph average wind speed
- Weight Distribution: Spread point loads across multiple fasteners
- Seismic Considerations: In active zones, allow additional movement capacity
6. When to Call a Professional
6.1 Red Flags for DIY
- Projects exceeding 100 square feet of continuous surface
- Installations above ground floor level
- Complex geometries (curves, multiple angles)
- Fire-rated assembly requirements
- Warranty preservation concerns (most manufacturers void warranty on DIY installations)
6.2 Cost-Benefit Analysis
- Professional Installation Cost: $35-$75 per square foot installed
- DIY Material Cost: $15-$30 per square foot
- Hidden DIY Costs: Tools ($2,500+), time (3x professional duration), potential rework
- Warranty Impact: DIY typically voids 10-25 year manufacturer warranties
7. Post-Installation Maintenance
7.1 Immediate Aftercare
- First Cleaning: Wait 30 days before washing to allow the sealant cure
- Cleaning Solution: 5% mild detergent in water, soft cloth only
- Pressure Washer Restriction: Maximum 500 psi, 40° fan tip, 12” minimum distance
7.2 Long-Term Maintenance
- Annual Inspection: Check sealant integrity, fastener tightness, panel alignment
- Cleaning Frequency: Every 6-12 months, depending on environment
- Damage Repair: Small scratches can be touched up with matching paint kits; larger damage requires panel replacement
8. Essential Resources and Next Steps
8.1 Pre-Project Preparation
1. Obtain manufacturer technical data sheets for your specific panels
2. Review ASTM E2273 Standard Practice for Installation of ACP
3. Consult the local building department for permit requirements
4. Purchase liability insurance for the project duration
8.2 Skill Development
- Practice Cuts: Waste 2-3 sheets practising before cutting project panels
- Sealant Technique: Practice bead application and tooling on scrap material
- Fastener Testing: Test different speeds/clutch settings on scrap with backing
Conclusion: Making an Informed Decision
DIY ACP installation represents a significant undertaking that demands respect for the material's technical requirements and safety considerations. While the cost savings can be appealing, they must be weighed against the substantial investment in tools, time, and learning curve.
For small, low-risk projects (interior feature walls, ground-level signage), a well-prepared DIY approach can be successful. For exterior applications, multi-story installations, or projects where warranty and longevity are priorities, professional installation remains the recommended choice.
If you proceed with DIY, follow this guide meticulously, prioritize safety above all else, and don't hesitate to consult with professionals at critical junctures. Remember: There are no shortcuts to proper ACP installation—every omitted step or compromised standard will manifest in the finished product.
Ready to proceed? Download our comprehensive DIY ACP checklist, including material calculators, safety inspection forms, and installation sequence templates.