Welcome to Vbond
Alucobond Blistering Prevention Checklist: From Material Receiving to Final Sealant
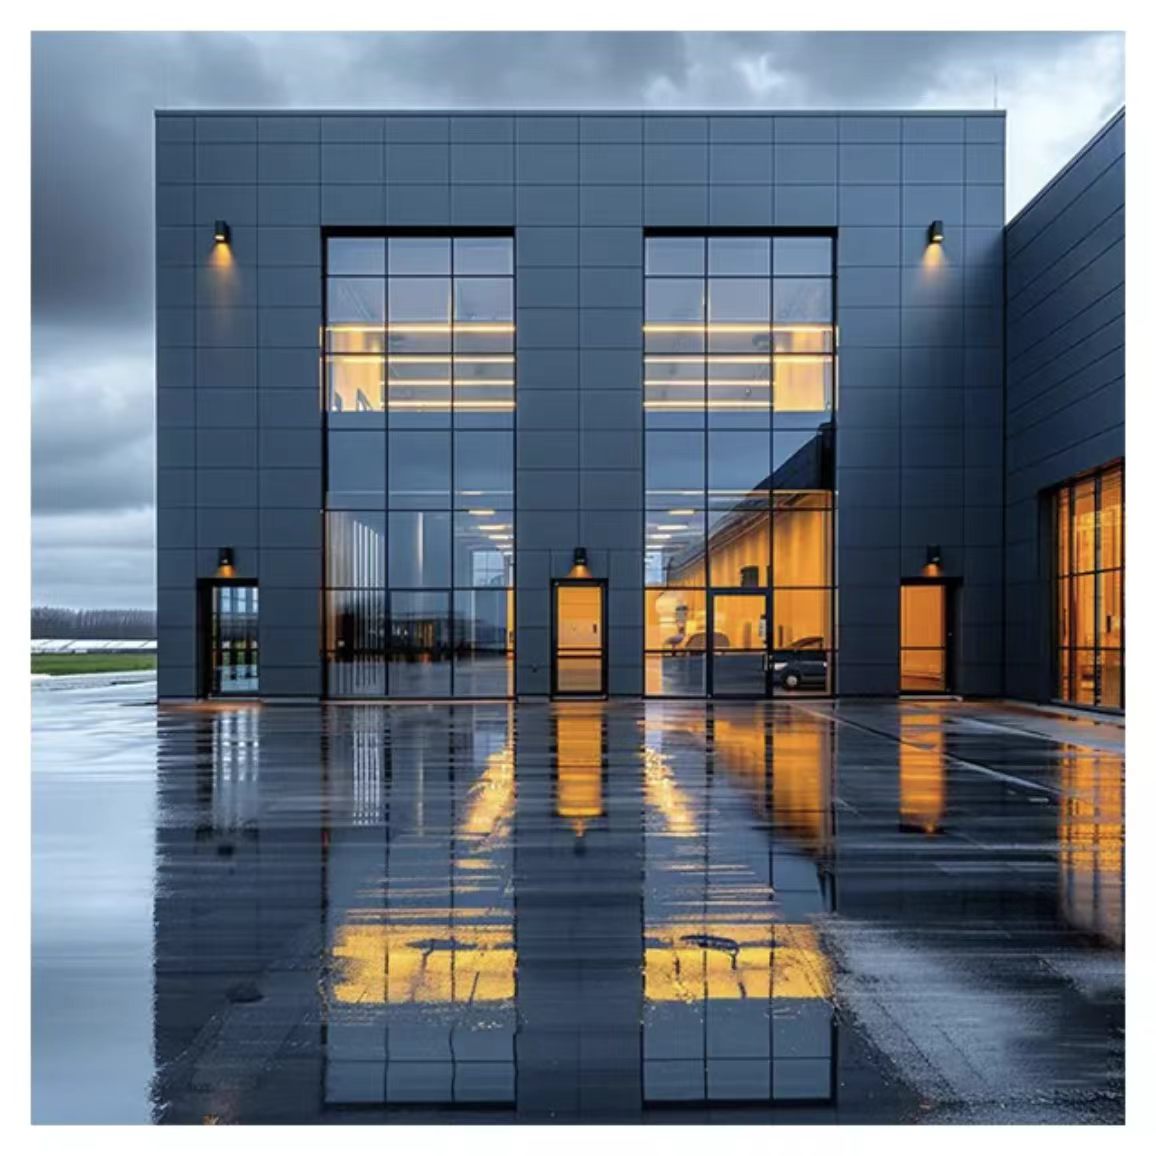
You walk the finished facade with the building owner. The panels are up. The joints are sealed. Everyone is satisfied.
Months later, the phone rings. "Blisters. All over the south face. What happened?"
The answer is seldom one mistake. It is a chain of them. A missed storage requirement here. An overtightened fastener there. A sealant applied on a hot afternoon. Each one is small. Together, they destroy the facade.
This checklist covers every step that matters. From the moment the truck arrives to the final sealant cure. Follow it, and your Alucobond wall panels stay flat for decades. Skip any step, and you are gambling with blisters.
Phase 1: Material Receiving
Inspect delivery for damage
Check every pallet for transport damage and moisture stains. Any panels exposed to moisture must be dried immediately to avoid spots or corrosion. Report damage to the forwarding agent and get confirmation in writing.
Document batch numbers
Record the batch number for every pallet. If blisters appear later, this traceability is your only way to determine whether the problem is material or installation.
Verify protective film condition
The film must be intact. If the film is damaged, the coating underneath may already be scratched. If the film shows signs of UV weathering, removal will be difficult.
Phase 2: Storage
Store pallets flat, not vertical
Alucobond wall panels must be stored flat, not standing vertically. Vertical storage can warp the panels before installation even starts.
Protect from moisture and condensation
Store pallets protected from rain, splash water, and penetrating moisture. Avoid condensation—for example, when moving cold panels into warmer rooms.
Limit stack height
Stack only pallets of identical size. Maximum 6 pallets stacked on top of each other. Heavier pallets go at the bottom.
Track storage duration
Storage exceeding 6 months should be avoided. Beyond this point, the protective film becomes difficult to remove. The film removal window is 45 days after assembly.
Keep away from direct sunlight
Direct sunlight and strong temperature fluctuations reduce the long-term durability of the protective film. The film can become baked on and impossible to remove cleanly.
Nothing between stacked panels
Do not place anything between stacked panels. Even small objects can leave permanent marks on the coated surface.
Phase 3: Panel Handling
Lift panels properly
Individual panels must be lifted by two people holding all four corners. Do not drag panels over each other. Carry panels vertically.
Wear gloves
Wear gloves to avoid staining the panel surface. Oils and dirt from bare hands can leave marks that are difficult to remove.
Do not mark the protective film
Protective films and panel surfaces must not be marked with ink, markers, adhesive tapes, or stickers. Solvents and plasticizers can penetrate the film and damage the lacquered surface.
Phase 4: Cutting and Grooving
Use sharp blades
Dull blades create heat. Heat melts the polyethylene core. Melted core material creates a "smear" on the cut edge that prevents proper sealing. Delamination starts at the cut edge.
Seal cut edges immediately
Every cut edge exposes the core. Moisture wicks into that exposed core through capillary action. Seal every cut edge immediately after cutting with weatherproof silicone or polyurethane sealant. Do not wait. Do not leave exposed edges overnight.
Maintain 0.3mm residual thickness
The industry standard for residual thickness—the material left at the bottom of the V-groove—is 0.3mm minimum. Below 0.3mm, the front skin lacks support. The panel cracks at the fold.
Keep protective film on during bending
To prevent damage to the panel surface, the protective film must not be removed during bending. The film protects the coating from press brake marks and scratches.
Phase 5: Fastening
Use the right fasteners for exterior use
For exterior Alucobond wall panels, use aluminium blind rivets with stainless steel mandrels. Steel mandrels corrode in humid environments. The corrosion spreads to the panel. Ugly, corrosive edges appear around every fastener.
Size fastener holes for expansion
The hole in the panel must be larger than the fastener shaft. With the shaft fitting closely to the hole edge, the attachment head must cover at least 1mm of the surrounding area. This 1mm clearance allows the panel to slide without jamming.
Do not over-tighten fasteners
Over-tightening screws or rivets creates stress points that pull the panel surface inward, causing distortion. Fasteners must be set tension-free. The sealing washer should sit on the panel without exerting pressure.
Follow cross-positioning sequence
Fix from the center outward. Install the fixed point at the panel center first. Then fix the corners in a cross pattern. Then fix the edges, alternating between opposite sides. Never fix from one side to the other.
Allow for thermal expansion
Alucobond expands at 2.4 mm per meter of panel length for every 100°C temperature difference. A 3-meter panel in a 50°C swing moves 3.6 mm. Without room to move, that force causes buckling and blistering.
Phase 6: Joints and Sealants
Use expansion gaps of 8- 10 mm
As a general rule, choose joints of 8 to 10mm. For panel runs exceeding 6 meters, physical expansion joints are required.
Install closed-cell foam backer rods
Seal construction joints with a suitable silicone or polyurethane sealant over a closed-cell foam backing rod. The backer rod prevents three-sided adhesion and allows the sealant to move with the panel.
Test sealant compatibility before full application
Compatibility must be confirmed for the exact products and surfaces used on the project. A sealant that works on one Alucobond wall panel may fail on another. Different coatings, colors, and production batches all affect compatibility.
Apply sealant within the correct temperature range
The substrate temperature should not exceed 50°C during sealant application. Above 50°C, the sealant skins over too fast. Gases from the curing reaction get trapped. Blisters form. Use an infrared thermometer to check panel surface temperature before applying sealant.
Keep sealant joints dry
Do not apply sealant over wet surfaces. Moisture trapped in the joint vaporizes when the sun hits the panel. The expanding vapor pushes against the curing sealant. Blisters form.
Phase 7: Protective Film Removal
Remove film immediately after installation
To avoid adhesive residue on the panel surface due to UV radiation, remove the protective film as soon as possible after installation. The film removal window is 45 days after assembly.
Peel at a low angle
When removing film, peel at a low angle to prevent adhesive residue. Remove in one continuous movement with uniform force and speed.
Do not remove film below 0°C
Do not remove the protective film at temperatures below 0°C. Cold temperatures make the film brittle and prone to tearing.
Phase 8: Final Inspection
Tap test for hollow sounds
Tap each panel with the handle of a screwdriver. A solid panel produces a sharp, consistent sound. A panel with delamination produces a dull, hollow sound. If you hear hollow sounds, investigate immediately.
Visual inspection of joints
Inspect every sealant joint. Look for bubbles, blisters, or gaps. Any defect must be repaired before the facade is considered complete.
Verify expansion gaps
Check that expansion gaps are present and consistent. If panels are touching, they cannot expand. Buckling will follow.
Document everything
Photograph the completed installation. Record batch numbers, fastener types, sealant products, and installation dates. This documentation protects you if blisters appear later.
The Complete Blistering Prevention Flowchart
START: Material Receiving
│
▼
Phase 1: Inspect delivery ───► Document batch numbers ───► Verify film condition
│
▼
Phase 2: Store flat ───► Protect from moisture ───► Limit stack height ───► Track storage duration
│
▼
Phase 3: Lift properly ───► Wear gloves ───► No marks on film
│
▼
Phase 4: Sharp blades ───► Seal cut edges immediately ───► 0.3mm residual thickness ───► Keep film on during bending
│
▼
Phase 5: Right fasteners ───► 1mm hole clearance ───► No over-tightening ───► Cross-positioning ───► Allow thermal expansion
│
▼
Phase 6: 8-10mm joints ───► Closed-cell backer rods ───► Test sealant compatibility ───► Correct temperature ───► Dry joints
│
▼
Phase 7: Remove film immediately ───► Peel at low angle ───► Above 0°C
│
▼
Phase 8: Tap test ───► Visual inspection ───► Verify gaps ───► Document
│
▼
DONE ───► Blister-free Alucobond facade
What to Ask Your Supplier
When you purchase an Alucobond wall panel for your project, ask these questions:
1. What is your storage duration recommendation? The answer should be a maximum of 6 months.
2. What is the protective film removal window? The answer should be within 45 days after assembly.
3. What is your recommended residual thickness? The answer should be 0.3mm minimum.
4. What fasteners do you recommend for exterior use? The answer should be aluminium blind rivets with stainless steel mandrels.
5. What expansion gap do you recommend? The answer should be 8- 10 mm.
A Final Word on the Checklist
I have watched facades fail because of one skipped step. I have seen blisters appear because the protective film stayed on too long. I have seen panels buckle because the installer thought 4mm gaps were "too big." I have seen sealant blister because no one checked the panel temperature on a hot afternoon.
Every item on this checklist exists because someone learned the hard way. The storage rule exists because someone stacked panels vertically and they warped. The 0.3mm rule exists because someone routed too deep and the skin cracked. The 45-day film rule exists because someone left the film on and the adhesive baked on.
The checklist is not optional. It is the difference between a facade that lasts decades and one that blisters within months. Print it. Keep it in the job trailer. Use it on every project.
A reliable supplier of Alucobond wall panels provides good material. A good checklist ensures you install it correctly. The rest is up to you.