Welcome to Vbond
Cross-Positioning Installation Method: The Sequence That Prevents Alucobond Surface Waves
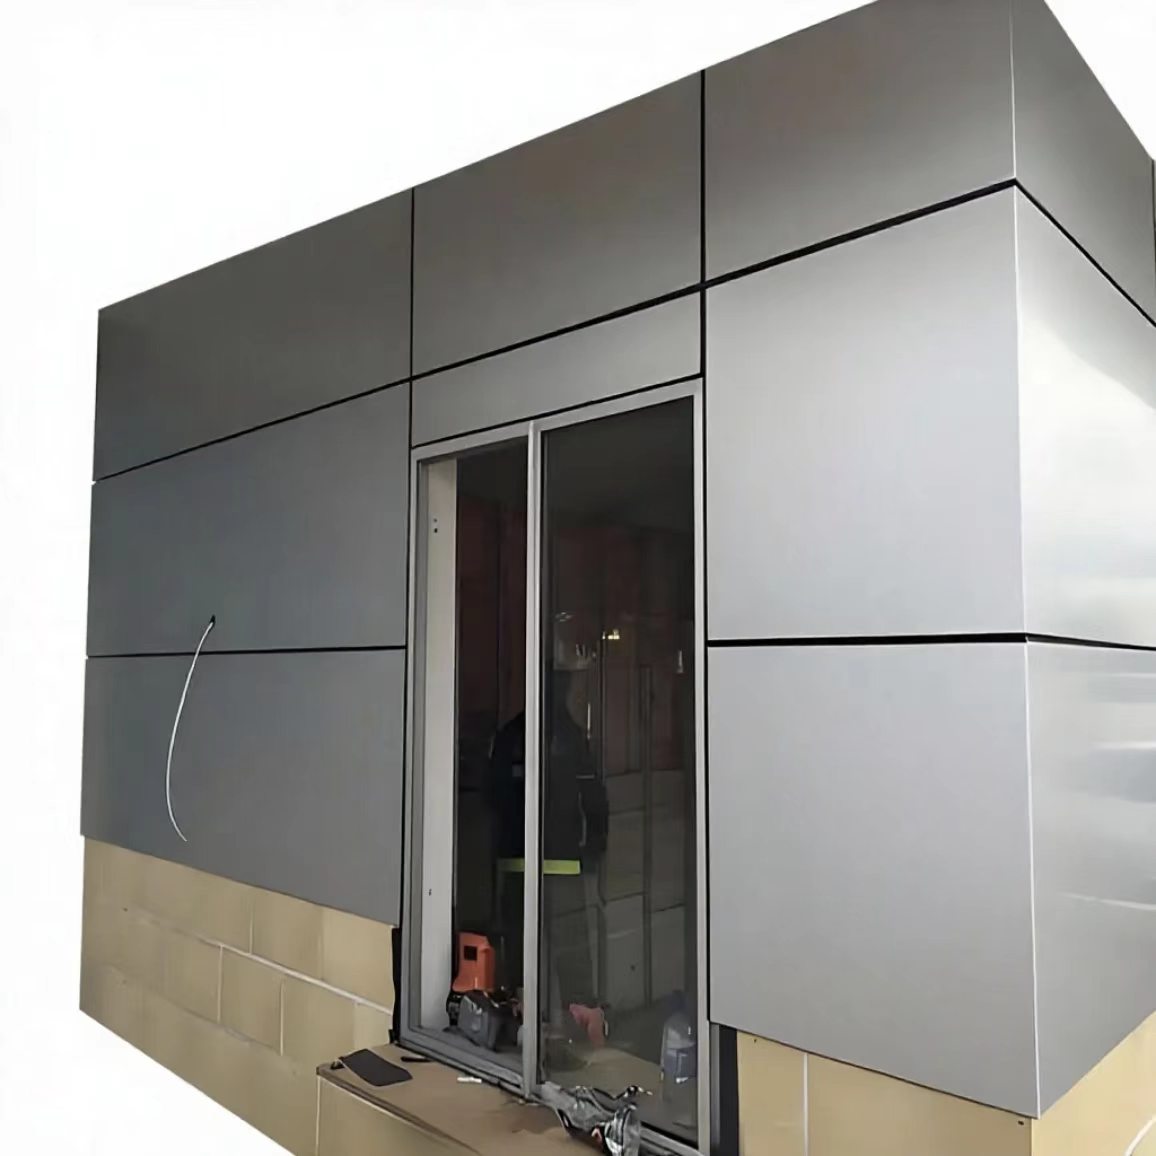
You install a beautiful Alucobond facade. The panels are aligned. The finish is flawless. The client approves the work.
Then the sun hits the building at a certain angle. You see them. Waves. Ripples. Distortions. The flawless surface now looks uneven and wavy.
The problem is not the material. The problem is the installation sequence. You fixed the panels in the wrong order.
This guide explains the cross-positioning installation method. You will learn the correct sequence for fixing Alucobond boards. You will understand why this method prevents surface waves. And you will know exactly how to apply it on your next project.
What Is the Cross-Positioning Installation Method?
Cross-positioning is a specific fixing sequence for Alucobond boards. Instead of fixing panels from one side to the other, you work from the center outward, alternating between opposite edges.
The principle is simple: **fix from the middle to both ends**. This distributes stress evenly across the panel. It prevents tension from building up at any single point.
When you fix from one side only, the panel becomes locked in place before it can settle. Thermal expansion has nowhere to go. The panel buckles. Waves appear.
When you fix from the center outward, the panel can expand and contract freely in all directions. Stress dissipates. The surface stays flat.
Why the Sequence Matters: The Physics of Panel Stress
Alucobond boards expand and contract with temperature changes. The linear thermal expansion coefficient is 2.4 mm per meter for every 100°C temperature difference.
What happens with the wrong sequence:
When you fix a panel from left to right, the left side locks first. The right side is fixed later. The panel cannot expand evenly. Stress builds between the fixed points. The panel buckles at the weakest point. Waves appear.
What happens with cross-positioning:
When you fix from the center outward, each fastener is placed at the panel's natural resting position. The panel can expand from the center in all directions. Stress dissipates evenly. The surface remains flat.
What the standards require:
ALUCOBOND panels are supported by proven fixing systems and technical expertise, ensuring precise alignment, controlled panel movement, and long-term durability. To avoid any tension occurring in the rivet and screw connections, the rivets and screws must be set tension-free. The bore holes in the panels must be large enough to allow for the expected thermal expansion.
The Cross-Positioning Sequence: Step by Step
Step 1: Mark the panel center
Find the exact center of the panel. Mark it clearly. This is your starting point.
Step 2: Fix the center point first
Place one fastener at the dead center of the panel. This is your fixed point. All expansion occurs outward from this point.
Step 3: Fix the corners (cross-positioning)
Working from the center outward, fix the four corners in a cross pattern. Do not fix one side completely before the other. Alternate between opposite corners.
Step 4: Fix the edges
Continue working outward from the center. Fix the remaining edge positions in sequence. Always alternate between opposite sides.
Step 5: Check for movement
Verify that the panel can slide freely at the perimeter attachment points. The fixed point anchors the panel. All other fasteners should allow movement.
Fixed Points and Sliding Points: The Core Principle
The cross-positioning method relies on two types of attachment points:
Fixed Point (FP): One per panel. Usually positioned at the dead center. This point anchors the panel. All expansion occurs outward from this point.
Sliding Points (SP): All other attachments. Feature oversized or slotted holes. Allow the panel to slide freely as it expands and contracts.
If panels are "locked down" rigidly at all attachment points, the metal will warp (pillow or oil-can) as it heats up and expands.
The correct approach:
- One fixed point per panel (center)
- Sliding points at all other locations
- Oversized holes that allow movement
- Rivets and screws set tension-free
The Cross-Positioning Flowchart
Start
│
▼
Mark the panel center
│
▼
Install fixed point at center (FP)
│
│ ┌─────────────────────┐
│ │ Cross-Positioning │
│ │ │
│ │ [Corner 1] │
│ │ │ │
│ │ [Edge]─[Center]─[Edge]
│ │ │ │
│ │ [Corner 2] │
│ │ │
│ └─────────────────────┘
│
▼
Fix Corner 1 (sliding point)
│
▼
Fix Corner 2 (opposite corner, sliding point)
│
▼
Fix Edge 1 (sliding point)
│
▼
Fix Edge 2 (opposite edge, sliding point)
│
▼
Fix remaining perimeter points (alternating sides)
│
▼
Verify all sliding points allow movement
│
▼
Done ───► Flat, wave-free Alucobond facade
Common Mistakes to Avoid
Mistake 1: Fixing from one side only
Some installers fix from left to right or top to bottom. The panel locks before it can settle. Stress builds. Waves appear.
Fix: Always fix from the center outward. Alternate between opposite sides.
Mistake 2: Over-tightening fasteners
Over-tightening is a common installation mistake. Alucobond boards need to be fixed securely, but they should not be forced into position. If screws or rivets are too tight, they can create stress around fixing points.
Fix: Tighten fasteners enough to hold the panel—not enough to lock it.
Mistake 3: Using standard holes instead of slotted holes
Standard holes do not allow movement. The panel cannot slide. Stress builds. Buckling follows.
Fix: Use oversized or slotted holes at all sliding points. The hole should be approximately 1mm larger than the diameter of the rivet.
Mistake 4: Not allowing for thermal expansion
Alucobond expands at 2.4 mm per meter for every 100°C temperature change. Ignoring this causes warping, bulging, or cracking over time.
Fix: Leave adequate expansion gaps. Use sliding fasteners. Follow the cross-positioning sequence.
The Installation Best Practices Checklist
Step | What to Check | Pass/Fail |
1 | Panel center marked | ☐ |
2 | Fixed point installed at center | ☐ |
3 | Cross-positioning sequence followed (center → corners → edges) | ☐ |
4 | Sliding points have oversized/slotted holes | ☐ |
5 | Fasteners set tension-free (not over-tightened) | ☐ |
6 | Panel can slide freely at perimeter | ☐ |
7 | Expansion gaps left between panels | ☐ |
8 | Surface inspected for waves after installation | ☐ |
What to Ask Your Supplier
When you purchase an Alucobond board for your project, ask these questions:
1. What fixing sequence do you recommend? A knowledgeable supplier will specify center-outward, cross-positioning.
2. What fixed point and sliding point system do you recommend? The answer should include one fixed point per panel, with all others sliding.
3. What fastener hole size do you recommend? The hole must allow for expansion—approximately 1mm larger than the rivet diameter.
4. Do you provide installation guidelines? A reliable manufacturer will have technical documentation on fixing sequences.
A Final Word on Installation Sequence
A successful Alucobond facade is not just about the panel you choose. It is about how you fix it. The sequence matters. The order matters. The tension matters.
When you fix from the center outward, you let the panel find its natural position. When you alternate between opposite sides, you distribute stress evenly. When you use sliding points, you allow for thermal movement.
The waves you see on a hot afternoon are the visual result of decisions made during installation. Get the sequence right, and your Alucobond board stays flat for decades. Get it wrong, and the waves appear within months.
A reliable supplier of Alucobond boards provides the technical data. Your installation sequence determines the quality. Get the sequence right, and your facade tells the story of a job done properly. Get it wrong, and it tells a different story—one written in ripples and shadows.