Welcome to Vbond
How to Check Subframe Flatness Before Alucobond Installation
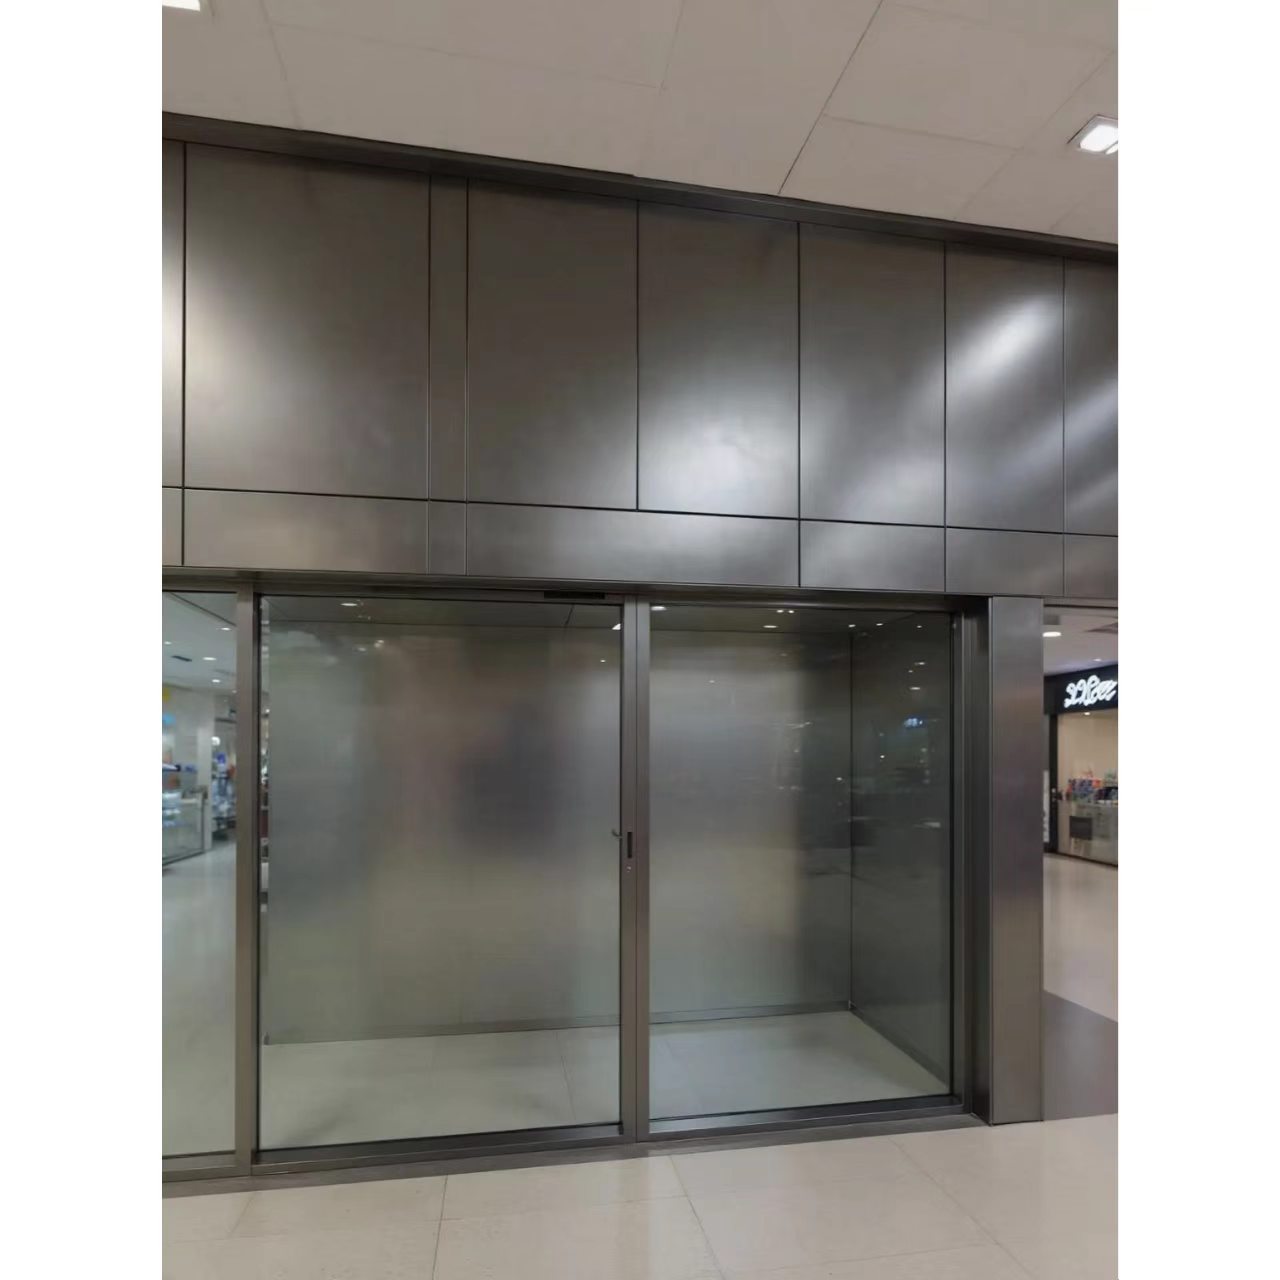
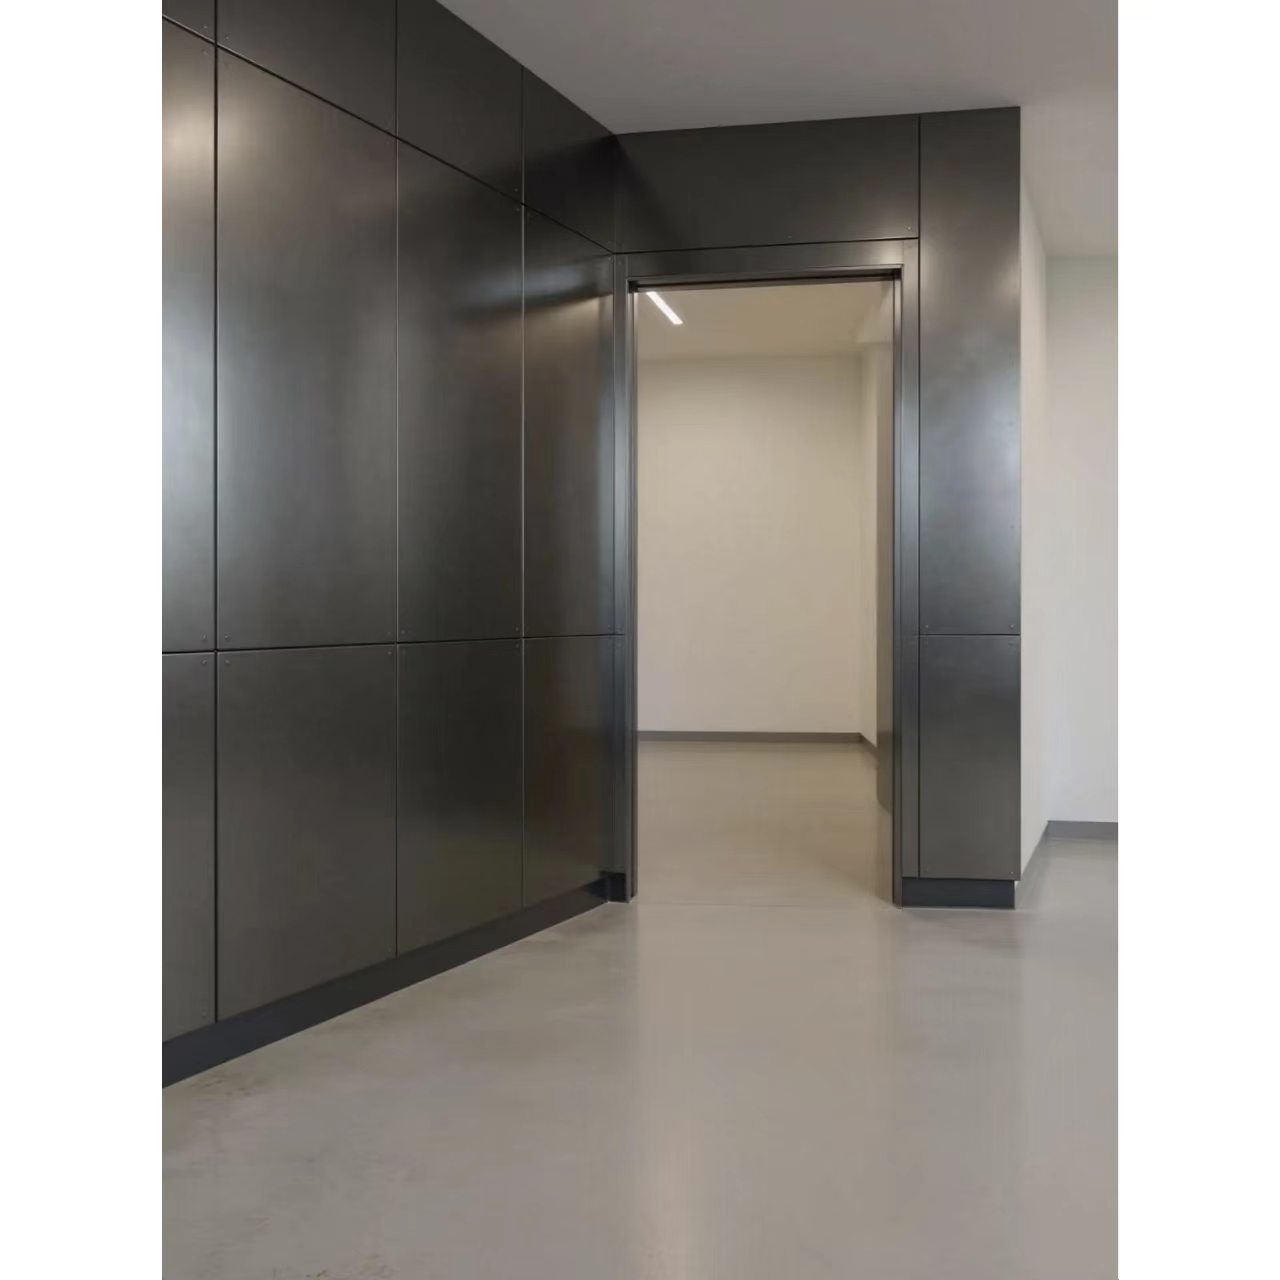
You stand in front of the finished facade—the panels gleam. The lines are crisp. The client approves.
Then the sun hits the building at a certain angle. You see them. Waves. Ripples. Distortion across the once-flawless surface.
The panels are flat. The material is premium. The problem is not the Alucobond. The problem is what is behind it.
This guide explains how to check subframe flatness before Alucobond installation. You will learn the tools you need. You will understand the tolerance requirements. And you will know exactly how to verify that your subframe is flat enough for a premium facade.
Part 1: Why Subframe Flatness Matters
An Alucobond panel is only as flat as the surface it attaches to. A perfectly flat panel installed on an uneven subframe will not look flat. It will follow the irregularities behind it.
The fundamental principle:
Aluminium composite panels follow the surface behind them. If the subframe is uneven, twisted, or poorly aligned, the panel will conform to those irregularities, creating visible waves.
The consequences of poor subframe flatness:
- Visible waves and ripples across the panel surface
- Oil canning that cannot be corrected after installation
- Stress concentration at fixing points
- Premature blistering and delamination
- Client complaints and costly rework
The cost of not checking:
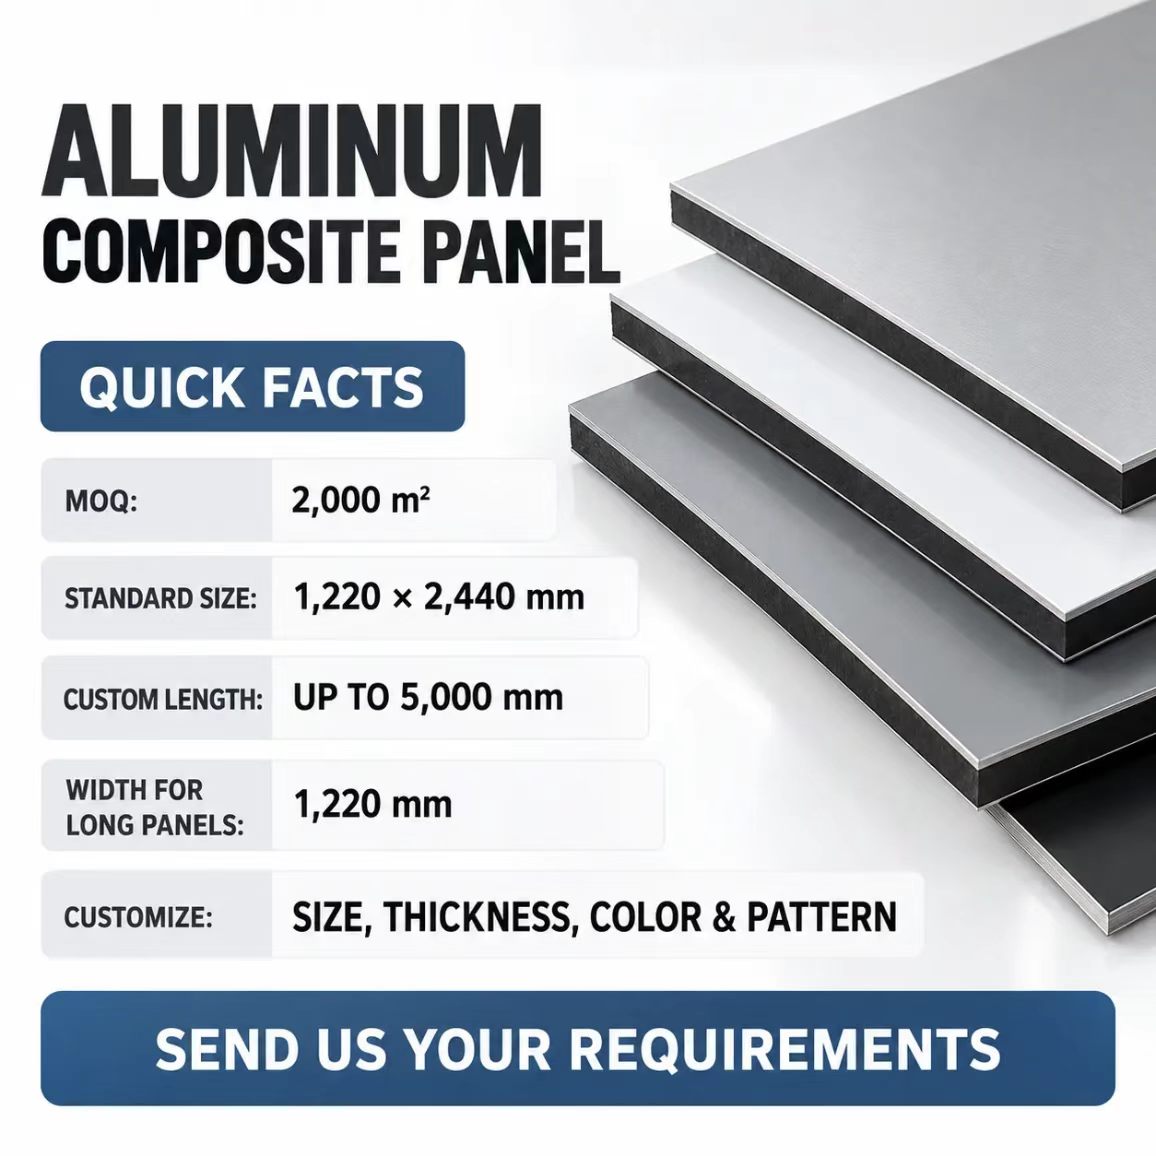
A single 4x8 Alucobond sheet measures approximately 1220mm x 2440mm—nearly 3 square meters of panel surface. If the subframe behind it is out of tolerance by just 2- 3 mm, the entire panel will show visible distortion. There is no way to fix it after installation.
Part 2: The Tools You Need
Checking subframe flatness requires specific tools. Do not guess. Use the right equipment.
Tool | Purpose | Accuracy Required |
2-meter straightedge | Check flatness over long spans | Calibrated, ±0.5mm |
Feeler gauges | Measure gap size | Measure gap size |
Laser level | Check vertical and horizontal alignment | ±1mm at 10m |
Spirit level | Check plumb and level | 0.5mm/m accuracy |
Measuring tape | Check spacing and dimensions | ±1mm |
String line | Check straightness over long runs | N/A |
Digital inclinometer | Check angles and slopes | ±0.1° |
The most important tool:
The 2-meter straightedge is your primary tool for checking subframe flatness. It reveals deviations that would otherwise go unnoticed. A certified straightedge with calibration certification is preferred.
Part 3: The Tolerance Requirements
The industry standard for subframe flatness:
Parameter | Tolerance |
Surface flatness | ≤2mm over 2m |
Rail straightness | ≤2mm over 2m |
Bracket alignment | ±1mm |
Vertical alignment | | ≤2mm over 3m |
Horizontal alignment | ≤2mm over 3m |
What this means in practice:
When you place a 2-meter straightedge on the subframe, the maximum gap between the straightedge and the subframe surface should not exceed 2mm.
For high-end projects or critical flatness applications (showrooms, museum facades, ceiling installations), the tolerance should be tighter—≤1mm over 2m.
For an Alucobond 4x8 sheet:
A 1220mm x 2440mm panel requires a subframe that is flat within these tolerances across its entire surface. If the subframe deviates by more than 2mm over 2m, the panel will show visible waves.
Part 4: The Inspection Method — Step by Step
Step 1: Visual inspection
Before any measurements, walk the subframe. Look for obvious issues:
- Bent or twisted rails
- Missing or loose brackets
- Uneven shimming
- Rust or corrosion
- Debris or obstructions
Step 2: Check rail straightness
Place the 2-meter straightedge along each rail. Measure the gap between the straightedge and the rail using feeler gauges.
The pass criteria: Gap ≤2mm over 2m.
Step 3: Check surface flatness
Place the 2-meter straightedge diagonally across the subframe. Check in multiple orientations: horizontal, vertical, and diagonal.
The pass criteria: Gap ≤2mm over 2m in all orientations.
Step 4: Check bracket alignment
Use a laser level or string line to verify that brackets are aligned correctly. Measure the distance from the line to each bracket.
The pass criteria: All brackets within ±1mm of the line.
Step 5: Check vertical and horizontal alignment
Use a laser level to verify that vertical and horizontal rails are plumb and level.
The pass criteria:** ≤2mm over 3m.
Step 6: Document all measurements
Record every measurement. Document the location, the reading, and the result (pass/fail). Photograph any deviations.
Part 5: The Inspection Flowchart
Start
│
▼
VISUAL INSPECTION
├─── Check for bent rails, loose brackets, rust, debris
└─── Document any obvious issues
│
▼
RAIL STRAIGHTNESS
├─── Place 2m straightedge along each rail
├─── Measure gap with feeler gauges
└─── Pass: ≤2mm over 2m
│
▼
SURFACE FLATNESS
├─── Place 2m straightedge diagonally across subframe
├─── Check horizontal, vertical, diagonal
└─── Pass: ≤2mm over 2m in all orientations
│
▼
BRACKET ALIGNMENT
├─── Use laser level or string line
├─── Verify all brackets within ±1mm of line
└─── Pass: all brackets aligned
│
▼
VERTICAL AND HORIZONTAL ALIGNMENT
├─── Use laser level
├─── Verify rails plumb and level
└─── Pass: ≤2mm over 3m
│
▼
DOCUMENT ALL MEASUREMENTS
├─── Record location, reading, pass/fail
├─── Photograph deviations
└─── Retain for project records
│
▼
DONE ───► Subframe is flat enough for panel installation
Part 6: The 4x8 Sheet Check — Panel-Specific Verification
Before installing an Alucobond 4x8 sheet, verify that the subframe is flat across the entire panel footprint.
The 3-point check:
1. Place the straightedge at the top edge of the panel location
2. Place the straightedge at the middle of the panel location
3. Place the straightedge at the bottom edge of the panel location
The diagonal check:
1. Place the straightedge diagonally across the panel location (top-left to bottom-right)
2. Place the straightedge diagonally across the panel location (top-right to bottom-left)
The pass criteria: Gap ≤2mm over 2m in all positions.
Part 7: Common Mistakes to Avoid
Mistake 1: Using an uncalibrated straightedge
An uncalibrated straightedge gives false readings. False readings mean you think the subframe is flat when it is not.
Fix: Use a certified straightedge with calibration documentation. Recalibrate annually.
Mistake 2: Checking only one orientation
A subframe can be flat horizontally but wavy diagonally. The panel will show the diagonal waves.
Fix: Check in multiple orientations: horizontal, vertical, and diagonal.
Mistake 3: Ignoring bracket alignment
Brackets that are not aligned create local high points. The panel is forced over the high point. Stress concentrates. Waves appear.
Fix: Use a laser level or string line to verify bracket alignment.
Mistake 4: Not documenting measurements
Without documentation, you cannot prove the subframe was flat. If the panel waves later, the liability defaults to you.
Fix: Record every measurement. Photograph deviations. Retain records for the project.
Mistake 5: Assuming "good enough"
"Good enough" is not a tolerance. It is a guess. Guessing leads to waves.
Fix: Use the actual tolerances. Do not guess.
Part 8: When the Subframe Fails — What to Do
If the subframe is out of tolerance:
1. Identify the problem areas — Mark every location where the gap exceeds 2mm
2. Determine the cause — Is it the rails? The brackets? The shimming?
3. Correct the issue — Shim uneven areas. Realign brackets. Replace twisted rails.
4. Re-inspect — After correction, re-inspect every area that failed
5. Document the correction — Record what was done and when
Do not proceed with panel installation until the subframe passes inspection.
What to Ask Your Supplier
When you purchase an Alucobond 4x8 sheet for your project, ask these questions:
1. What subframe flatness tolerance do you recommend? A knowledgeable supplier will specify ≤2mm over 2m.
2. Do you provide subframe inspection guidelines? A reliable manufacturer will have technical documentation.
3. What is your panel's flatness tolerance? The answer should be backed by technical data.
4. Do you offer on-site inspection support? Some suppliers provide installation supervision.
The Bottom Line
Subframe flatness is not optional. It is the foundation of a flat Alucobond facade. If the subframe is out of tolerance, the panels will wave. No amount of panel quality can compensate for a poor subframe.
The standards are clear:
- Surface flatness: ≤2mm over 2m
- Rail straightness: ≤2mm over 2m
- Bracket alignment: ±1mm
- Vertical alignment: ≤2mm over 3m
The tools are simple: 2-meter straightedge, feeler gauges, laser level. The method is straightforward: check in multiple orientations, measure every gap, document everything.
For an Alucobond 4x8 sheet, the stakes are even higher. A 1220mm x 2440mm panel covers nearly 3 square meters of surface. Any subframe irregularity will be visible across this large expanse. The panel will follow the surface behind it—and if that surface is uneven, the panel will show it.
When you walk that site twelve months from now, standing in front of a flat, flawless Alucobond facade with no waves in sight, you will know—not hope, not guess, but know—that the subframe was flat. Because you checked it. Because you measured every rail. Because you refused to let a poor subframe destroy a premium facade.
The panel is only as flat as the surface it attaches to. Check that surface. Your facade depends on it.