Welcome to Vbond
How to Field-Check Alucobond Flatness: The 2-Meter Straightedge Test
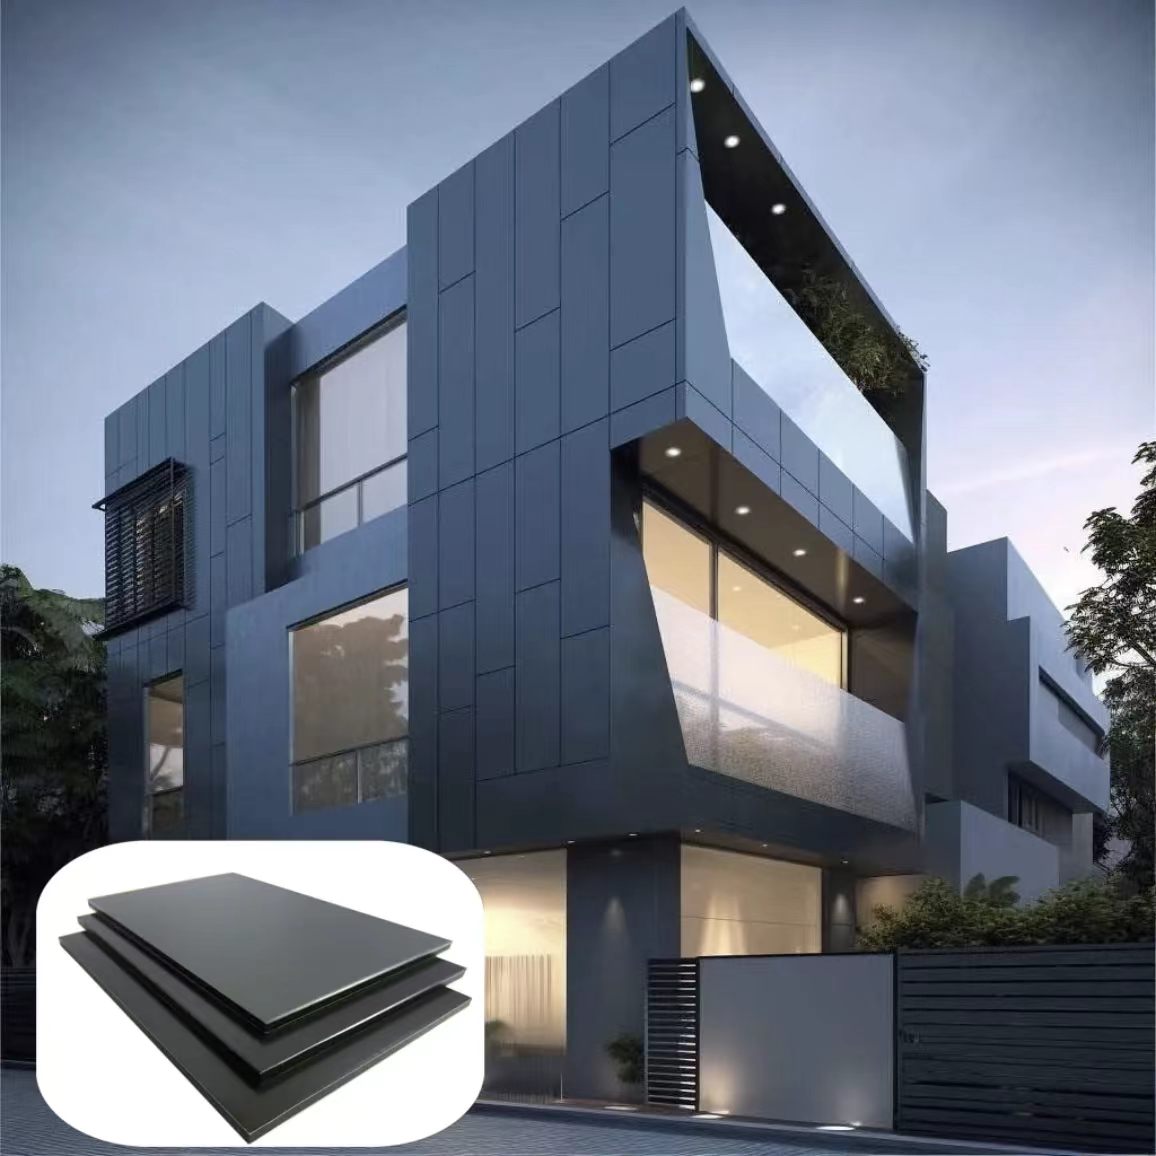
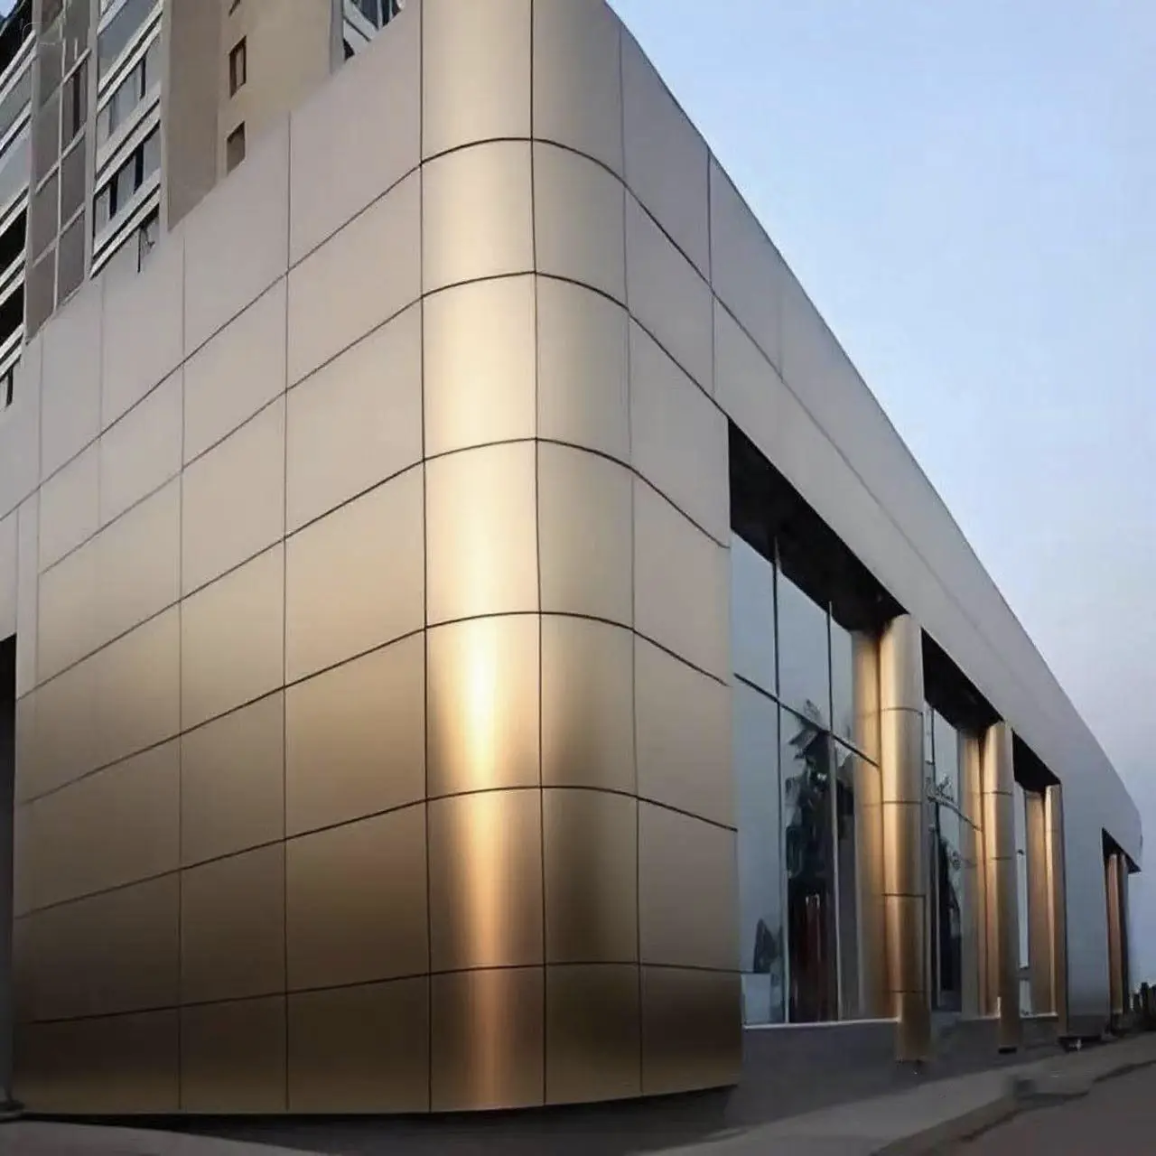
You step back to admire the finished facade. The panels are up. The color is right. The client nods in approval.
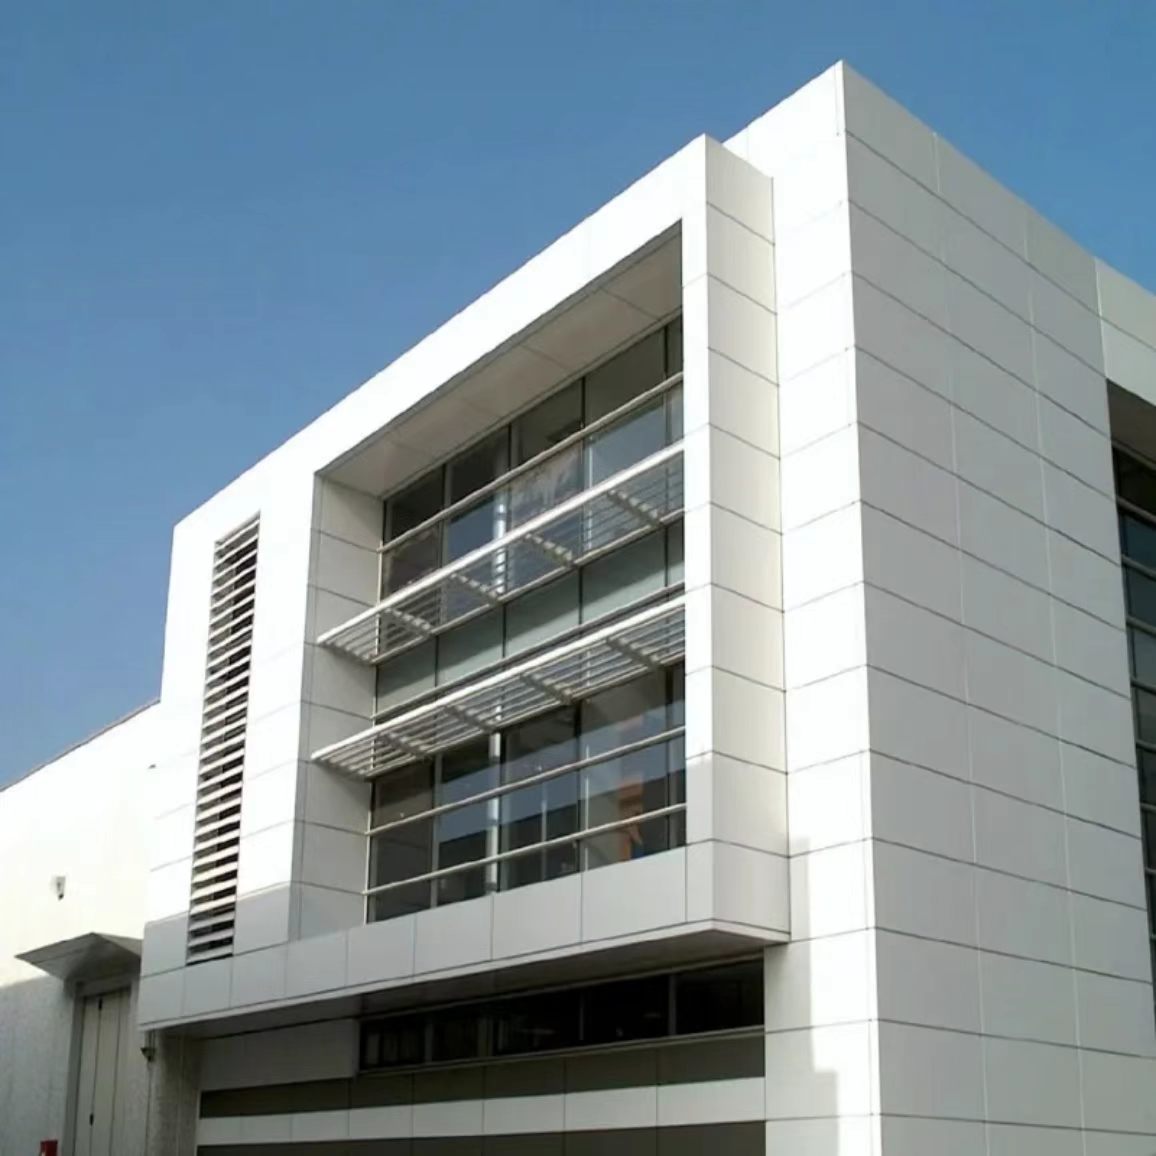
Then the late afternoon sun hits the wall at a low angle. You see them. Shadows. Ripples. Soft waves across what should be a perfectly flat surface.
The client sees them too.
This is the moment when "good enough" stops being good enough. And it is the moment when a simple 2-meter straightedge test could have saved everyone the headache.
This guide explains how to field-check Alucobond flatness using the 2-meter straightedge test. You will learn the equipment you need. You will understand the acceptable tolerances. And you will know exactly how to measure, document, and act on what you find.
Why Flatness Testing Matters on Site
Alucobond boards are engineered for exceptional flatness. The advanced composition—two aluminum skins bonded to a rigid core—ensures a level of surface stability that is often challenging to achieve with standard post-coated solid sheets. Premium panels like ALUCOBOND utilize a mineral-filled core that provides enhanced stability and flexural rigidity.
But flatness on the factory floor does not always survive the journey to the jobsite.
Panels can arrive with residual stress from manufacturing. They can be damaged in transit. They can be installed incorrectly. And when they are not flat, the results are visible: oil canning, waviness, buckles, and other surface irregularities that ruin the facade appearance.
The official ALUCOBOND specification states that the cladding surface "shall not have any irregularities such as oil canning, waves, buckles, and other imperfections when viewed at any position but not less than at an angle of 15 degrees to the true plane of the panel". This standard establishes that acceptable limits can be defined and enforced.
The 2-meter straightedge test is how you enforce them.
What You Need for the Test
The equipment is simple. The discipline is not.
Tool | Purpose |
2-meter straightedge | A rigid, precision-ground straightedge, typically machined aluminum or steel |
Feeler gauges | A set of thin metal strips in thicknesses from 0.05mm to 3.00mm |
Laser level (optional) | For checking overall panel alignment across multiple panels |
Controlled lighting | Diffuse, non-glare light for flatness measurements; raking light for distortion assessment |
Camera | For documenting measurements with the gauge size visible in the photo |
Caption: Equipment required for the 2-meter straightedge flatness test on Alucobond panels.
Alt text: Table showing a 2-meter straightedge, feeler gauges, laser level, controlled lighting, and camera with their purposes.
Keep the temperature stable during testing. Work in diffuse, non-glare light to avoid reflection artifacts. Reflection artifacts create false readings. The goal is to measure the panel, not the light bouncing off it.
The Test Procedure: Step by Step
Step 1: Select the panel
Identify the panel you are testing. Record the panel ID and elevation. This documentation protects you later.
Step 2: Place the straightedge
Place the 2-meter straightedge on the panel surface. Position it at horizontal, vertical, and diagonal orientations.
Step 3: Measure the gap
Insert feeler gauges between the straightedge and the panel surface. Find the thickest gauge that fits without forcing. That is your gap measurement.
Step 4: Map the readings
Map readings on a 3x3 grid per panel to capture both global and local planarity. Where joints meet, span the straightedge across panels to detect steps and lipping.
Step 5: Record the results
Record results in millimeters. Tie them to panel IDs and elevations. Photograph each measurement with the gauge size visible.
The Flatness Flowchart
Start
│
▼
Select panel and record ID/elevation
│
▼
Place 2m straightedge on panel surface
│
├─── Horizontal orientation
├─── Vertical orientation
└─── Diagonal orientation
│
▼
Insert feeler gauges to measure maximum gap
│
▼
Map readings on a 3×3 grid per panel
│
▼
Record results in millimeters
│
├─── ≤ 2.0mm over 2m ───► Pass
│
└─── > 2.0mm over 2m ───► Investigate root cause
│
▼
Photograph each measurement with gauge visible
│
▼
Document and archive
│
▼
Done
What the Numbers Mean: Acceptable Tolerances
The industry benchmark:
Good quality panels should not bow more than 1.0–1.5 mm per linear meter of length.
The practical field standard:
Common practice targets ≤ 2.0 mm over 2 meters for general flatness, with tighter limits near fixings.
What this means on site:
Measurement Over 2m | Verdict | Action |
≤ 1.5 mm | Excellent | Proceed |
1.5 – 2.0 mm | Acceptable (check project spec) | Document, monitor |
> 2.0 mm | Non-conforming | Investigate root cause |
Caption: Alucobond flatness tolerance guidelines for the 2-meter straightedge test.
Alt text: Table showing flatness measurements over 2 meters with verdicts and actions for each range.
Additional tolerances to verify:
- Thickness consistency: ALUCOBOND specifications call for a tolerance of ± 0.15 mm** in total panel thickness. If the thickness varies by 0.2 mm, the panel cannot lie flat.
- Edge straightness: Standards like GB/T 17748 require ≤ 1 mm per meter for side straightness.
When a Reading Exceeds Tolerance
A measurement over 2.0 mm is not automatically a panel defect. The subframe is often the real culprit.
Check the subframe first:
Misaligned rails, shimming gaps, or debris frequently drive nonconformance. A flat panel cannot fix an uneven substructure. The panel follows what is behind it.
Investigate other causes:
- Over-torqued fixings — fasteners tightened too much create stress points
- Inadequate clearances — insufficient expansion gaps trap thermal movement
- Insulation telegraphing — irregularities behind the panel transfer through to the surface
- Residual stress in the panel — from manufacturing or handling
Only after confirming support compliance should you consider panel replacement.
Documentation: The Professional's Edge
Flatness measurements are worthless without documentation. Good documentation protects you in disputes. It provides evidence for warranty claims. It creates a record of quality.
What to document for every panel:
- Panel ID and elevation
- Measurement grid readings (horizontal, vertical, diagonal)
- Maximum gap in millimeters
- Photographs with the gauge size visible in each photo
- Date, time, and temperature
- Inspector name and signature
Create defensible reports:
Include calibrated tool certificates, measurement grids, and severity ratings for any visual distortion. The export should include panel IDs, locations, photos with scales, and signatures from the installer, QA, and consultant.
This documentation enables fast approvals, transparent records, and reliable closeout documentation for handover and maintenance.
Common Mistakes to Avoid
Mistake 1: Testing in harsh lighting
Direct sunlight or harsh overhead lights create reflections that hide gaps. You measure the light, not the panel.
Fix: Use diffuse, non-glare light for flatness measurements. Use raking light (low-angle light) for distortion assessment, not for gap measurement.
Mistake 2: Testing only one orientation
A panel that looks flat horizontally may have a bow diagonally.
Fix: Measure horizontal, vertical, and diagonal orientations on every panel.
Mistake 3: Not mapping the grid
A single measurement at one point tells you nothing about overall flatness.
Fix: Map readings on a 3×3 grid per panel. Capture both global and local planarity.
Mistake 4: Ignoring the subframe
A panel that fails flatness is often a victim of the subframe, not the material.
Fix: When a reading exceeds limits, investigate the subframe first. Check alignment, shimming gaps, and debris.
Mistake 5: Not documenting failures
A failure without documentation is a failure without recourse.
Fix: Photograph every measurement with the gauge size visible. Record panel IDs, elevations, and readings.
What to Ask Your Supplier
When you purchase an Alucobond board for your project, ask these questions:
1. What is your panel flatness tolerance?** The answer should align with ≤ 1.0–1.5 mm per linear meter.
2. What is your thickness tolerance? The answer should be ± 0.15 mm.
3. Do you provide flatness test documentation? A reliable manufacturer will have quality control records.
4. What is your panel's bow specification? Premium manufacturers like ALUCOBOND control cooling curves and lamination pressure to ensure dimensional stability.
A Final Word on Flatness
Here is the reality of facade work. You can spec the best Alucobond board on the market. You can train your crew on every installation detail. You can follow every guideline in the manual. And still, a panel can fail flatness on site.
The 2-meter straightedge test is not a judgment. It is a diagnostic tool. It tells you what is wrong and where to look. When you find a gap, you do not automatically blame the panel. You check the subframe. You check the fixings. You check the clearances. You follow the evidence.
A 2 mm gap over 2 meters is not the end of the world. It is the beginning of an investigation. And if you document it properly, it is also the beginning of a solution.
The best facade teams do not fear the straightedge. They welcome it. They know that a panel that passes the 2-meter test today is a panel that will stay flat for decades.
The question is not whether your panels will be perfect. The question is whether you will know what to do when they are not.