Welcome to Vbond
How to Retrofit Floating Connections on Existing Blistered Alucobond Facades
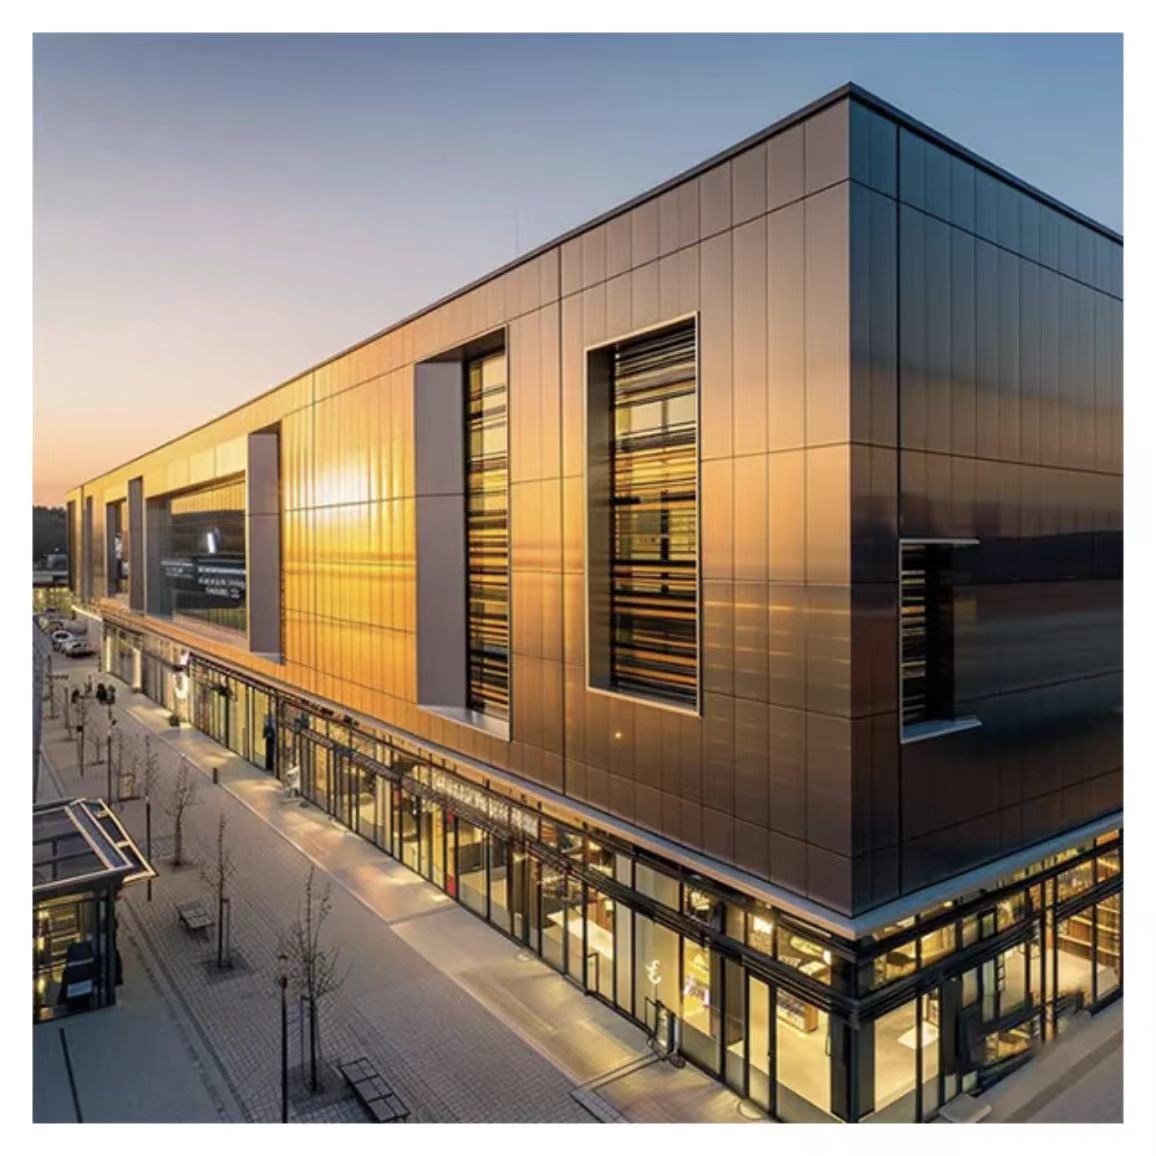
You walk the building with the facilities manager. She points to the facade. Bubbles. Ripples. Distortion across panels that were once flat and beautiful. The building is only five years old.
"What happened?" she asks. "And what will it cost to fix?"
The answer to the first question is almost certainly rigid fixing. The panels were locked down tight with no room to move. Thermal expansion built up. Stress concentrated. The adhesive bond failed. Bubbles formed.
The answer to the second question is surprisingly affordable—if you retrofit floating connections instead of replacing the entire facade.
This guide explains how to retrofit floating connections on existing blistered Alucobond cladding. You will learn why rigid fixing causes blisters. You will understand the assessment process. And you will know exactly how to convert a rigid system into a floating one—without taking the whole facade down.
Why Blistered Alucobond Cladding Needs Floating Connections
Alucobond cladding expands and contracts with temperature changes. The linear thermal expansion coefficient is 2.4 mm per meter for every 100°C temperature difference. A 3-meter panel in a 50°C swing moves 3.6 mm. That movement must go somewhere.
When panels are locked down rigidly at every attachment point, the movement has nowhere to go. Stress builds inside the panel. The adhesive bond between the aluminum skin and the core is overloaded. The bond fails. Voids form. Those voids become visible blisters.
The critical insight from industry practice:
Aluminum panel curtain wall panels and frames must use floating connections. Floating connections meet all movement requirements and prevent the "blistering" phenomenon caused by structural movement.
The solution is not to replace the panels. The solution is to convert the rigid fixing system into a floating one.
Step 1: Assess the Existing Condition
Before you touch a single panel, assess what you are working with.
Document the blisters:
- Photograph every blistered panel with location markers
- Measure blister size and distribution pattern
- Note which areas of the facade are worst affected (south and west faces typically show more damage)
Inspect the existing fasteners:
- What type of fasteners were used? (rivets, screws, clips?)
- Are they corroded? (coastal environments accelerate this)
- Are they over-tightened? (look for deformed sealing washers)
Check the subframe condition:
- Is the subframe still structurally sound?
- Are there signs of corrosion on the supporting structure?
- Is the subframe alignment still within tolerance?
Identify the fixing pattern:
- Where are the fixed points?
- Are all attachments rigid, or is there already some provision for movement?
- What is the current gap between panels?
This assessment tells you whether retrofit is feasible or whether full replacement is necessary. In most cases where the subframe is sound and the panels are otherwise undamaged, retrofit is the better option.
Step 2: Design the Retrofit Floating System
A floating connection system has one simple principle: one fixed point per panel; all other attachments slide.
The fixed point:
- One per panel (typically at the dead center)
- This point anchors the panel
- All expansion occurs outward from this point
The sliding points:
- All other attachment locations
- Feature oversized or slotted holes
- Allow the panel to slide freely as it expands and contracts
The hole size rule from ALUCOBOND technical guidelines:
"With the shaft of the rivet fitting closely to the edge of the hole, the attachment head must cover **1 mm** of the area surrounding the hole".
The tolerance rule:
Rivet attachment jigs allow for a tolerance of 0.3 mm.
The washer rule:
The sealing washer must sit on the panel without exerting pressure. If the washer deforms or the rubber seal protrudes beyond the washer, the panel cannot expand.
Step 3: Execute the Retrofit
Phase 1: Access and Preparation
- Erect scaffolding or use aerial lifts to access the affected areas
- Remove the sealant from joints around the panels to be retrofitted
- Carefully remove existing fasteners—do not damage the panel or subframe
- Clean the subframe attachment points
Phase 2: Convert to Floating Connections
For riveted systems:
- Remove the existing rivets
- Drill new oversized holes in the panel at sliding points
- The hole should be larger than the rivet shaft—the attachment head must cover **1 mm** beyond the hole edge
- Install new aluminum blind rivets with stainless steel mandrels (for exterior use)
- Use rivet attachment jigs to maintain the 0.3 mm tolerance
- Do not over-tighten—the panel must be able to slide
For screwed systems:
- Remove the existing screws
- Use facade screws with sealing washers approved for construction
- Tighten with a torque wrench so the sealing washer sits on the panel without exerting pressure
- If the washer deforms, the panel is too tight—back it off
- Do not use countersunk screws for exterior applications
Phase 3: Verify Movement
- After installing the floating connections, gently test that the panel can move at sliding points
- The panel should slide freely under the washer without resistance
- If it binds, the hole is too small, or the fastener is too tight
Phase 4: Reseal Joints
- Install closed-cell polyethylene foam backer rods in the joints
- Apply weatherproof silicone or polyurethane sealant
- Allow proper cure time before exposing to weather
The Retrofit Flowchart
Start
│
▼
Assess existing condition
├─── Document blisters
├─── Inspect fasteners and subframe
└─── Identify fixing pattern
│
▼
Is subframe sound?
├─── No ───► Consider full replacement
└─── Yes ───► Proceed with retrofit
│
▼
Design floating system
├─── One fixed point per panel (center)
└─── Sliding points at all other locations
│
▼
Execute retrofit
├─── Access affected panels
├─── Remove existing fasteners
├─── Drill oversized holes (1 mm head coverage)
├─── Install new fasteners (0.3 mm tolerance)
└─── Verify movement (washer sits without pressure)
│
▼
Reseal joints
├─── Foam backer rods
└─── Weatherproof sealant
│
▼
Inspect and document
│
▼
Done ───► Blisters stop growing, facade stabilized
Cost Comparison: Retrofit vs. Full Replacement
Factor | Retrofit | Full Replacement |
Material cost | Low (fasteners, sealant) | High (new panels) |
Labor cost | Moderate | High |
Lead time | Days to weeks | Weeks to months |
Color matching | Not required | Required (often impossible) |
Building disruption | Minimal | Significant |
Warranty | Depends on workmanship | New manufacturer warranty |
Visual result | Existing panels, no blisters | New panels, perfect finish |
Caption: Cost and complexity comparison of retrofitting floating connections versus full panel replacement for blistered Alucobond cladding.
Alt text: Table comparing retrofit and full replacement across material cost, labor cost, lead time, color matching, building disruption, warranty, and visual result.
Retrofit is typically 40–60% less expensive than full replacement. It also avoids the nightmare of color matching existing panels—which is often impossible once the original panels have weathered.
When Retrofit Is Not the Answer
Retrofit works when:
- The panels themselves are structurally sound
- The subframe is in good condition
- The blisters are caused by rigid fixing, not material defects
- The panels have not delaminated beyond repair
Retrofit does not work when:
- The panels have suffered core degradation from moisture ingress
- The aluminum skins have corroded
- The subframe is compromised
- The panels are counterfeit or low-quality material
If the panels are failing from the core outward, retrofit will not save them. The panels must be replaced.
What to Ask Your Supplier
When you are planning a retrofit of blistered Alucobond cladding, ask these questions:
1. What fasteners do you recommend for retrofitting floating connections? The answer should be aluminum blind rivets with stainless steel mandrels for exterior use.
2. What is the correct hole size for sliding points? The attachment head must cover 1 mm beyond the hole edge.
3. What is the correct torque for facade screws?** The sealing washer must sit without deformation.
4. Do you provide retrofit guidelines? A reliable manufacturer will have technical documentation.
A Final Word on Retrofitting
Here is what I have learned from watching contractors retrofit dozens of blistered facades. The work is not glamorous. It is slow. It is careful. It is methodical. And it works.
Every blister on that facade is a monument to a decision made years ago—the decision to lock the panels down tight. The retrofit is not about fixing the blisters. The blisters are already there. The retrofit is about stopping them from getting worse. It is about giving the panels room to breathe.
The contractor who does the work will not get a plaque on the wall. But five years from now, when the facade is still flat, and the blisters have not spread, the building owner will remember who saved them from a full replacement.
That is the real value of a retrofit. It is not about making the facade perfect again. It is about making it stable again. It is about buying decades more life from panels that were installed wrong the first time.
The best time to install floating connections was when the facade went up. The second best time is today.