Welcome to Vbond
The 2mm Clearance Rule: Designing Expandable Edge Frames for Alucobond Stress Relief
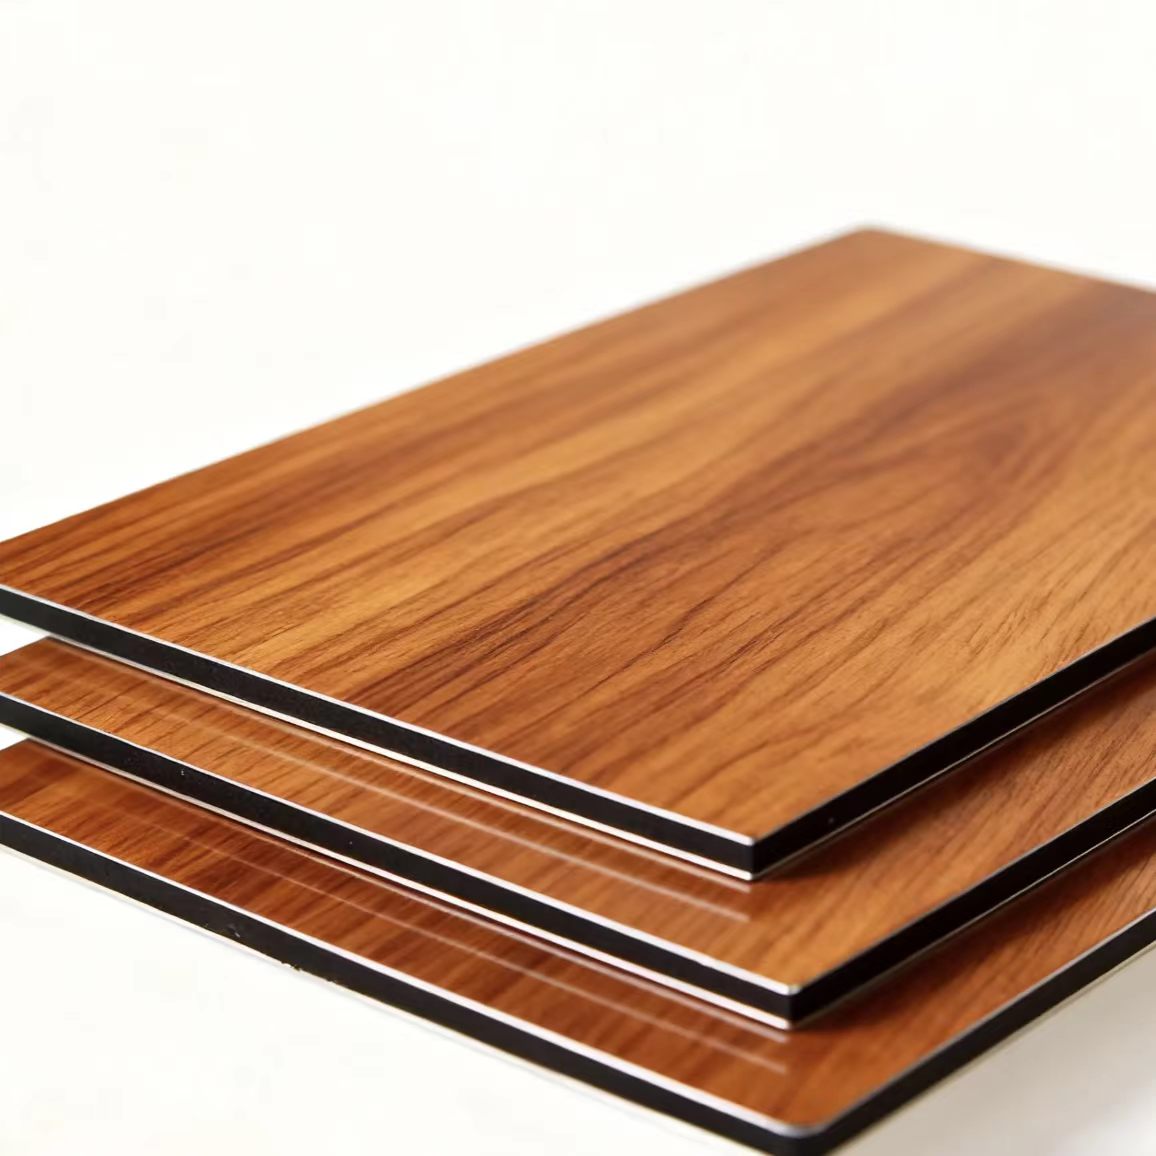
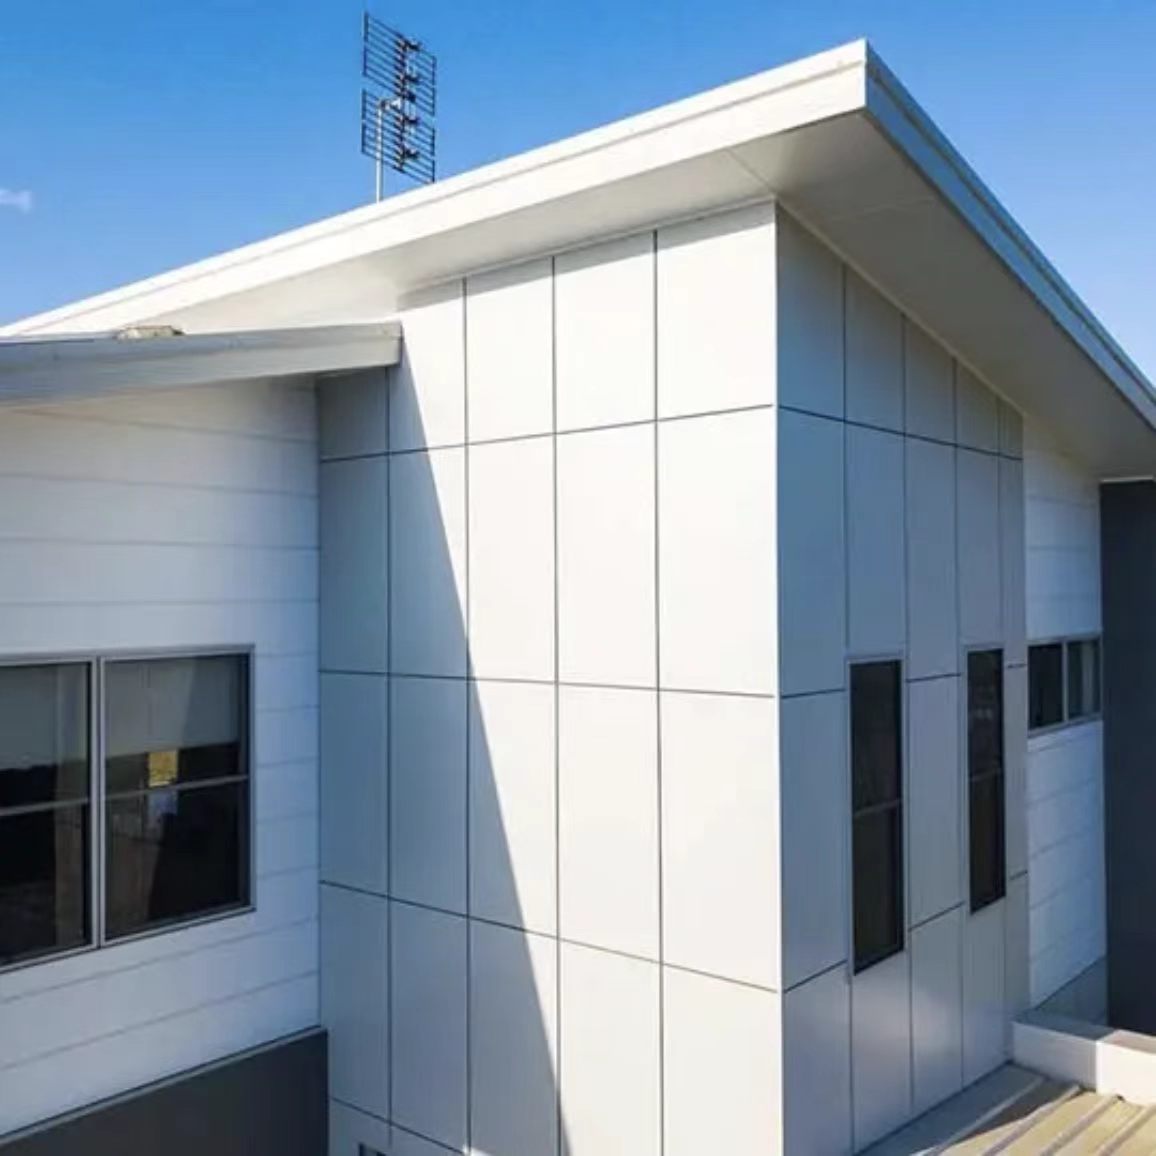
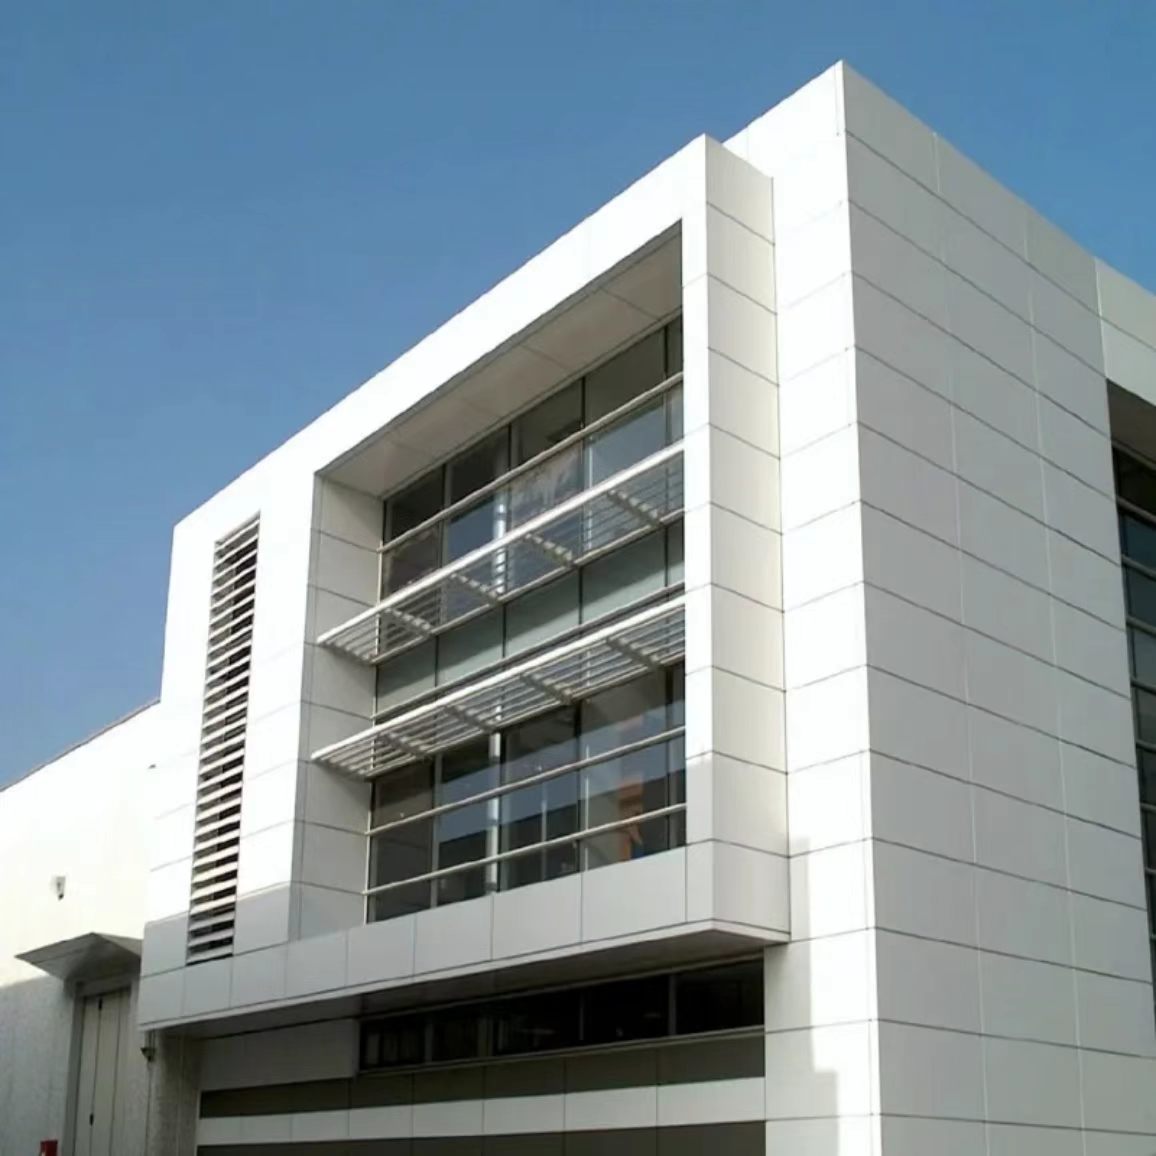
You walk the completed facade with the building owner. The panels are up. The finish is flawless. Everyone is satisfied.
One year later, the phone rings. "The panels are buckling. The edges are lifting. What happened?"
The answer is simple. The Alucobond cladding expanded. And the edge frames gave it nowhere to go.
This guide explains the 2mm clearance rule—the minimum gap you must design into every Alucobond edge frame to prevent stress buildup, buckling, and premature failure. You will learn the physics behind the number. You will understand how to apply it in practice. And you will know exactly how to design edge frames that actually work.
The Physics Behind the 2mm Rule
Alucobond cladding expands and contracts with temperature changes. The linear thermal expansion coefficient is 2.4 mm per meter of panel length for every 100°C temperature difference. A 3-meter panel in a 50°C swing moves 3.6 mm. Half of that expansion—1.8 mm—must be expected on each opposite panel edge.
The 2mm clearance rule comes directly from this physics. ALUCOBOND processing guidelines state that a lateral offset of the covering sheets of up to 2 mm is possible due to manufacturing tolerances. When you combine manufacturing variation with thermal movement, you need at least 2 mm of clearance at every edge frame to prevent jamming.
What the numbers mean in practice:
Panel Length | Temperature Difference | Total Expansion | Minimum Clearance Per Edge |
2 meters | 50°C | 2.4 mm | 1.2 mm |
3 meters | 50°C | 3.6 mm | 1.8 mm |
4 meters | 50°C | 4.8 mm | 2.4 mm |
Caption: Minimum clearance requirements for Alucobond edge frames at different panel lengths.
Alt text: Table showing minimum clearance per edge for 2m, 3m, and 4m Alucobond panels at a 50°C temperature difference.
The 2mm figure is not arbitrary. It is the minimum threshold that accommodates both thermal expansion and the unavoidable tolerances of fabrication and installation.
Why Most Edge Frames Fail
The most common mistake in Alucobond cladding installation is designing edge frames that are too tight. Installers want clean, crisp lines with no visible gaps. They push panels close together. They lock them down tight.
The results are predictable:
Stress buildup. When the panel expands, it has nowhere to go. The expansion force transfers directly to the frame, the fasteners, and the panel itself. The panel buckles at the weakest point.
Fastener jamming. ALUCOBOND processing guidelines are explicit: "To avoid jamming, the hole in the panel must be large enough to allow for expansion". When the hole is too small, the fastener locks the panel in place. Stress concentrates at the fastener. The panel tears or blisters.
Edge lifting. When expansion is restricted, the panel edges push against the frame. The force lifts the panel from the substructure. The edge bows outward. The facade looks damaged.
Blistering and delamination. When the panel cannot expand, the internal stress overloads the adhesive bond between the aluminum skin and the core. The bond fails. Voids form. Those voids become visible blisters.
A 2mm clearance at every edge frame would have prevented all of these failures.
The 2mm Clearance Rule: Three Critical Applications
Application 1: Edge Frame Clearance
Every Alucobond panel in a curtain wall or facade system must have **at least 2 mm of clearance** between the panel edge and the surrounding frame. This allows the panel to expand without pressing against the frame.
Component | Minimum Clearance | Why |
Panel edge to frame | 2 mm | Allows thermal expansion |
Panel edge to adjacent panel | 4 mm | 2 mm per panel edge = 4 mm total gap |
Fastener hole to fastener shaft | 1 mm minimum | Allows sliding movement |
Caption: Minimum clearance requirements for Alucobond edge frames and fasteners.
Alt text: Table showing panel-to-frame clearance, panel-to-panel gap, and fastener hole clearance requirements.
Application 2: Fastener Hole Sizing
The clearance rule also applies to fastener holes. ALUCOBOND technical guidelines specify that "with the shaft of the rivet fitting closely to the edge of the hole, the attachment head must cover 1 mm of the area surrounding the hole".
This means the hole in the panel must be at least 1 mm larger than the fastener shaft. For a 5 mm rivet, the hole should be at least 6 mm. This 1 mm clearance allows the panel to slide without jamming.
Application 3: Clamping Thickness
When riveting Alucobond panels, the clamping thickness must allow for proper formation of the closing head. ALUCOBOND guidelines specify: "The clamping thickness results from the thickness of the material to be riveted, plus an additional value of 2 mm to ensure that the closing head is perfectly formed".
This 2 mm allowance ensures the rivet closes properly without crushing the panel or creating stress points.
The Fastener Clearance Flowchart
Start
│
▼
Select fastener (rivet or screw)
│
▼
Calculate required hole diameter:
├─── Fastener shaft diameter + 1 mm minimum clearance
├─── For 5mm rivet: use 6mm hole minimum
│
▼
Calculate edge frame clearance:
├─── 2 mm minimum per panel edge
├─── 4 mm total gap between adjacent panels
│
▼
Verify fastener does not bind:
├─── Use rivet attachment jigs (0.3mm tolerance)
├─── Use multi-step drills for centric holes
│
▼
Tighten without pressure:
├─── Sealing washer sits on panel without deformation
├─── Panel must be able to slide freely
│
▼
Test movement:
├─── Gently press panel at sliding points
├─── Panel should move without resistance
│
▼
Done ───► Expandable edge frame that prevents stress buildup
How to Design Expandable Edge Frames
Step 1: Calculate the expected expansion
Use the formula:
Expansion (mm) = 2.4 × L (meters) × (ΔT ÷ 100)
For a 3-meter panel with a 50°C temperature difference: 2.4 × 3 × 0.5 = **3.6 mm total expansion**.
Step 2: Design the frame clearance
Each panel edge needs half the total expansion plus a safety margin. For 3.6 mm total, each edge needs at least 1.8 mm. Round up to 2 mm.
Step 3: Size the fastener holes
The hole must be at least 1 mm larger than the fastener shaft. For a 5 mm rivet, use a 6 mm hole.
Step 4: Use the right fasteners
For exterior Alucobond cladding, use aluminium blind rivets with stainless steel mandrels to prevent corrosive edges. Use rivet attachment jigs to maintain 0.3 mm tolerance.
Step 5: Tighten without pressure
Facade screws should be tightened so the sealing washer sits on the panel without exerting pressure. If the washer deforms, the panel cannot expand.
The Subframe Factor
The 2mm clearance rule applies not only to the panel edges but also to the subframe design.
For aluminum substructures (perpendicular to support profile direction):
The full expansion applies. Use the 2.4 mm/m/100°C calculation.
For aluminum substructures (parallel to support profile direction):
A temperature difference of only 10 K can be assumed between the panel front and back. Less clearance is needed.
For steel substructures:
Steel expands at approximately half the rate of aluminum. But the Alucobond panel still expands at 2.4 mm/m/100°C. The clearance must accommodate the panel's expansion, not the subframe's.
Common Mistakes to Avoid
Mistake 1: Zero clearance design
Some designers specify zero clearance for a "tight" look. The panels cannot expand. They buckle.
Fix: Always design at least 2 mm clearance per panel edge. The gap is barely visible but prevents failure.
Mistake 2: Standard holes instead of clearance holes
Using the same hole diameter as the fastener shaft prevents sliding. The panel jams. Stress builds.
Fix: The hole must be at least 1 mm larger than the fastener shaft. Use multi-step drills for concentric drilling.
Mistake 3: Over-tightening fasteners
Tightening until the washer deforms locks the panel in place. The panel cannot slide. Buckling follows.
Fix: Tighten so the sealing washer seals without exerting pressure.
Mistake 4: Ignoring manufacturing tolerances
Panels are not perfectly flat or perfectly sized. A lateral offset of up to 2 mm is possible due to manufacturing. Design for it.
Fix: Add a 2 mm safety margin beyond the calculated expansion.
What to Ask Your Supplier
When you purchase Alucobond cladding for your project, ask these questions:
1. What is your panel's thermal expansion coefficient? The answer should be 2.4 mm/m/100°C.
2. What fastener hole size do you recommend? The hole must be at least 1 mm larger than the fastener shaft.
3. What edge clearance do you recommend? The answer should be 2 mm minimum per panel edge.
4. Do you provide rivet attachment jigs? These maintain the 0.3 mm tolerance needed for proper riveting.
A Final Word on the 2mm Clearance
I have watched facades fail because of 1 mm. I have seen panels buckle because the designer thought "tight is right." I have seen contractors over-tighten fasteners because they did not understand that Alucobond needs to move.
The 2mm clearance rule is not a suggestion. It is the difference between a facade that lasts decades and one that fails within years.
The numbers are simple:
- Alucobond expands at 2.4 mm per meter per 100°C
- A 3-meter panel moves 3.6 mm in a 50°C swing
- That is 1.8 mm per edge
- Add manufacturing tolerance: 2 mm minimum
When you design edge frames with 2 mm clearance, you give the panels room to breathe. When you size fastener holes 1 mm larger than the shaft, you allow sliding movement. When you tighten fasteners without pressure, you let the panel find its natural position.
The building owner will never notice the 2 mm gap. But they will notice when the facade stays flat for decades instead of buckling within years.
That is the real value of the 2mm clearance rule. It is invisible when you get it right. And it is unforgiving when you get it wrong.