Welcome to Vbond
The Connection Between Alucobond Skeleton Spacing and Panel Deflection
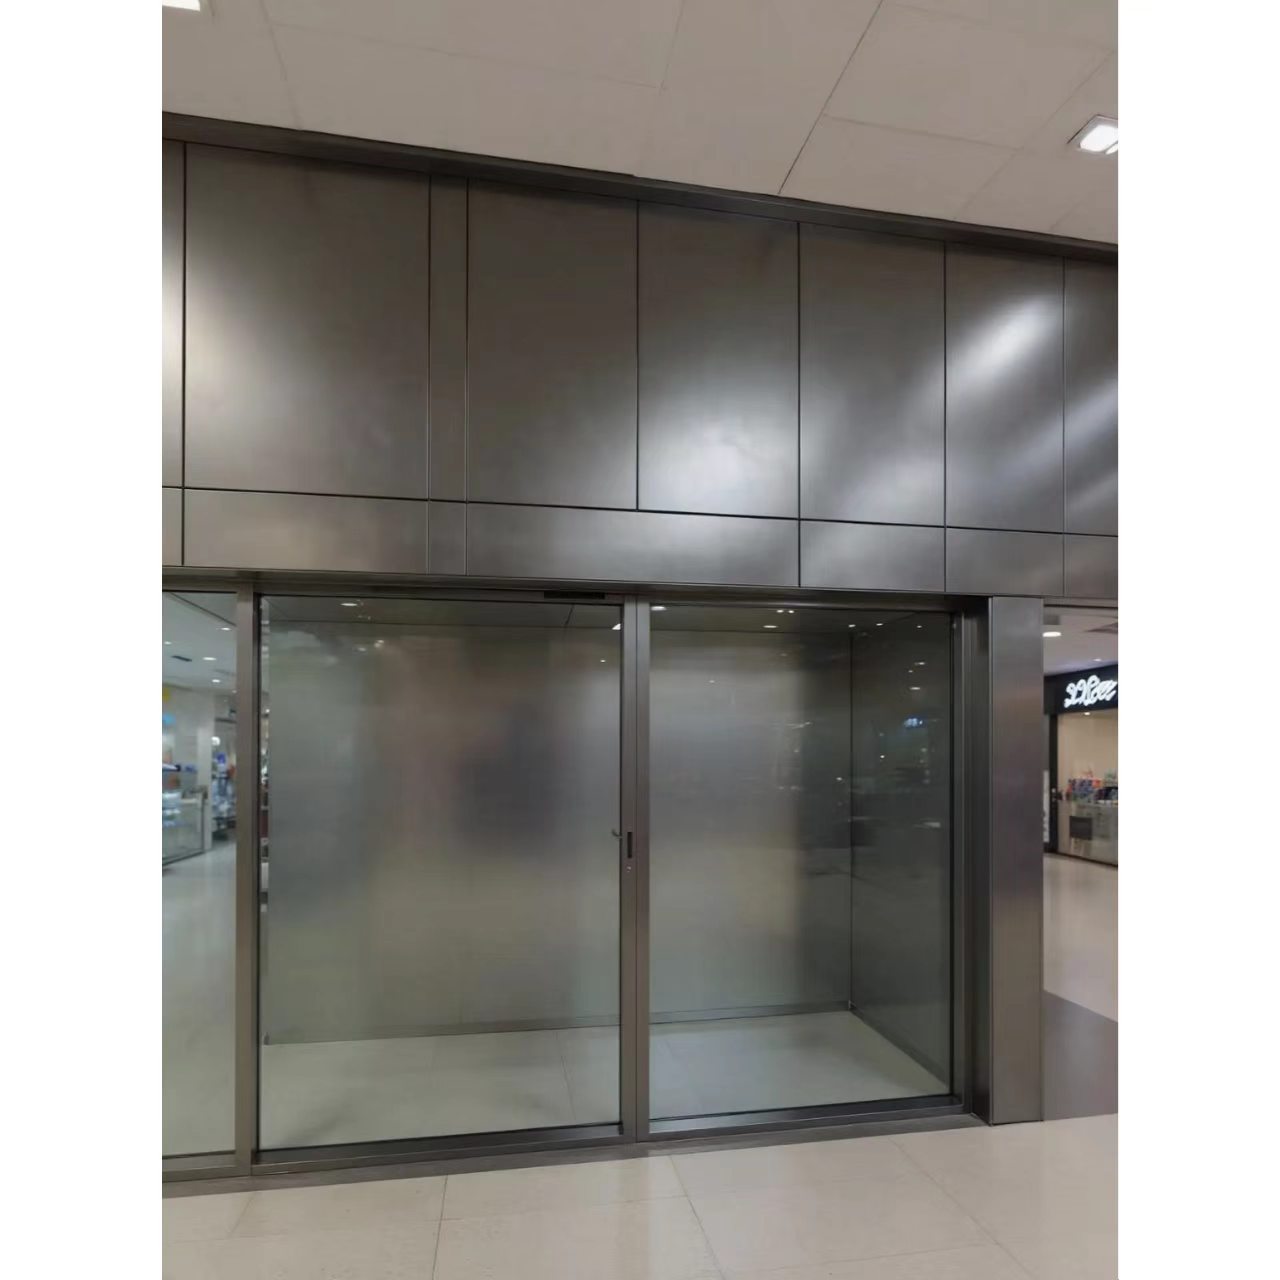
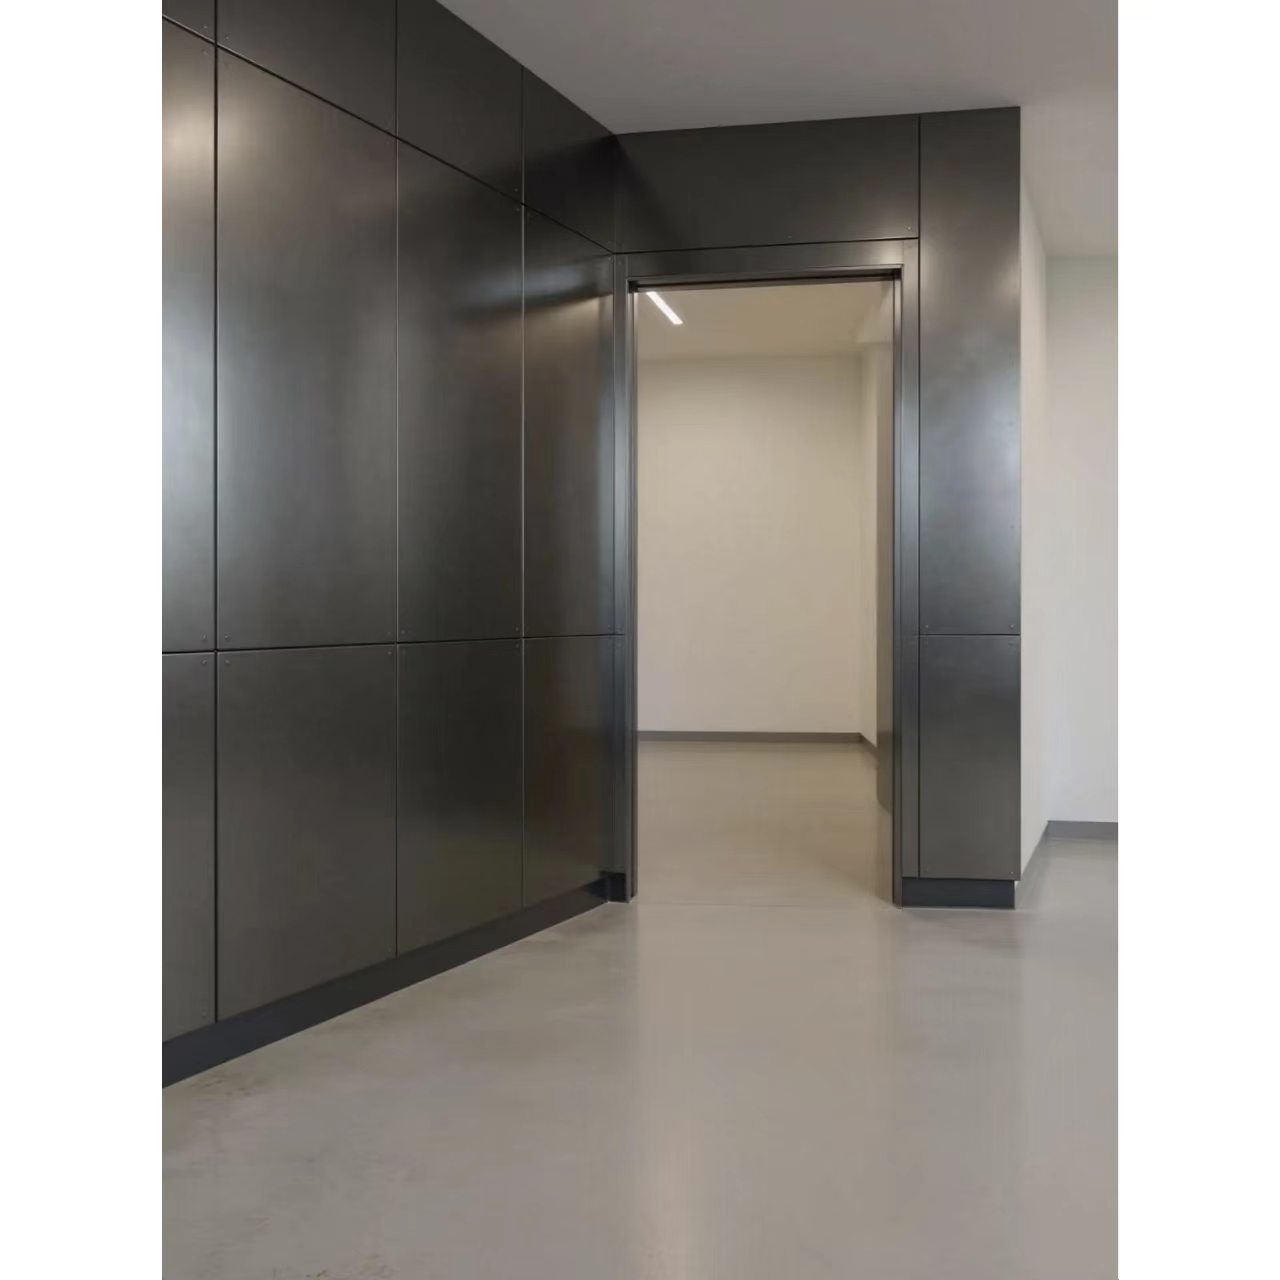
You specify a beautiful Alucobond facade. The panels are large. The design is clean. The renderings look stunning.
Then the wind hits the building. You see them. Waves. Ripples. Distortion across the panel surface. The sleek facade now looks uneven and damaged.
The problem is not the material. The problem is the skeleton spacing. The supports are too far apart. The panel is deflecting under load.
This guide explains the connection between Alucobond skeleton spacing and panel deflection. You will learn the physics behind the numbers. You will understand how panel stiffness determines support requirements. And you will know exactly how to space your skeleton for a flat, distortion-free facade.
Part 1: The Physics of Panel Deflection
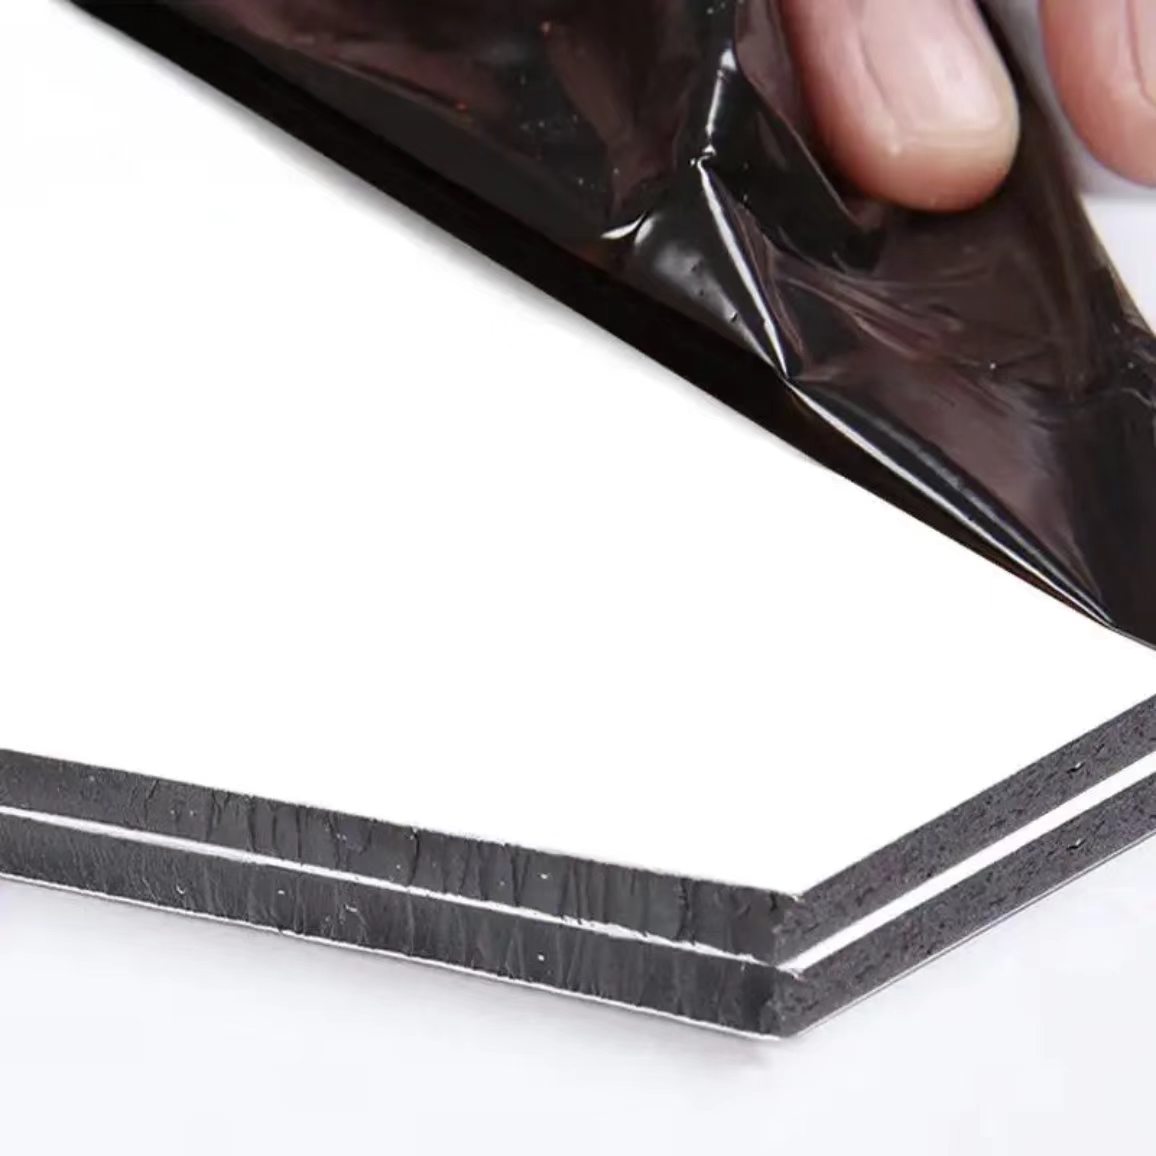
An Alucobond panel is a sandwich structure—two thin aluminum skins bonded to a core. When wind pressure hits the panel, it bends. That bending is called deflection.
The fundamental principle:
The amount a panel deflects depends on four factors:
1. Panel stiffness — how rigid the panel is
2. Support spacing — how far apart the supports are
3. Wind load — how much pressure the panel faces
4. Panel geometry — the width-to-length ratio of the panel
Deflection increases with the fourth power of the support spacing. This is critical. Double the support spacing, and deflection increases by a factor of 16. Halve the spacing, and deflection decreases by a factor of 16.
What this means for your project:
Small changes in skeleton spacing have massive effects on panel flatness. A spacing that works for a 4mm panel may cause unacceptable deflection for a 3mm Alucobond panel. The thinner panel has less stiffness. It needs closer support.
Part 2: The Numbers — Panel Stiffness Comparison
Different Alucobond panels have different stiffness. The key metric is flexural rigidity (E·J) — a measure of how much the panel resists bending.
Alucobond A2 technical data:
Panel Thickness | Flexural Rigidity (E·J) | Section Modulus (W) | Weight |
3mm | 1,250 kNcm²/m | 1.25 cm³/m | 5.9 kg/m² |
4mm | 2,400 kNcm²/m | 1.75 cm³/m | 7.6 kg/m² |
A 3mm Alucobond panel has approximately half the stiffness of a 4mm panel (1,250 vs 2,400 kNcm²/m). The 3mm panel is also 22% lighter (5.9 vs 7.6 kg/m²).
What this means for skeleton spacing:
Because the 3mm panel is less rigid, it deflects more under the same wind load. To maintain the same flatness as a 4mm panel, the skeleton spacing must be closer for a 3mm Alucobond panel.
The superior stiffness of mineral-core panels like ALUCOBOND A2 allows for wider support spacing, directly reducing substructure costs. But this advantage is reduced with thinner panels.
Part 3: The Industry Standards — What the Codes Require
Chinese standard JGJ 255-2012 specifies that when metal panels are subjected to wind or seismic loads, the "middle ribs should have sufficient stiffness, and their deflection should not exceed 1/300 of the rib span".
What this means in practice:
Rib Span | Maximum Allowed Deflection |
600 mm | 2.0 mm |
900 mm | 3.0 mm |
1200 mm | 4.0 mm |
The standard also requires that "the thickness of the rib section should not be less than 1.5mm".
CWCT test data for Alucobond A2:
In a certified wind load test, 4mm Alucobond A2 panels were tested with fixings at maximum horizontal spacing of 600mm and vertical spacing of up to 890mm. For wind load testing, the spacing was reduced to 650mm.
What this tells us:
Even for 4mm panels, the maximum recommended support spacing is around 600mm. For a 3mm Alucobond panel, which has half the stiffness, the spacing should be closer—typically 450-500mm.
Part 4: The Deflection Formula
The maximum deflection of a rectangular panel under uniform wind load can be calculated using this formula:
y_max = (α × w × b⁴) / (E_ACM × T³_ACM)
Where:
y_max = maximum deflection
w = uniform wind load (pressure)
B = smallest panel dimension (span between supports)
E_ACM = modulus of elasticity of the panel
T_ACM = effective panel thickness
α = coefficient depending on panel aspect ratio and support conditions
The key takeaway:
Deflection is proportional to the fourth power of the span (b⁴). This is why small changes in skeleton spacing have such dramatic effects on panel flatness.
Part 5: Skeleton Spacing Guidelines for 3mm Panels
Based on the physics and industry standards, here are the recommended skeleton spacings for 3mm Alucobond panels:
Application | Recommended Support Spacing | Reason |
Standard facade (moderate wind) | 450-500 mm | Half the stiffness of 4mm requires closer support |
High wind zone | 400-450 mm | Higher loads require more support |
Ceiling installation | 400-450 mm | Gravity adds to the load |
Large-format panels | 400-450 mm | Larger panels deflect more |
With mid-ribs | Up to 600 mm | Mid-ribs add stiffness |
The 600mm rule:
The ALUCOBOND fixing stiffeners guideline states that "the distance between stiffeners should not be more than 600mm". This applies to all Alucobond panels.
For a 3mm Alucobond panel, this 600mm is the absolute maximum—not the recommended spacing. For optimal flatness, aim for 450-500mm.
Part 6: Why 3mm Panels Are More Vulnerable
A 3mm Alucobond panel has less thickness. Less thickness means less rigidity. Less rigidity means more deflection under load.
The comparison:
Factor | 3mm Panel | 4mm Panel | Difference |
Flexural rigidity | 1,250 kNcm²/m | 2,400 kNcm²/m | 3mm is 48% less stiff |
Weight | 5.9 kg/m² | 7.6 kg/m² | 3mm is 22% lighter |
Recommended support spacing | 450-500 mm | 500-600 mm | 3mm needs closer spacing |
The implication:
If you specify a 3mm Alucobond panel, you must design the skeleton with closer spacing. A skeleton designed for 4mm panels will cause a 3mm panel to deflect, creating visible waves and distortion.
The cost trade-off:
A 3mm panel costs less and weighs less. But the substructure must be denser—more rails, more brackets, more labor. The savings on material may be offset by the increased substructure cost.
Part 7: The Role of Mid-Ribs
Mid-ribs are stiffening members attached to the back of the panel. They divide the panel into smaller zones, reducing the unsupported span.
How mid-ribs help:
- A panel with mid-ribs has multiple support lines
- The effective span is reduced to the distance between mid-ribs
- Deflection is reduced dramatically
Mid-rib spacing for 3mm panels:
The stiffeners should be fixed to the back of the panel based on the size of each panel and wind load calculations for the project site. The distance between stiffeners should not be more than 600mm.
For a 3mm Alucobond panel, mid-rib spacing should be 450- 500 mm for optimal performance.
The Skeleton Spacing Flowchart
Start
│
▼
Determine panel thickness
│
├─── 3mm panel ───► Recommended spacing: 450-500mm
└─── 4mm panel ───► Recommended spacing: 500-600mm
│
▼
Determine wind load zone
│
├─── Moderate wind ───► Use standard spacing
└─── High wind ───► Reduce spacing by 50-100mm
│
▼
Determine panel size
│
├─── Standard size ───► Use standard spacing
└─── Large format ───► Reduce spacing or add mid-ribs
│
▼
Design skeleton spacing
│
├─── Maximum: 600mm (per ALUCOBOND guidelines)
├─── Recommended for 3mm: 450-500mm
└─── For critical flatness: 400mm
│
▼
Add mid-ribs for large panels or high wind loads
│
▼
Verify deflection ≤ L/300 (per JGJ 255-2012)
│
▼
Done ───► Flat Alucobond facade with no deflection
Common Mistakes to Avoid
Mistake 1: Using 4mm spacing for 3mm panels
A skeleton designed for 4mm panels will cause a 3mm panel to deflect. The 3mm panel has half the stiffness. It needs closer support.
Fix: Reduce spacing by 50- 100 mm when using 3mm panels.
Mistake 2: Ignoring wind load calculations
Wind load varies by building height, location, and exposure. A spacing that works on a low-rise building will fail on a high-rise.
Fix: Calculate the design wind load for your project. Adjust spacing accordingly.
Mistake 3: Skipping mid-ribs for large panels
Large panels deflect more under load. Without mid-ribs, the deflection exceeds acceptable limits.
Fix: Add mid-ribs for panels exceeding 900mm in width. Space mid-ribs at 450- 500 mm for 3mm panels.
Mistake 4: Exceeding the 600mm maximum
The ALUCOBOND guideline states that the distance between stiffeners should not be more than 600mm. This is the absolute maximum.
Fix: Never exceed 600mm spacing, regardless of panel thickness. For 3mm panels, stay well below this limit.
The Bottom Line
A 3mm Alucobond panel has approximately half the stiffness of a 4mm panel (1,250 vs 2,400 kNcm²/m). It needs closer support spacing to achieve the same flatness.
The numbers are clear:
- Maximum support spacing: 600mm (per ALUCOBOND guidelines)
- Recommended for 4mm panels: 500-600mm
- Recommended for 3mm panels: 450-500mm
- Deflection limit: L/300 of the rib span (per JGJ 255-2012)
- Mid-rib spacing: not more than 600mm
When you walk that site twelve months from now, standing in front of a flat, flawless Alucobond facade with no waves or distortion in sight, you will know—not hope, not guess, but know—that the skeleton spacing was right. Because you calculated it. Because you accounted for the lower stiffness of the 3mm Alucobond panel. Because you refused to let a wider spacing destroy a premium facade.
The panel is only as flat as the skeleton behind it. Space that skeleton correctly. Your facade depends on it.