Welcome to Vbond
Three-Dimensional Adjustable Keel Systems: The High-Rise Solution for Alucobond Blister Prevention
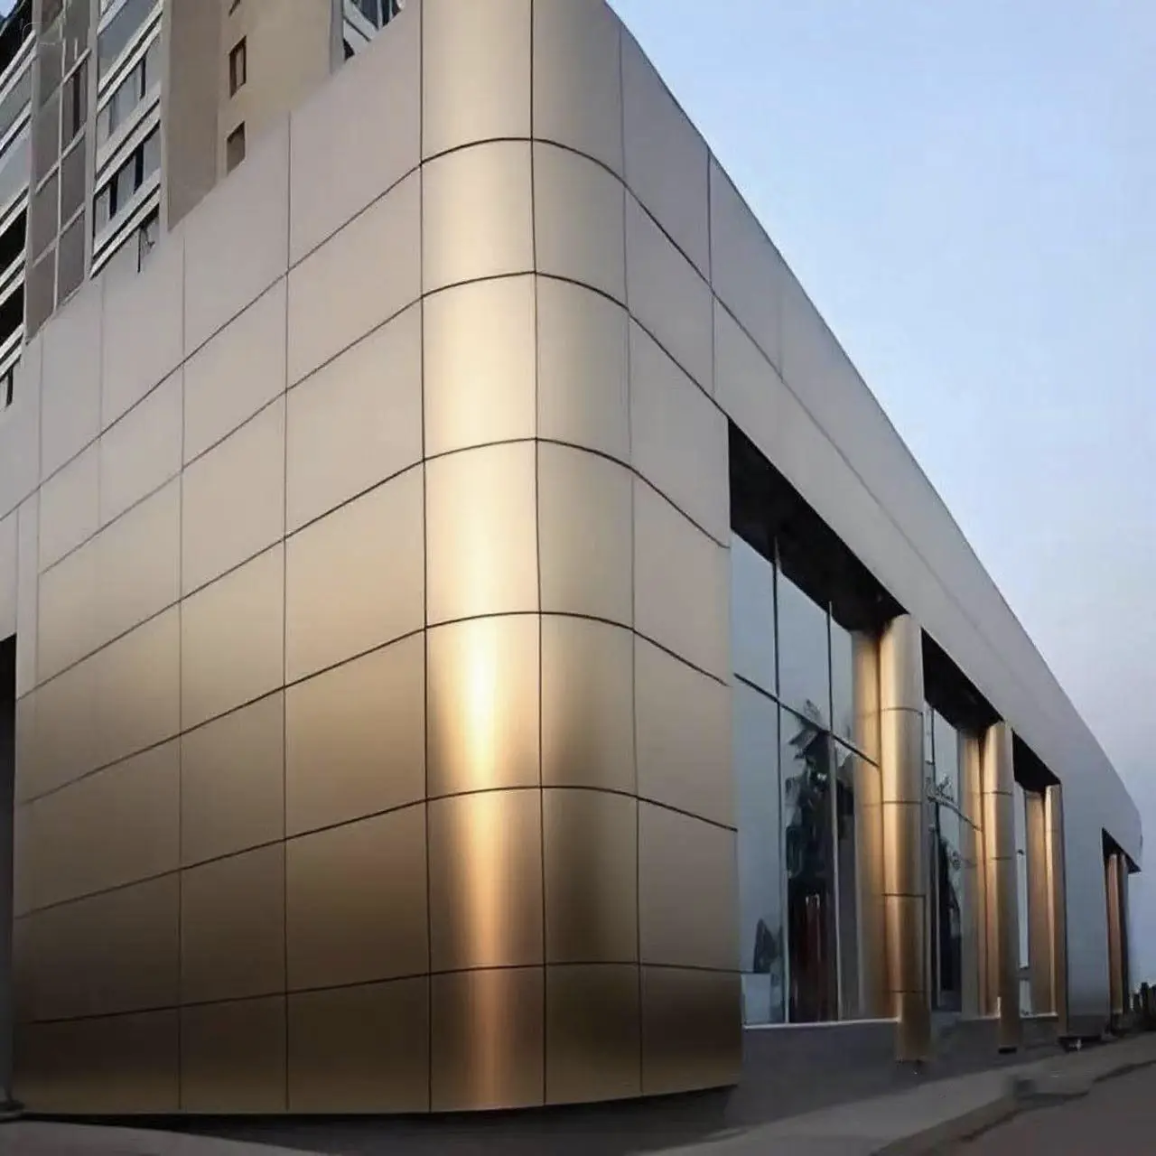
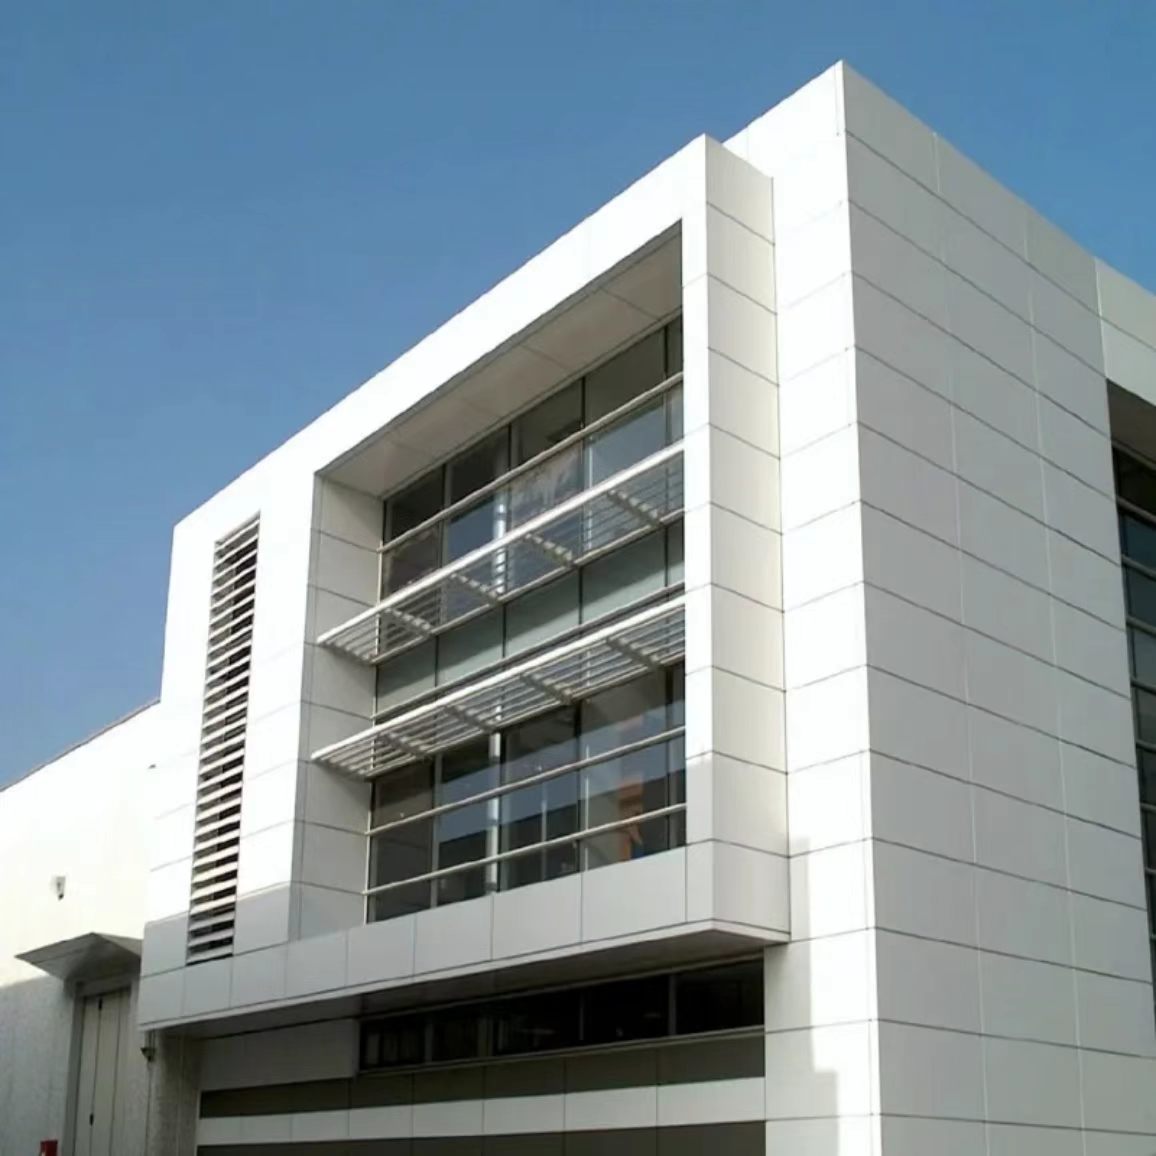
You stand at the base of a 40-story tower and look up. The Alucobond facade is breathtaking. Clean lines. Perfect alignment. Flawless finish.
Six months later, you get the call. Bubbles. Waves. Distortion across panels that were once perfectly flat.
The problem is not the material. The problem is the building itself. High-rise structures move. They sway in the wind. They settle over time. They expand and contract with temperature changes. And when the Alucobond wall panel is rigidly fixed to a moving structure, the stress has nowhere to go. Blisters follow.
This guide explains why three-dimensional adjustable keel systems are the high-rise solution for Alucobond blister prevention. You will learn how buildings move. You will understand why rigid fixing fails in tall structures. And you will know exactly how to specify and install adjustable systems that keep your Alucobond facade flat for decades.
The High-Rise Problem: Buildings Don't Stand Still
High-rise buildings are not static structures. They move. A lot.
Wind-induced sway:
A 40-story building can sway several feet at the top during high winds. The facade must accommodate that movement without transferring stress to the panels.
Thermal movement:
The building structure expands and contracts with temperature changes. Steel expands at approximately 1.2 mm per meter per 100°C. The Alucobond wall panel expands at 2.4 mm per meter per 100°C. The differential movement between the panel and the structure must be accommodated.
Settlement and creep:
Buildings settle over time. Concrete creeps. Steel deflects. The facade must maintain its alignment despite these changes.
Construction tolerances:
No building is perfectly plumb. No structure is perfectly square. The facade system must compensate for the inevitable imperfections of construction.
When you fix an Alucobond wall panel rigidly to a moving structure, the panel moves with the building—but it cannot move freely. Stress builds at the attachment points. The adhesive bond between the aluminum skin and the core is overloaded. The bond fails. Voids form. Those voids become visible blisters.
The Rigid Fixing Trap: Why Standard Systems Fail in High-Rises
The most common installation method for Alucobond uses fixed brackets with no adjustment capability. The panel is drilled and riveted directly to the subframe. The connection is rigid. It seems solid. It is a disaster waiting to happen.
Why it fails:
Problem | What Happens | Consequence |
No vertical adjustment | Building settlement moves the subframe | Panels misalign, stress concentrates at fasteners |
No horizontal adjustment | Thermal expansion moves the panel | Panel buckles between fixed points |
No depth adjustment | Building sway moves the structure | Panel pulls away from or pushes into the building |
No movement allowance | Differential movement between panel and structure | Stress builds, adhesive bond fails, blisters form |
Caption: Why rigid fixing systems fail on high-rise Alucobond facades.
Alt text: Table showing four problems with rigid fixing systems and their consequences for high-rise Alucobond wall panel installations.
The principle is simple: a rigid connection on a moving building is a connection that will eventually fail. The building moves. The panel does not. Something has to give.
What Is a Three-Dimensional Adjustable Keel System?
A three-dimensional adjustable keel system is a subframe that allows adjustment in three axes:
X-axis (horizontal): Side-to-side adjustment
Y-axis (vertical): Up-and-down adjustment
Z-axis (depth): In-and-out adjustment from the building face
The system uses adjustable brackets that connect the main building structure to the secondary framing that holds the Alucobond wall panels. Each connection point can be adjusted independently.
How it works:
The system consists of adjustable brackets, slotted channels, and sliding connections that permit movement in all three directions. The primary structure anchors to the building. The adjustable brackets connect to the primary structure with slotted holes that allow X, Y, and Z adjustments. The secondary framing holds the Alucobond wall panel. The bracket adjustments compensate for construction tolerances, thermal expansion, building movement, and settlement.
The key principle from industry practice:
"Through the cooperation of front-back translation adjustment connectors, left-right translation adjustment connectors, shock-absorbing columns, connecting sleeves, and support connectors, the curtain wall can be adjusted in front-back, left-right, and up-down positions."
The Critical Components of an Adjustable Keel System
1. Adjustable Brackets
The brackets are the heart of the system. They allow adjustment in all three dimensions. Slotted holes permit horizontal and vertical movement. Threaded adjustment bolts control depth.
Adjustment ranges:
Adjustment Axis | Typical Range | Why It Matters |
Vertical (Y-axis) | ±15 mm | Compensates for settlement and construction tolerances |
Horizontal (X-axis) | ±15 mm | Compensates for thermal expansion and alignment errors |
Depth (Z-axis) | ±15 mm | Compensates for building sway and subframe irregularities |
Caption: Typical adjustment ranges for three-dimensional adjustable keel systems. Source: Industry practice.
Alt text: Table showing adjustment ranges for vertical, horizontal, and depth axes with typical values and reasons for each.
These ranges provide ±15 mm of adjustment in each direction. That is enough to compensate for most construction tolerances and building movements.
2. Slotted Channels and Tracks
The brackets slide along slotted channels in the primary and secondary framing. The slots allow movement without compromising the connection strength.
3. Locking Mechanisms
Once the panel is aligned, the adjustment points must be locked securely. Locking nuts, set screws, and friction plates hold the position while allowing future adjustments if needed.
4. Sliding Connections
The connection between the adjustable bracket and the Alucobond wall panel must allow for thermal movement. The panel must be able to slide relative to the bracket without stress buildup.
How Adjustable Keel Systems Prevent Blisters
The mechanism is straightforward:
1. Stress elimination
The panel is not rigidly connected to the moving building. The adjustable system allows the panel to find its natural position. Stress does not build up at the attachment points. The adhesive bond between the aluminum skin and the core is not overloaded.
2. Thermal movement accommodation
Alucobond wall panels expand and contract with temperature changes at 2.4 mm per meter per 100°C. The adjustable system allows this movement. The panel expands freely. No stress. No blisters.
3. Building movement isolation
The building sways, settles, and moves. The adjustable system isolates the Alucobond wall panel from these movements. The panel stays flat while the building moves.
4. Precise alignment
The three-dimensional adjustment allows each panel to be aligned perfectly. No panel is forced into position. No stress is introduced during installation. Flat panels stay flat.
The Blister Prevention Flowchart
Start
│
▼
Building moves (wind, thermal, settlement)
│
▼
Rigid fixing ────────────────────► Adjustable keel system
│ │
▼ ▼
Panel cannot move Panel can move freely
│ │
▼ ▼
Stress builds at attachment points No stress buildup
│ │
▼ ▼
Adhesive bond overloaded Adhesive bond protected
│ │
▼ ▼
Bond fails Bond holds
│ │
▼ ▼
Voids form between skin and core No voids
│ │
▼ ▼
Blister appears on panel surface No blisters
│ │
▼ ▼
Facade damaged Facade stays flat
Installation Best Practices for Adjustable Keel Systems
Step 1: Install the primary structure
Anchors and primary brackets are installed on the building structure. The primary structure must be strong enough to support the weight of the Alucobond wall panels and resist wind loads.
Step 2: Install adjustable brackets
The adjustable brackets are attached to the primary structure using slotted connections. The brackets are positioned approximately but not fully tightened.
Step 3: Install secondary framing
The secondary framing (vertical and horizontal profiles) is attached to the adjustable brackets. The framing creates the grid that supports the Alucobond wall panels.
Step 4: Adjust and align
This is where the three-dimensional adjustment happens. Each bracket is adjusted in X, Y, and Z to bring the secondary framing into perfect alignment. A laser level or theodolite is used to verify the alignment.
Step 5: Lock the adjustments
Once the framing is aligned, the adjustments are locked. Locking nuts and set screws are tightened to hold the position.
Step 6: Install the panels
The Alucobond wall panels are installed on the aligned secondary framing. Sliding connections allow the panels to expand and contract without stress.
Common Mistakes to Avoid
Mistake 1: Using rigid brackets in high-rise applications
The most expensive mistake. Rigid brackets save money upfront. They cost a fortune in rework.
Fix: Specify three-dimensional adjustable systems for all high-rise Alucobond facades.
Mistake 2: Not allowing enough adjustment range
±15 mm is typical. Some buildings move more. Some tolerances are worse.
Fix: Calculate the expected movement for your specific project. Specify adjustment ranges that exceed the expected movement.
Mistake 3: Over-tightening adjustable connections
Some installers tighten the adjustments fully before alignment is complete. The panel is locked in the wrong position.
Fix: Leave adjustments loose until alignment is verified. Only lock when everything is perfect.
Mistake 4: Ignoring the sliding connections
The adjustable brackets allow the primary structure to move. But the panel must also be able to slide relative to the bracket.
Fix: Use sliding connections between the panel and the secondary framing. Allow for thermal movement.
What to Ask Your Supplier
When you purchase an Alucobond wall panel for a high-rise project, ask these questions:
1. What adjustable keel system do you recommend for my building height and wind load? A knowledgeable supplier will specify a system with appropriate adjustment ranges.
2. What are the adjustment ranges for your system? The answer should include X, Y, and Z adjustments with ±15 mm minimum.
3. Do you provide engineering calculations for wind load and movement accommodation? A reliable manufacturer will have technical documentation.
4. What is your system's load capacity? The system must support the weight of the panels and resist wind loads.
A Final Word on Adjustable Keel Systems
Here is what I have learned from watching high-rise Alucobond facades fail and succeed. The buildings that last are not the ones with the most expensive panels. They are the ones with the smartest attachment systems.
A rigid connection on a moving building is a connection that will eventually fail. The building sways in the wind. It settles over time. It expands and contracts with the seasons. And if the Alucobond wall panel is locked to that moving structure, the stress goes somewhere. It goes into the adhesive bond. It goes into the aluminum skin. It goes into the core. And eventually, it comes out as a blister.
The three-dimensional adjustable keel system is not complicated. It is just smart. It allows the building to move and the panel to stay flat. It compensates for construction tolerances that every project has. It accommodates thermal expansion that every panel experiences. It isolates the facade from building movement that every high-rise faces.
Yes, the adjustable system costs more upfront than rigid brackets. But the cost difference is a rounding error compared to the cost of replacing a blistered facade. The adjustable system pays for itself the first time the building sways in a storm, and the panels stay flat.
The building will move. The question is whether your Alucobond wall panel will move with it—or against it. The adjustable keel system makes sure it moves with it. And that is the difference between a facade that lasts and one that blisters.