Welcome to Vbond
How to Field-Repair a Cracked Alucobond Fold Without Replacing the Panel
You walk the building facade. You see a hairline crack along a folded edge. The client points at it. They want it fixed. Now.
Replacing the panel means ordering new material, matching colors, and scheduling another installation. That takes weeks. It costs thousands.
But you have another option. Field repair.
A cracked Alucobond fold does not always require full panel replacement. With the right technique and materials, you can restore structural integrity on site. This guide shows you how.
Before You Start: Know When to Repair vs. Replace
Not every crack qualifies for repair.
Repair when:
- Cracks are hairline and less than 25mm long
- Cracks affect only the folded edge
- The panel is otherwise sound
- The location is not critical for structural loading
Replace when:
- Cracks exceed 25mm or run the full fold length
- Cracks appear on both sides of the fold
- The panel shows delamination
- Multiple cracks form a network
- The panel is in a high-wind zone
When in doubt, replace the panel. A failed repair costs more than a new panel.
The Materials You Need
Structural Adhesive
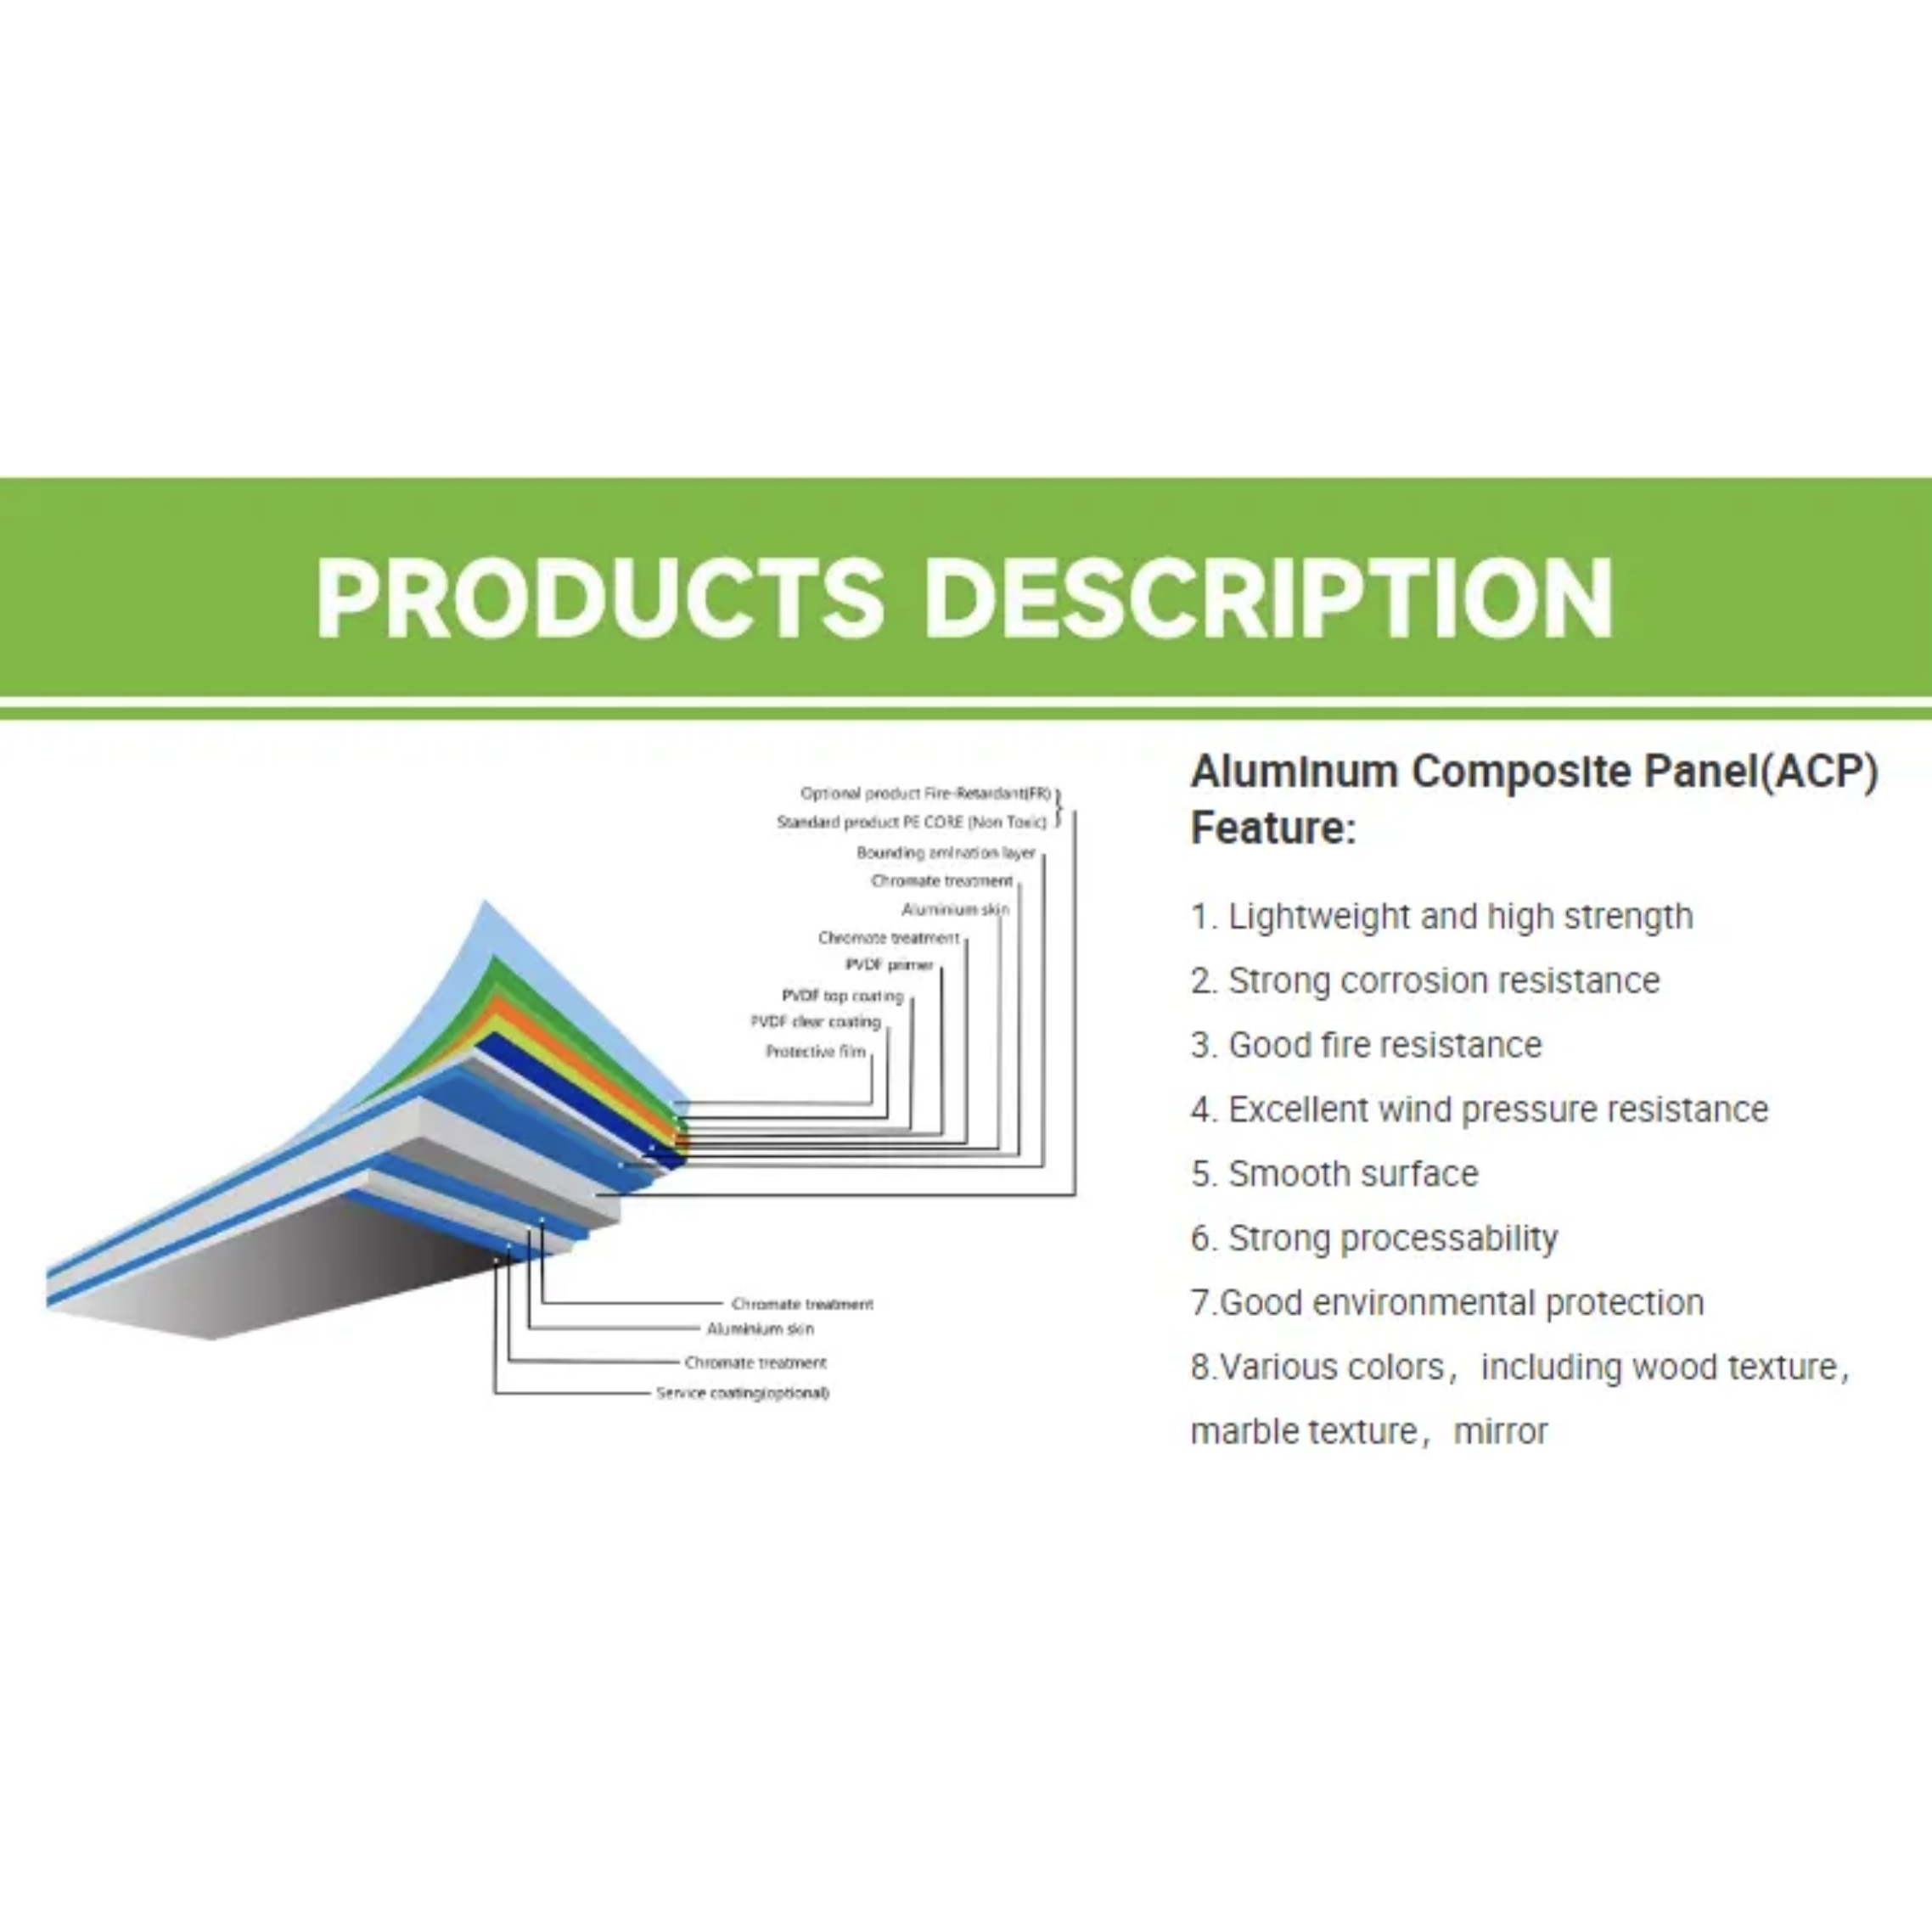
Most adhesives do not adhere to the polyethylene core material. They bond only to the aluminum skin. Choose a structural adhesive that bonds to aluminum, remains flexible after curing, and withstands weather and UV exposure.
Two-component methacrylate adhesives work well for structural joining of metals and composites. Epoxy-based edge fillers are designed to cold-bond to aluminum, fill voids, and seal cracks. Look for adhesives with high shear strength — structural adhesives typically offer shear strength above 18MPa and tensile bonding strength above 30MPa.
Aluminum Angle
Angle aluminum provides the mechanical backbone of the repair. It bridges the cracked fold and distributes stress across a larger area. Choose an angle with leg lengths that match your panel thickness. For a 4mm panel, use 25mm x 25mm or larger with 2mm wall thickness.
Additional Supplies
- Sandpaper (120-grit and 220-grit)
- Isopropyl alcohol and clean cloths
- Drill with 1mm bit (for stop-drilling)
- Fine file or Dremel tool
- Clamps for pressure during curing
- Protective gloves and eyewear
Step-by-Step Field Repair Process
Step 1: Assess and Clean the Crack
Clean the cracked area thoroughly. Remove dirt, grease, and loose material.
Use a fine file or Dremel tool to create a small V-groove along the crack. This gives the adhesive more surface area to bond. Do not grind through the aluminum skin.
Clean the area again with isopropyl alcohol. Let it dry completely.
Step 2: Drill Stop-Holes
Drill a tiny hole (1mm diameter) at each end of the crack. This relieves stress and prevents the crack from running further.
The holes should be small enough to fill with adhesive later.
Step 3: Prepare the Aluminum Angle
Cut the angle to length. Add 50mm overlap beyond each end of the crack.
Sand the inside surface of the angle with 120-grit sandpaper. This creates a rough surface for the adhesive to grip. Wipe away dust with a clean cloth.
Clean the angle with isopropyl alcohol. Let it dry.
Step 4: Apply Structural Adhesive
Mix the structural adhesive according to the manufacturer's instructions. Two-component adhesives require thorough mixing. Incomplete mixing means weak bonding.
Apply a uniform layer of adhesive to the sanded surface of the angle. Apply a second layer along the cracked edge of the panel.
Press the angle firmly against the cracked fold. The angle should bridge the crack with equal length on both sides.
Step 5: Clamp and Cure
Secure the angle with clamps. Apply even pressure across the full length. The adhesive should squeeze out slightly from the edges — this indicates full contact.
Wipe away excess adhesive before it cures.
Leave the clamps in place for the full cure time specified by the manufacturer. Most structural adhesives reach handling strength in 2 to 4 hours at room temperature. Full cure takes 24 hours or more.
Do not rush this step. Insufficient cure time means insufficient strength.
Step 6: Finish and Inspect
Remove the clamps. Trim any excess adhesive with a utility knife.
Inspect the repair. The angle should sit flush against the panel. There should be no gaps.
Apply gentle pressure to the repaired edge. It should feel solid.
The Repair Flowchart
Start
│
▼
Assess crack severity
│
├─── Minor crack (<25mm) ───► Proceed with repair
│
└─── Major crack (>25mm) ───► Replace panel
│
▼
Clean cracked area with solvent
│
▼
Create V-groove along crack with file
│
▼
Drill 1mm stop-holes at crack ends
│
▼
Clean with isopropyl alcohol
│
▼
Cut aluminum angle to length (add 50mm overlap)
│
▼
Sand the inside surface of angle; clean with alcohol
│
▼
Apply structural adhesive to angle and crack
│
▼
Press angle against cracked edge
│
▼
Clamp and cure (24 hours minimum)
│
▼
Remove clamps, trim excess adhesive
│
▼
Inspect repair
│
▼
Done
Common Mistakes to Avoid
Mistake 1: Using the Wrong Adhesive
Hardware-store construction adhesive won't work. It lacks structural strength. It does not bond properly to aluminum.
Fix: Use a structural adhesive specifically rated for aluminum and composite materials.
Mistake 2: Skipping Surface Preparation
Adhesive needs a clean, rough surface to grip. Oil, dust, or smooth metal prevents bonding.
Fix: Sand the angle. Clean both surfaces with isopropyl alcohol. Let them dry completely.
Mistake 3: Insufficient Cure Time
The adhesive may feel dry after a few hours. It is not at full strength. Removing clamps too soon weakens the bond.
Fix: Follow the manufacturer's cure time. Wait 24 hours minimum before handling.
Mistake 4: Not Allowing Thermal Movement
The repair must accommodate expansion and contraction. Rigid repairs crack again.
Fix: Use an adhesive that remains flexible after curing. Do not over-constrain the panel.
What to Ask Your Aluminum Composite Panel Supplier
When you work with an aluminum composite panel supplier, ask these questions:
1. Do you offer repair guidance? A reliable manufacturer of aluminum composite panels will provide technical support.
2. What structural adhesive do you recommend? A knowledgeable distributor of Alucobond panels will specify adhesives that work with Alucobond.
3. What is your replacement panel lead time? If the repair is not feasible, you need to know how long replacement takes.
4. Can you match the existing color? Color matching is critical for replacement panels.
Choose an authorized dealer of Alucobond that understands repair requirements. Work with an OEM manufacturer of ACM panels that provides technical documentation. Buy factory-direct aluminum composite panels from suppliers who back their products with support. Look for wholesale-price aluminum composite panels from suppliers who deliver quality and expertise.
A good wholesale supplier of ACM panels will guide you on whether to repair or replace. They will recommend the right adhesive. And they will stand behind their recommendations.
The Bottom Line
Cracked Alucobond edges do not heal. But you can stop them from spreading.
Clean the crack. Drill stop-holes. Apply structural adhesive. Reinforce with aluminum angle. Clamp and cure.
The repair takes time and care. But it costs less than full panel replacement. And it keeps the facade looking professional.
Choose the right materials. Prepare the surfaces properly. Allow full cure time. And the repair will last.
Do not ignore cracked edges. Do not patch them with sealant alone. Repair them the right way.
Your facade will thank you. So will your client.