Welcome to Vbond
How to Properly Install Foam Backer Rods to Avoid Alucobond Sealant Blowouts
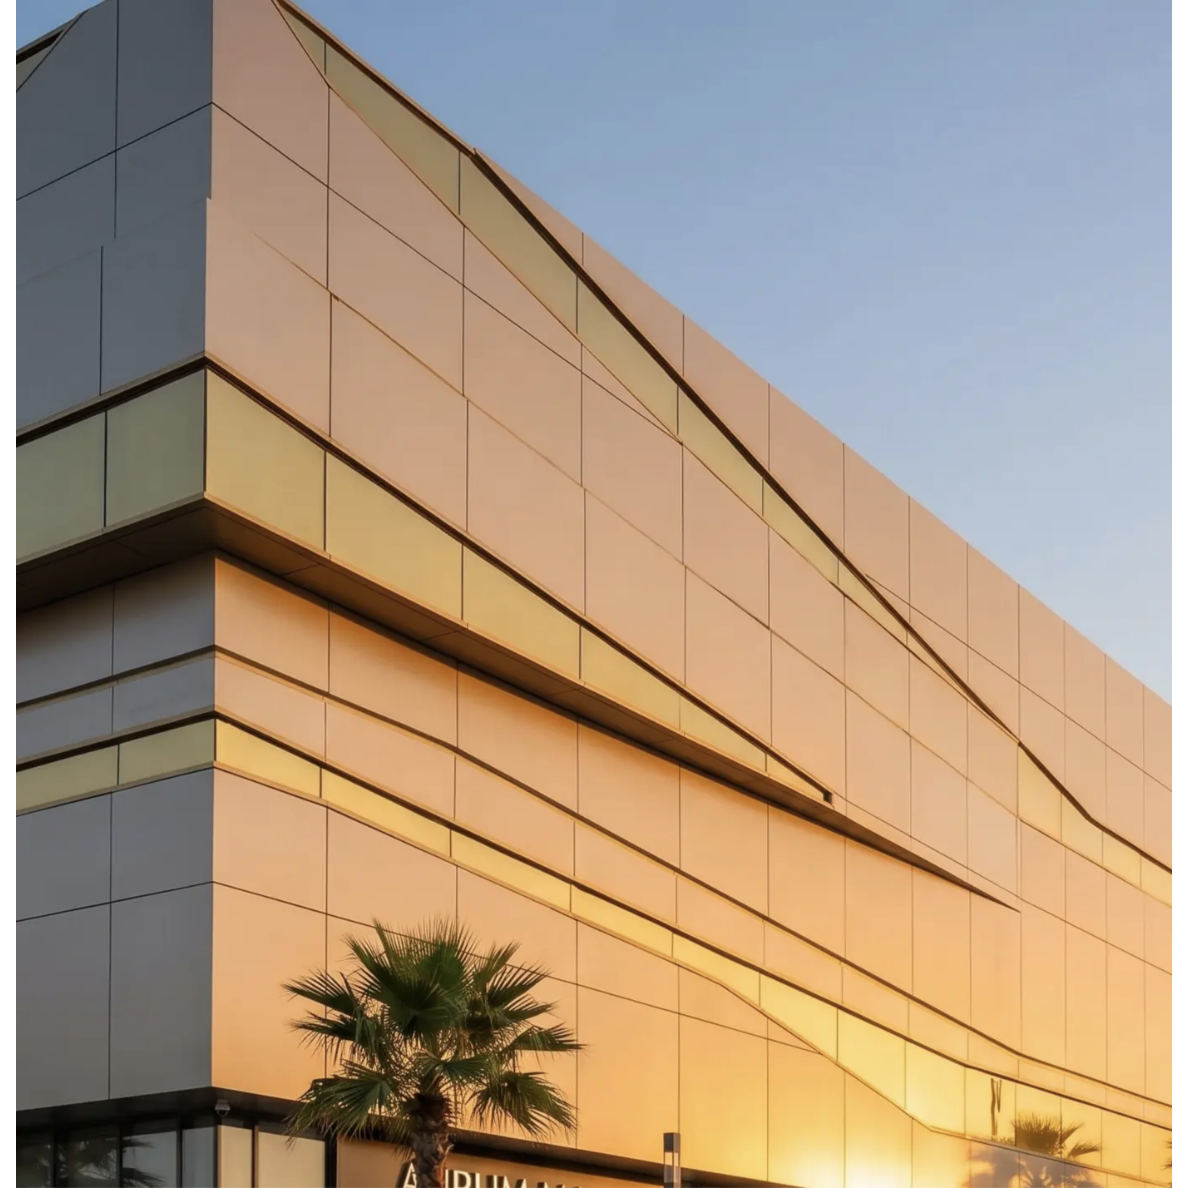
You finish the facade. The sealant joints look clean and uniform. The client approves the work.
Weeks later, you see them. Bubbles and blisters along the sealant joints. The sleek finish now looks damaged. The client demands answers.
The problem is not the sealant. The problem is what is underneath it. Specifically, the foam backer rod.
This guide explains how to properly install foam backer rods to avoid Alucobond sealant blowouts. You will learn the three critical rules of backer rod installation. You will understand the four most common mistakes. And you will know exactly how to prevent sealant blisters on your Alucobond panels.
What Is a Foam Backer Rod and Why Does It Matter?
A foam backer rod, also called a back-up rod, is a circular foam filler placed in the joint before applying sealant. It serves three critical purposes:
1. Controls sealant depth – The foam rod limits how deep the sealant goes. This ensures the correct width-to-depth ratio.
2. Prevents three-sided adhesion – Without a backer rod, sealant sticks to the back of the joint, which restricts movement and causes failure.
3. Supports tooling – The rod gives the sealant something to push against during application.
For Alucobond wet seal systems, the ALUCOBOND Wet Seal system integrates a 4-sided attachment method with continuous foam backer rod and silicone-sealed joints. This creates a panel-to-panel connection with no exposed fasteners.
When you work with an Alucobond panel supplier, they will specify these requirements in their installation guidelines. A reliable manufacturer provides technical documentation on backer rod specifications.
Rule 1: Choose the Correct Backer Rod Diameter
The most common mistake is using a backer rod that is too small or too large for the joint.
When the rod is too small:
The rod sits too deep in the joint. It does not provide proper backing. The sealant flows past the rod and sticks to the back of the joint. Three-sided adhesion occurs. The sealant cannot move. It tears or blisters.
When the rod is too large:
The rod is over-compressed during installation. The compression creates tension in the foam. The rod wants to expand. It pushes against the uncured sealant. The sealant bulges. Blisters form.
The correct rule:
Select a backer rod whose diameter is at least 20% larger but not greater than 33% of the joint width. Industry practice recommends oversizing 25–50% wider than the joint to ensure a tight fit.
For a 10 mm joint, use a 12–13 mm backer rod.
For a 12 mm joint, use a 15 mm backer rod.
For a 20 mm joint, use a 25–30 mm backer rod.
What the standards say:
For closed-cell backer rods with joints less than 19 mm wide, the diameter should be 3 mm larger than the joint width. For joints 19 mm or larger, the diameter should be 25–30% larger.
Rule 2: Use Closed-Cell Polyethylene Foam
Not all backer rods work for Alucobond panels. You must use closed-cell polyethylene foam.
Why closed-cell?
- Closed-cell rods do not absorb moisture
- They resist water wicking to joint walls
- They prevent moisture from causing adhesive failure
The warning about open-cell:
Open-cell foam is porous. It lets gases through. Those gases cause blistering of the sealant.
The warning about punctured closed-cell:
Closed-cell rods can outgas if punctured during installation. When you puncture or over-compress a closed-cell rod, trapped gases escape. Those gases get trapped under the sealant. Blisters form.
Closed-cell polyethylene backer rod should be used, and care must be taken not to puncture the rod, which can cause outgassing or bubbling/blistering in the sealant.
Rule 3: Install with a Blunt Tool at the Correct Depth
How you install the backer rod determines whether the sealant performs or fails.
Step 1: Clean the joint
The joint surface must be clean, dry, and free from oil, loose particles, and contaminants. Remove any old sealant or debris. Ensure the joint is completely dry before installation.
Step 2: Select the correct rod diameter
Use the 20–33% oversize rule. The rod should remain in compression and in place during sealant installation.
Step 3: Install with a blunt tool
Insert the backer rod using a blunt tool or roller. Do not use screwdrivers or sharp tools. Sharp tools puncture the rod. Punctures cause outgassing. Outgassing causes blisters.
Step 4: Set the correct depth
Install the backer rod at the depth recommended by the sealant manufacturer. The depth should allow the sealant to form an "hourglass" shape.
The general rule:
The depth of the joint after the backer rod is installed should be half the joint width. Sealant depth should be one-half to two-thirds of the joint width.
Do not:
- Do not tear or puncture the backer rod
- Do not over-compress or stretch the backer rod
- Do not use with hot-applied sealants or hot melt adhesives where surface temperatures exceed 160°F (71°C)
The Four Most Common Mistakes
Mistake 1: Using the wrong diameter
Backer rod diameter is critical. Too small: three-sided adhesion. Too large: sealant bulges.
The fix: Follow the 20–33% oversize rule. Measure the joint width before selecting the rod.
Mistake 2: Puncturing the backer rod
Using a screwdriver or sharp tool to install the rod punctures the closed-cell foam. The trapped gases escape. They get trapped under the sealant. Blisters form.
The fix: Use a blunt tool or roller. Never use sharp tools.
Mistake 3: Installing a damp backer rod
Moisture trapped under the sealant vaporizes when the sun hits the panel. The expanding vapor pushes up against the uncured sealant. Blisters form.
The fix: Store backer rods in a dry location. Check each rod for moisture before installation.
Mistake 4: Over-compressing the backer rod
When you force the rod into a joint that is too narrow, you over-compress it. The trapped air wants to expand. It pushes against the sealant. Blisters form.
The fix: Use the correct diameter rod. Apply gentle, even pressure during installation.
The Installation Flowchart
Start
│
▼
Measure joint width
│
▼
Select backer rod diameter (20-33% larger than joint width)
│
▼
Use closed-cell polyethylene foam only
│
▼
Clean joint (remove debris, ensure dry)
│
▼
Install with a blunt tool (not sharp tools)
│
▼
Set depth to half the joint width
│
▼
Do not puncture, stretch, or over-compress
│
▼
Apply sealant immediately
│
▼
Inspect for blisters
│
▼
Done
What to Ask Your Supplier
When you source an Alucobond panel for your project, ask these questions:
1. What backer rod specifications do you recommend? A knowledgeable supplier will specify closed-cell polyethylene with 20–33% oversize.
2. What sealant is compatible with your panels? The answer should include specific products and compatibility testing.
3. Do you provide joint design guidelines? A reliable supplier will have technical documentation on joint width, depth, and backer rod installation.
4. What is your recommended sealant depth? The answer should be half the joint width.
The Bottom Line
Foam backer rod installation determines whether your Alucobond sealant joints perform or fail. Get it right, and the joints stay sealed for decades. Get it wrong, and blisters appear within weeks.
The three critical rules:
1. Select 20–33% oversize diameter
2. Use closed-cell polyethylene foam
3. Install with a blunt tool at half the joint width
The four mistakes to avoid:
1. Wrong diameter
2. Punctured rods
3. Wet rods
4. Over-compressed rods
A reliable Alucobond panel supplier provides the technical documentation. Your installation process determines the quality. Get the backer rod right, and your sealant joints will stay flat and professional.